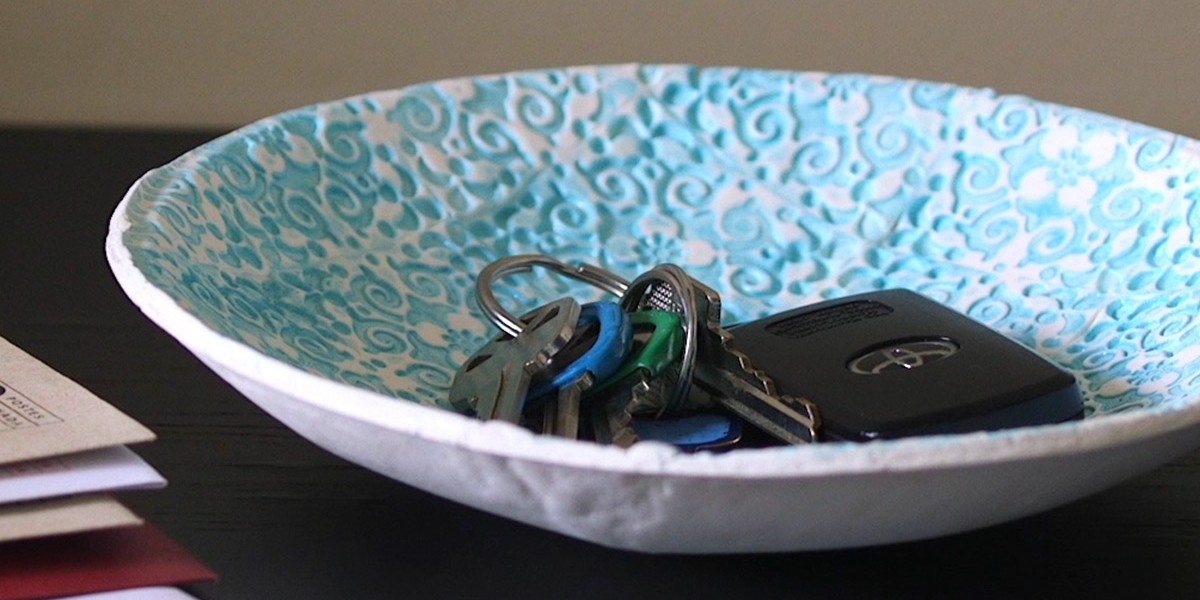
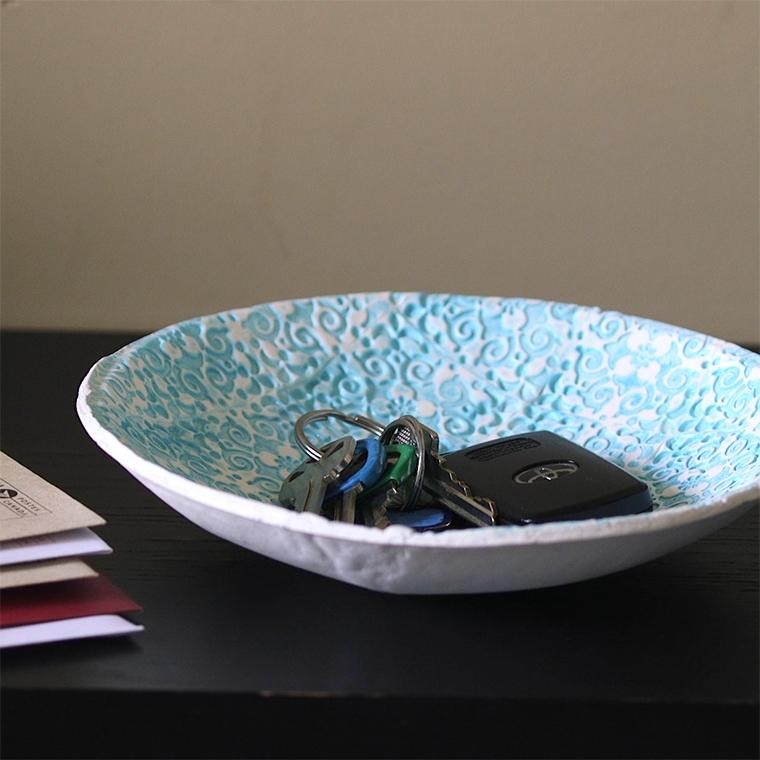
You won't believe how easy it is to make your own clay bowls! These Stamped Clay Bowls are the perfect addition to any bedside table, desk or front door, and are a beautiful spot to store your keys, hair pins or jewelry. All you need to make them is a rolling pin, knife, sandpaper, stamps, a set of small bowls, an ink pad and some air dry clay.
If you don't have any stamps on hand, you can use anything that will make an impression in the clay. You can also choose to add a gold or silver edge to your bowls for an extra bit of fanciness, or you can add varnish to them for a glossy finish.
Materials Needed:
- Air Dry Clay
- Selection of Stamps
- Ink Pad
- Set of Small Bowls
- Rolling Pin
- Knife
- Sandpaper
- Mod Podge
Directions:
Take your air dry clay and knead until soft. Roll your clay out to about 5mm thick.
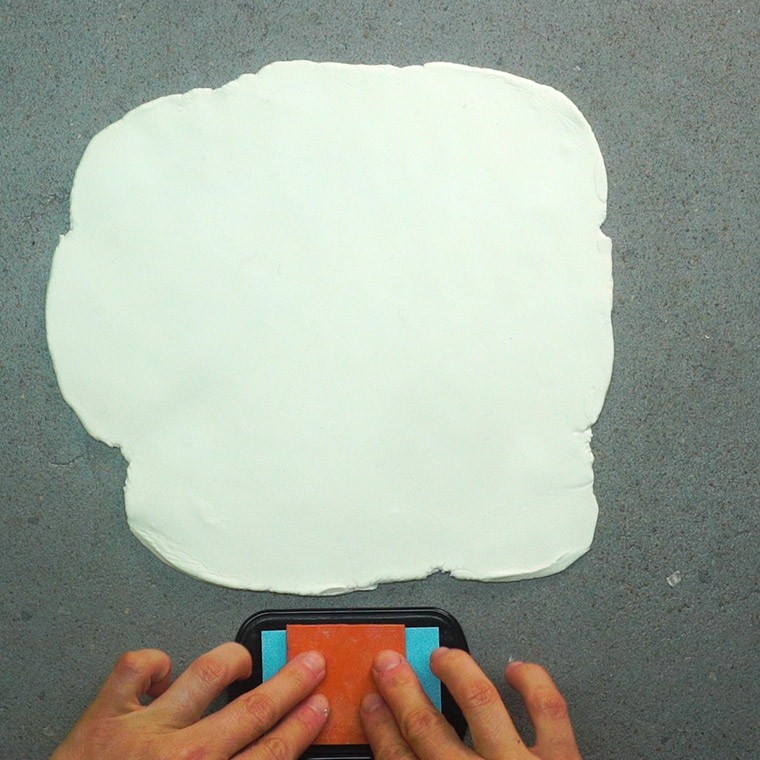
Ink up your stamp and press firmly onto the clay. Repeat until you have covered the clay with your stamped design.
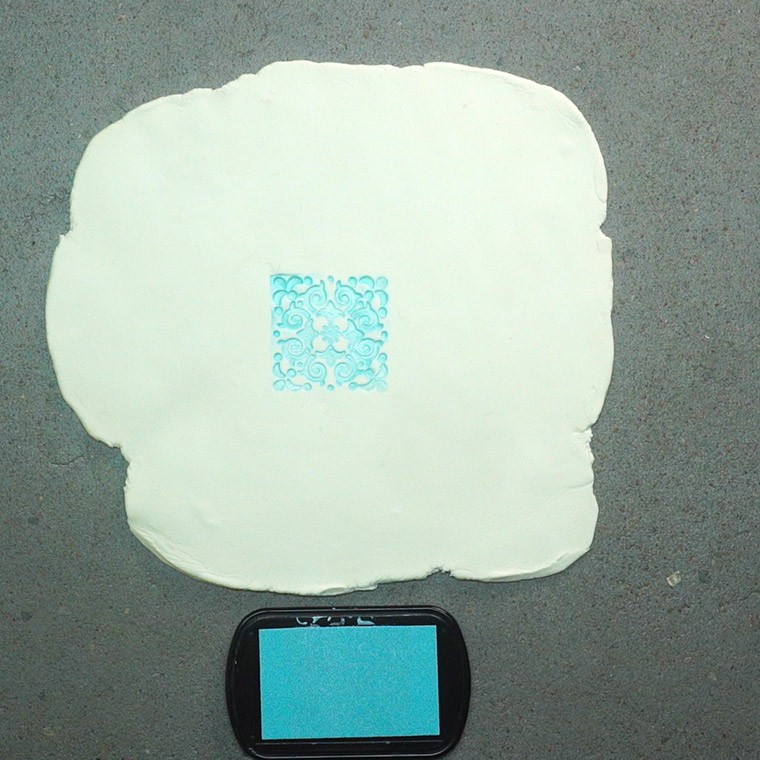
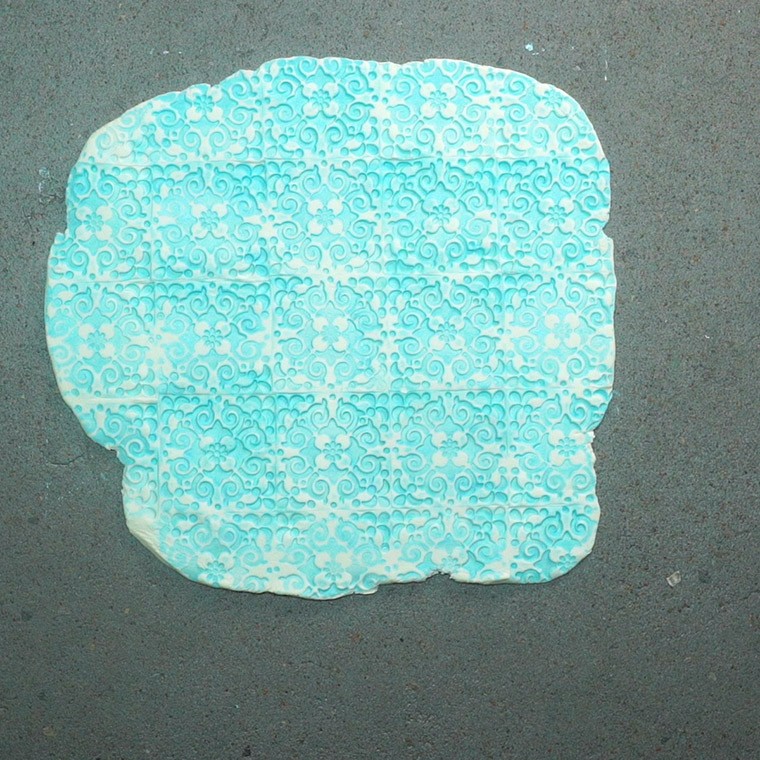
Try not to press too hard as you want to be able to lift the clay away from the table easily and not stretch out the design. If you have problems with the clay sticking to your work surface you can roll the clay out onto some greaseproof paper first.
Take your bowl and place it upside down on your clay. Use your knife to cut around the edge of the bowl.
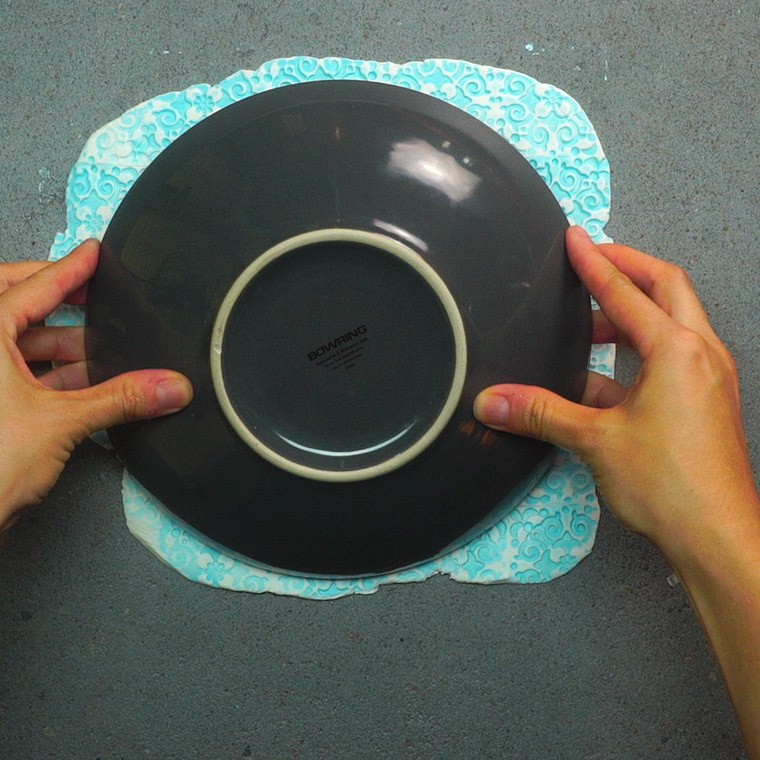
Peel away the remaining clay to leave the circle of clay behind that will form your bowl.
Lift your clay circle carefully and place it inside your bowl. Using your thumbs press the clay down gently into the bowl.
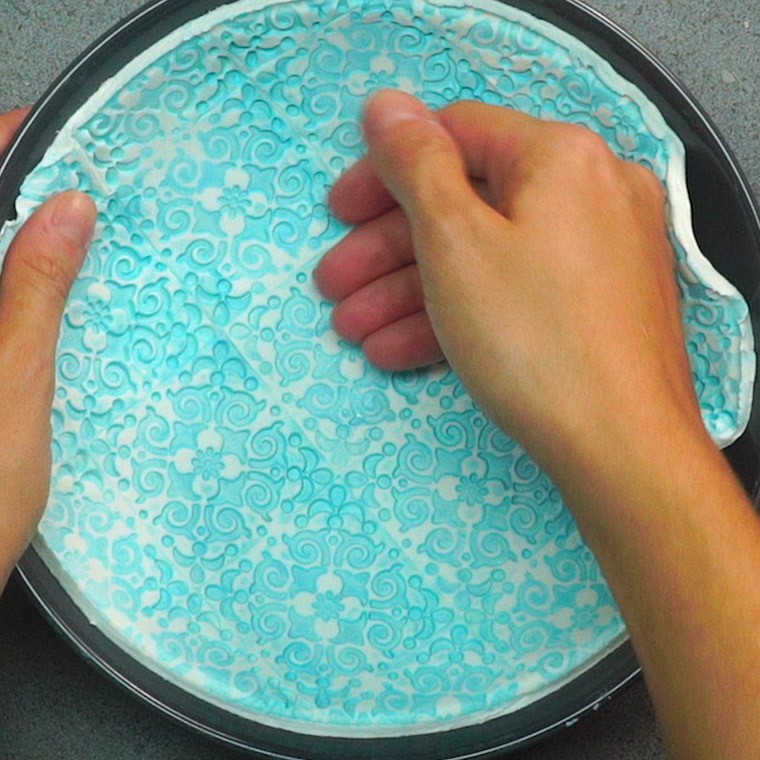
Repeat until you have as many bowls as required and leave to dry overnight. By the next day the printed side of the clay should be hard enough for you to remove it from the bowl. You may find the clay is still damp where it's been touching the glass bowl. Place your bowls upside down on a baking cooler rack to allow both sides to dry fully.
When your bowls are dry, sand away any rough edges. Use a paintbrush to cover the dried bowl with Mod Podge.
