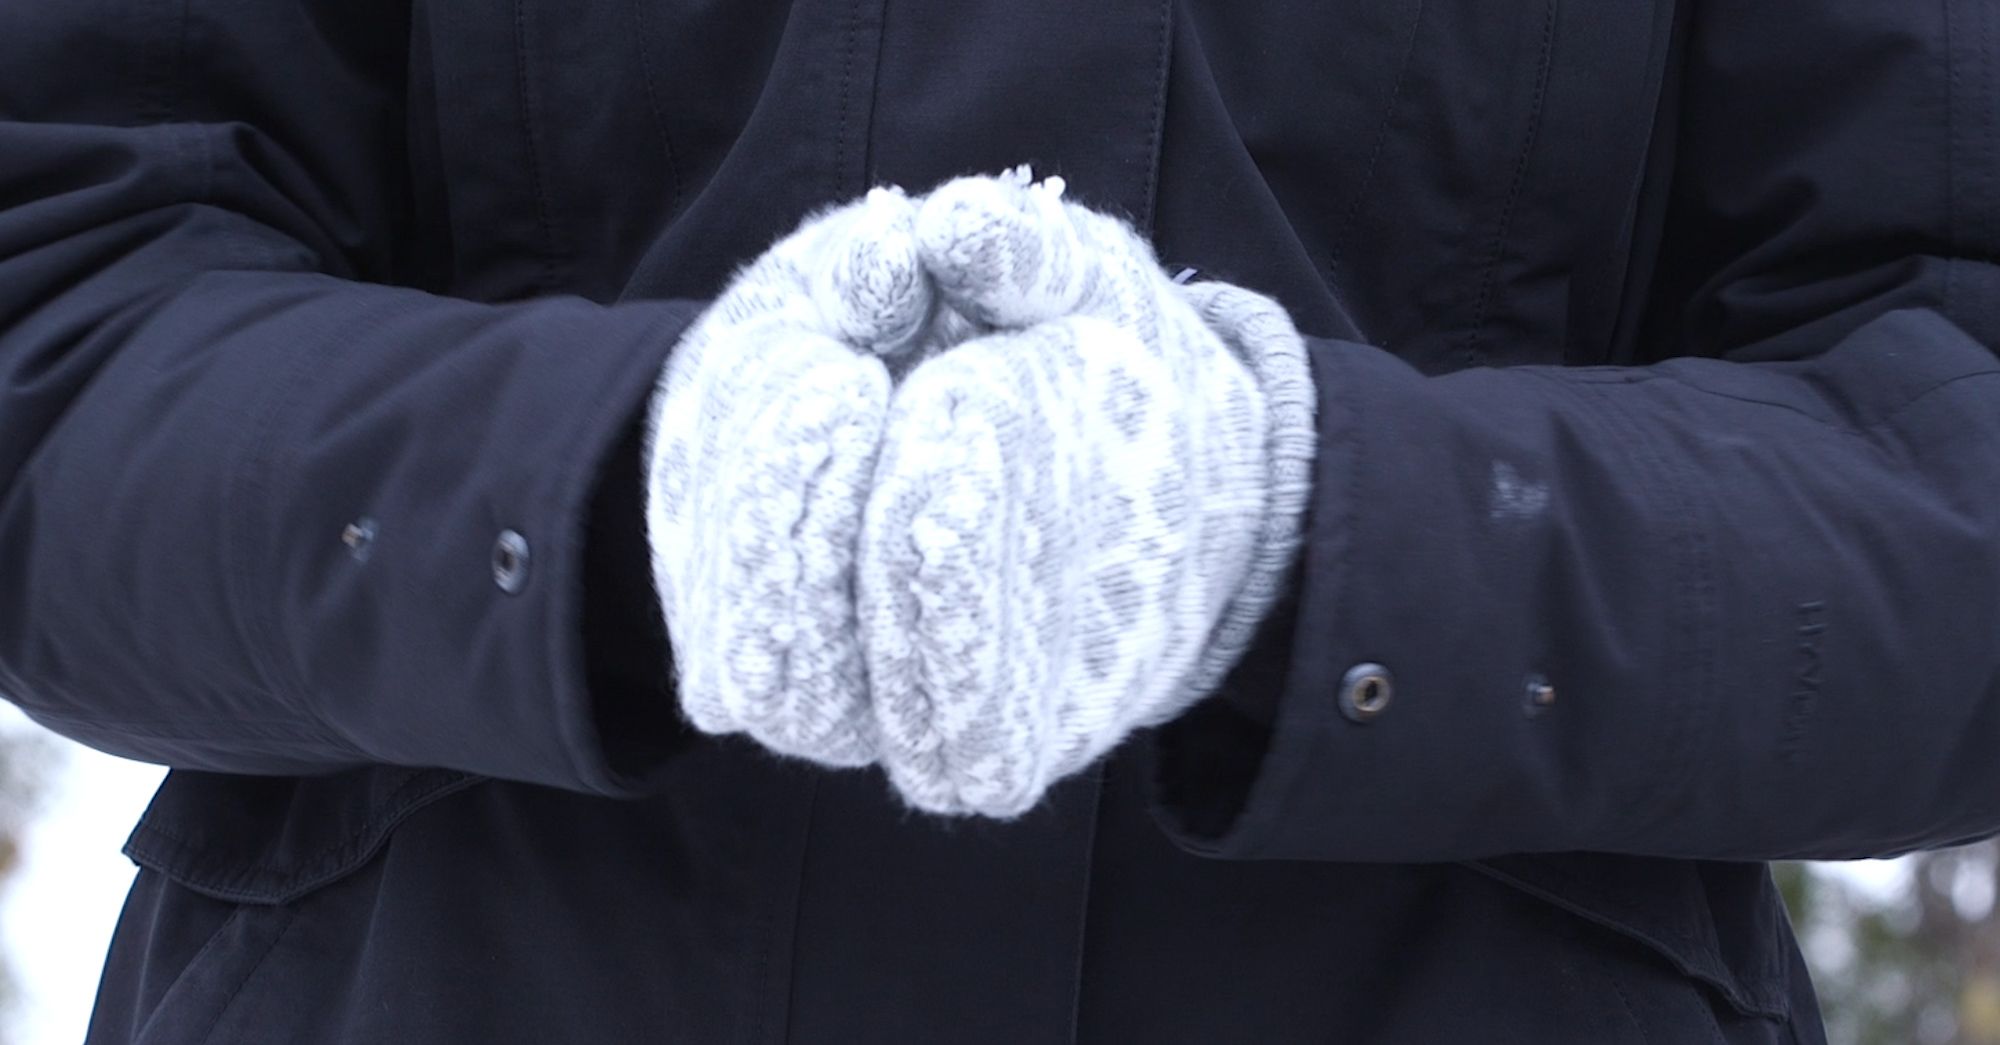
Not sure how to extend the life of that favorite sweater even longer? Recycle it! These easy DIY sweater mittens are just the key to to breathing life back into that old faithful.
These simple, DIY sweater mittens are a perfect and inexpensive way to keep your hands warm this winter. Wear them in the car to keep your hands warm on that cold steering wheel or at the hockey rink cheering on the kids or grandkids. Wherever you choose to wear them, these mits are sure to be practical yet always stylish!
What You'll Need
- Sweater
- Paper
- Marker
- Scissors
- Needle and thread
- Sewing pins
Directions
- Trace the outside of your hand placing your fingers together and your thumb outstretched leaving roughly a half inch spacing between your hand and your trace line. This will allow for your fingers to move and account for a seam line.
- Once the shape has been traced on the paper, cut it out.
- Place the tracing on your laid out sweater, lining the bottom of the pattern with the bottom of the sweater.
- Trace the pattern onto the sweater and cut around the edges. You should end up with 2 pieces of fabric.
- Keeping the pieces of fabric together, pin along the edge to secure prior to sewing.
- Using a basic stitch, sew along the entire outside of the mit. Don't forget to backstitch on both ends to ensure your stitches don't come loose.
- Remove all the pins and trim off any excess seam that may appear to be bulky when turned right side out.
- Turn the mit right side out and test it out!
