I love vintage decor. Whether its a DIY or something I bought at an old farmers market, anything antiqued or rustic looks great in my house. I live in an old farm house and vintage is my thing. Naturally going with the look of my home, but this particular DIY can really be used in any circumstance.
You can hang this mat both indoors and out. It is really so versatile. You can also choose any neutral tone you so choose to match your current color scheme. I personal went with a white as it matched my chair rail and baseboards. You can hang it on a wall as I have done or can even just use it simply for what it is, a floor mat.
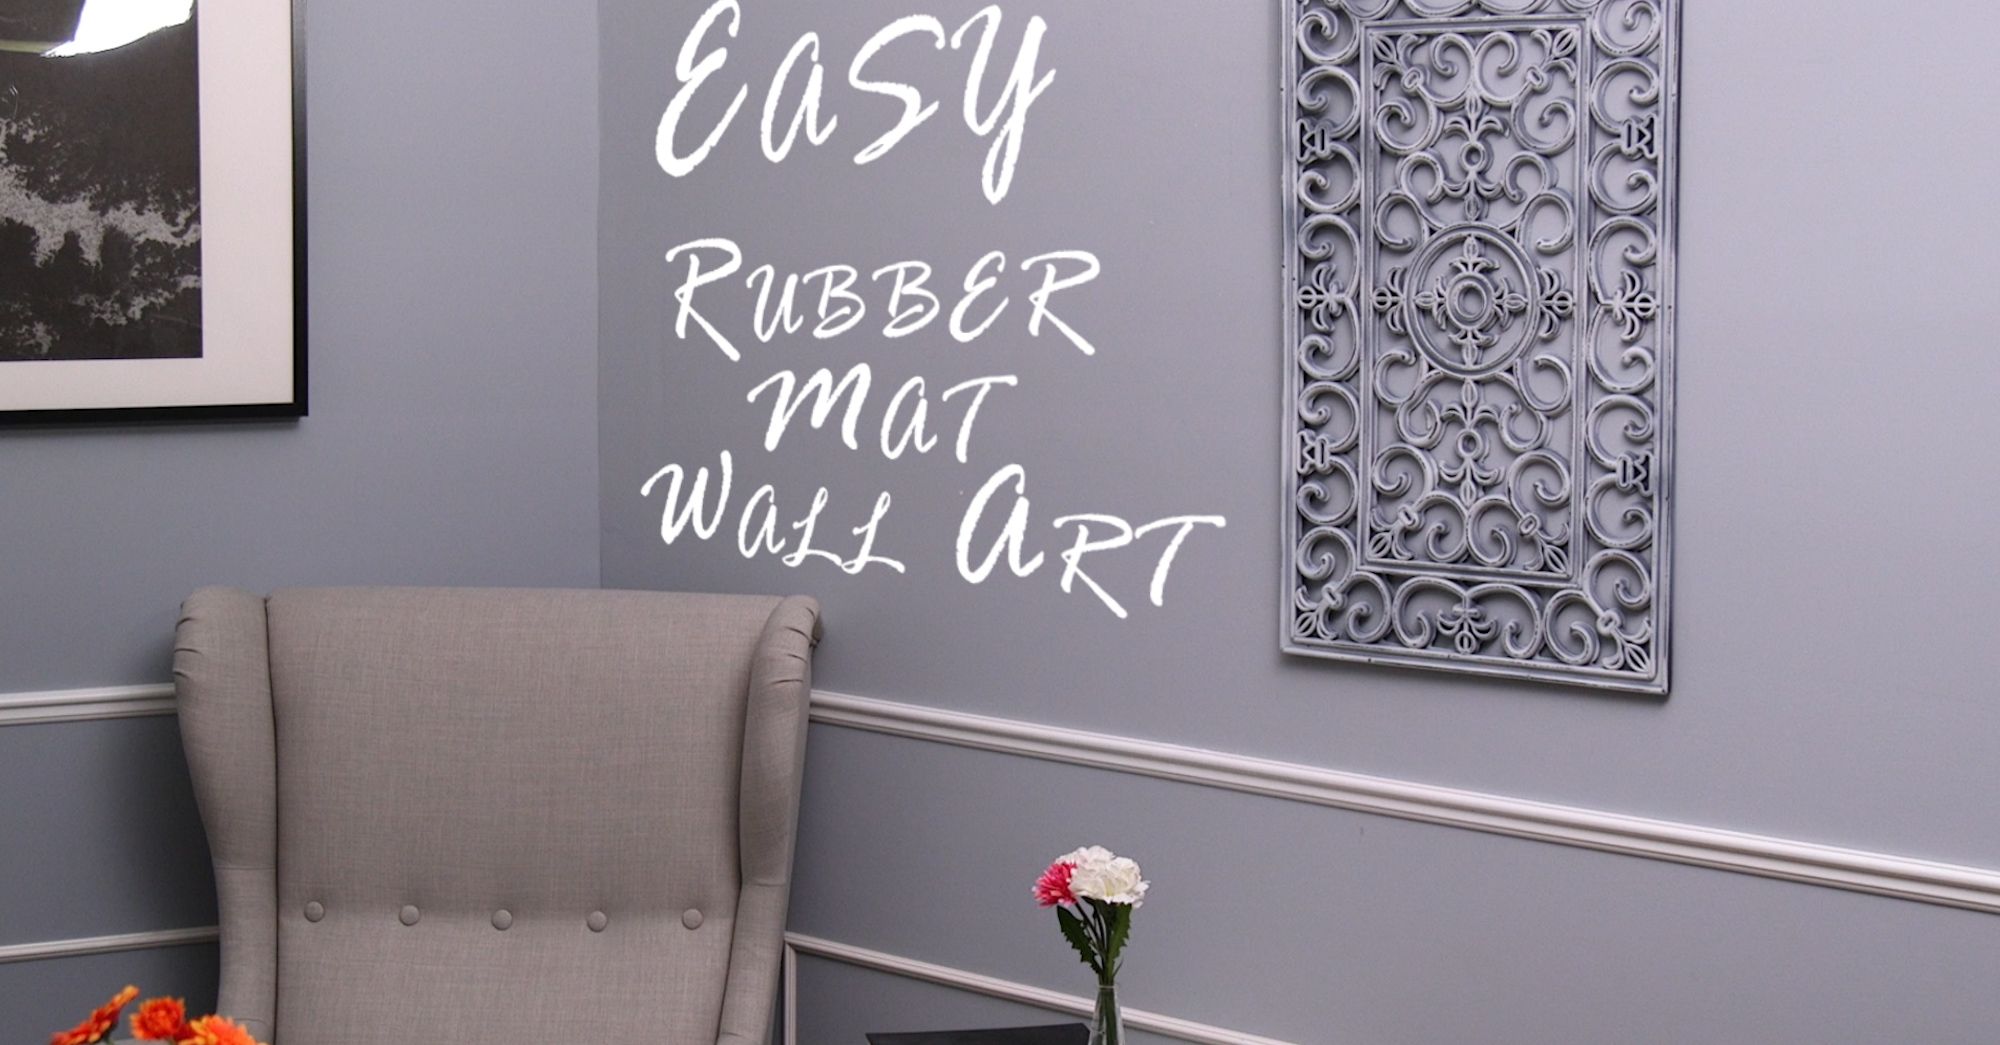
I personally chose to hang it on the wall as I just couldn't seem to find the right piece of art for that wall that went with the rest of my decor.
With only a few simple things, I completed this for all under $10! I used paint I already had at home and a fine grit sand paper that I got at the local hardware store. I only had to pick up the mat really! I got it at the dollar store in town and cost me all of $5.00. A lot of the vintage things I have around the house can add up and cost me small fortune. Its little DIY tricks like this that keep me on budget.
Want some more home decor ideas? Check out:
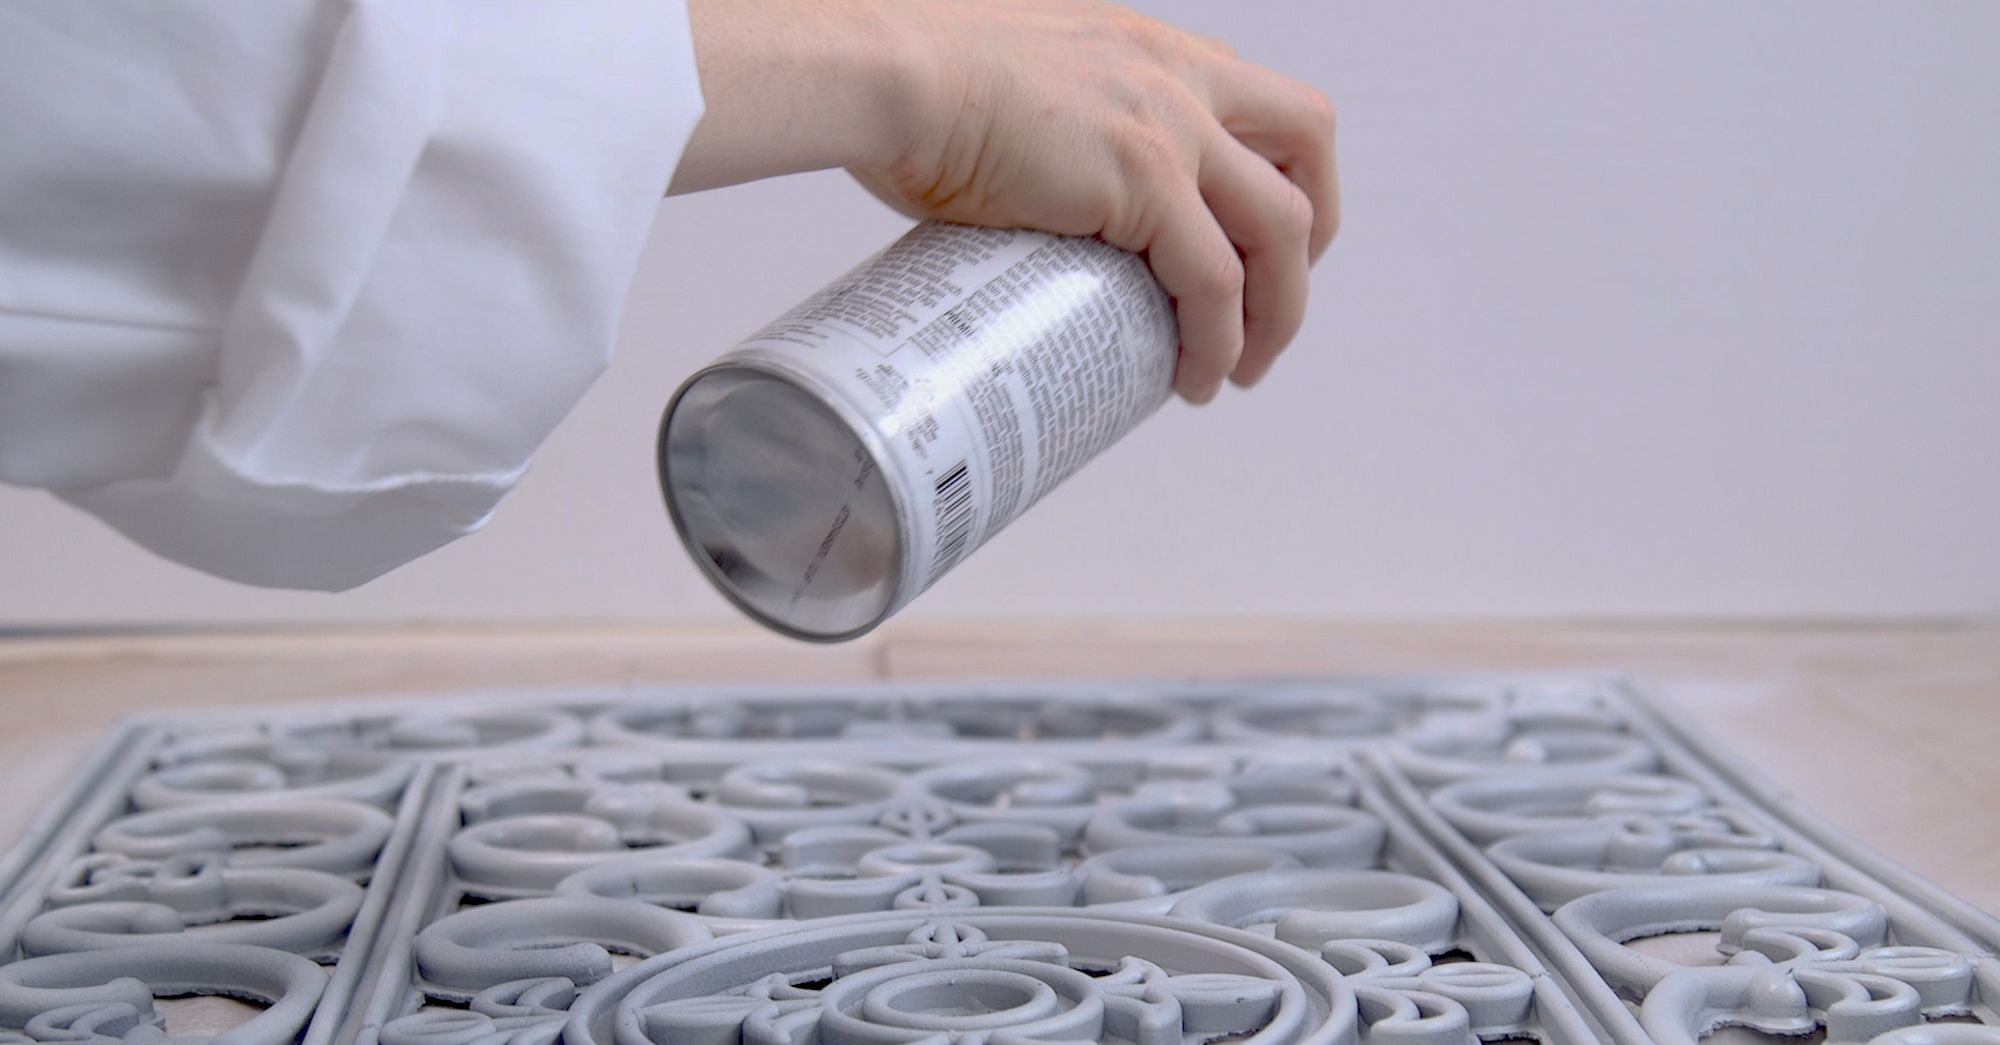
To make, spray the entire mat in your desired color in a well ventilated area. Cover ensure you are covering the entire mat as you will antique it in a later step.

Allow the paint to fully dry.
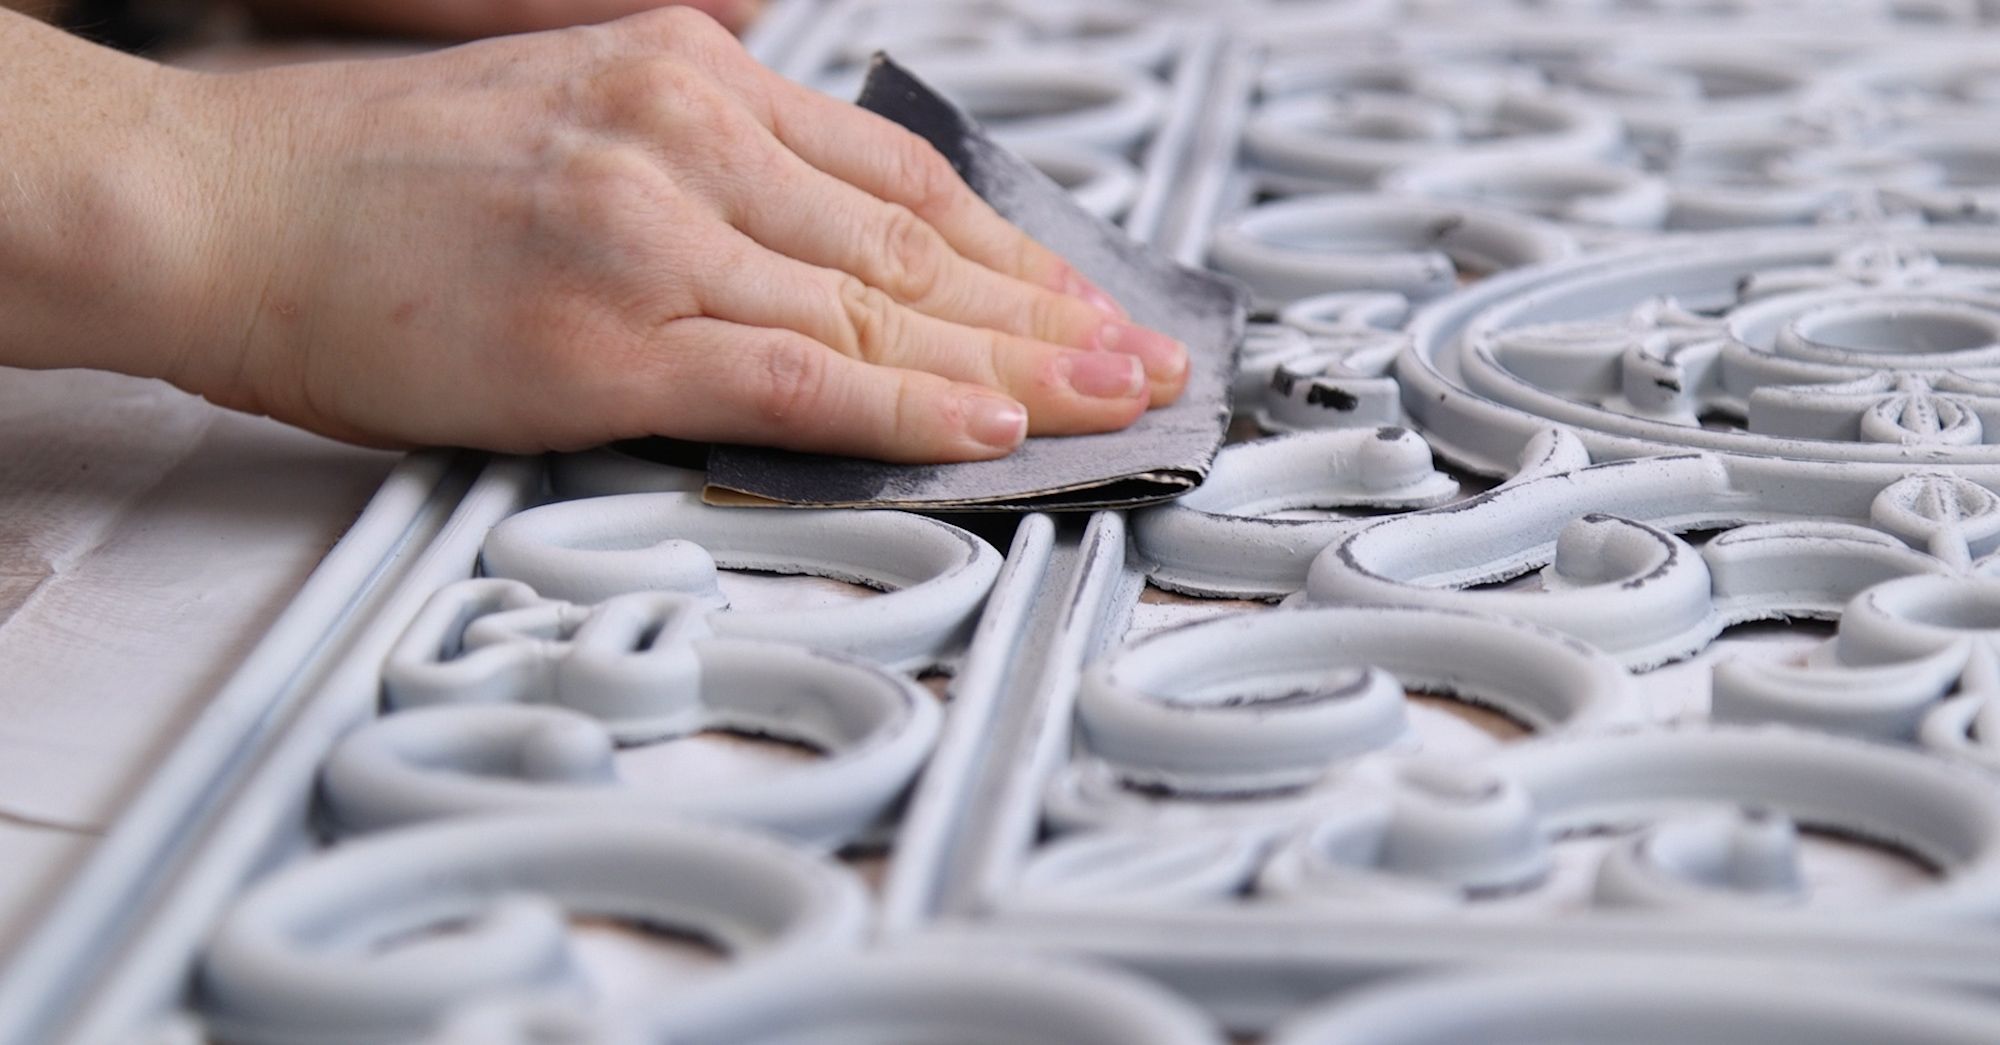
Using fine grit sand paper, lightly sand around the edges and the top surface of the mat. You can choose to sand more in some areas over other depending on the desired look you are trying to achieve.
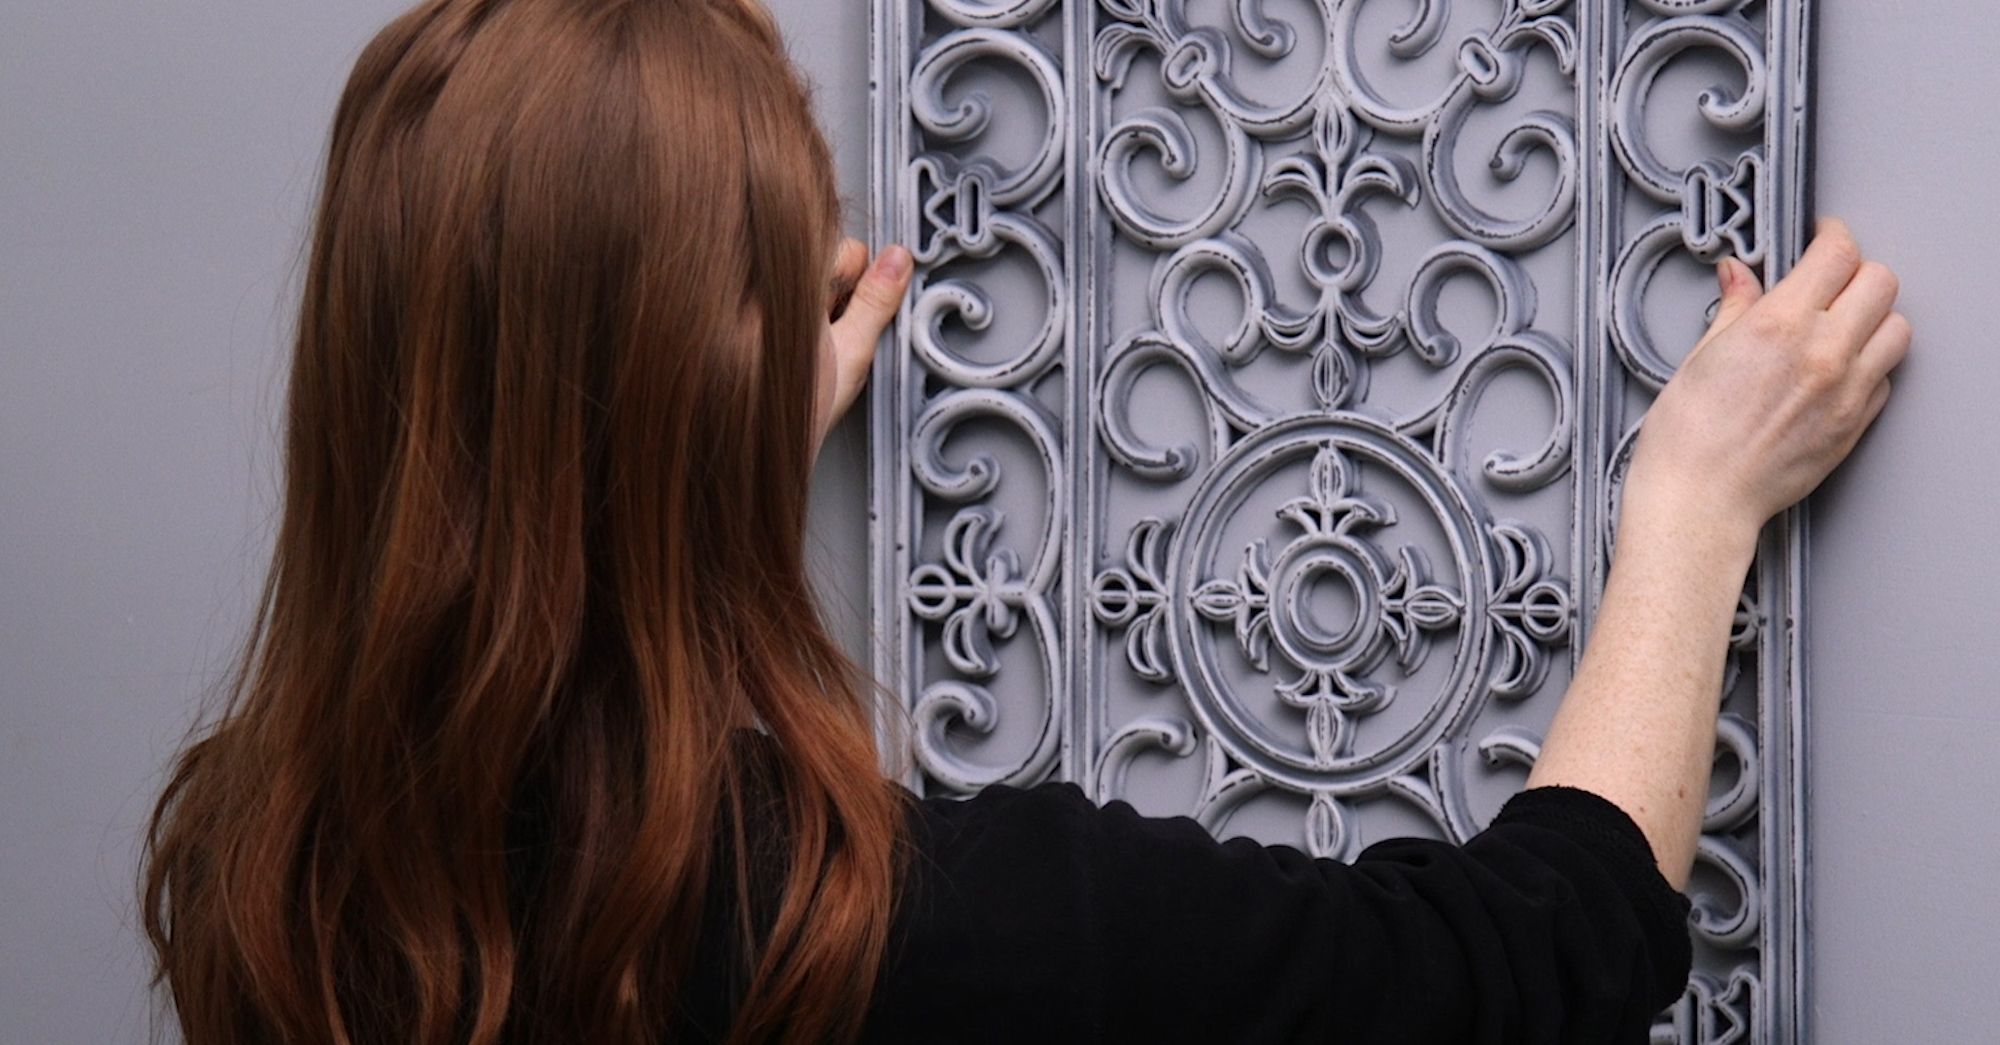
Once finished, brush any excess paint dust off the mat and hang anywhere you wish indoors or out!
What You'll Need
- Rubber door mat
- Spray paint
- Fine grit sand paper
Here's How
- To make, spray the entire mat in your desired color in a well ventilated area. Cover ensure you are covering the entire mat as you will antique it in a later step.
- Allow the paint to fully dry.
- Using fine grit sand paper, lightly sand around the edges and the top surface of the mat. You can choose to sand more in some areas over other depending on the desired look you are trying to achieve.
- Once finished, brush any excess paint dust off the mat and hang anywhere you wish indoors or out!
