
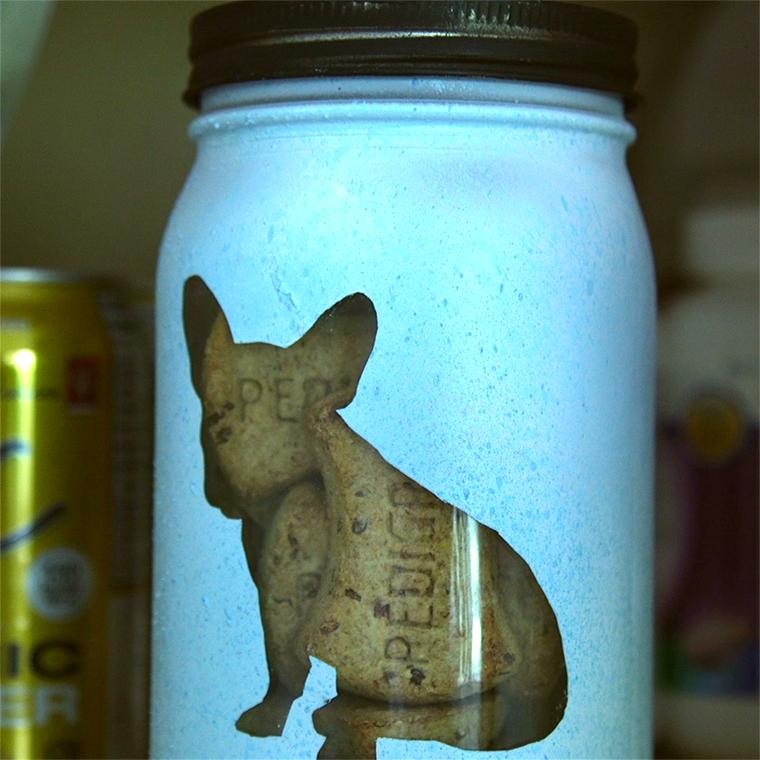
How adorable is this treat jar? One of these DIY Dog Treat Jars would look so much prettier on the kitchen counter than a crumpled up dog treat bag! What's even better is that these jars are super simple to make and are guaranteed to be the perfect present for all the dog lovers in your life.
All you need to get started on this pawsome project is a mason jar, spray paint, a plastic dog figurine, glue and a vinyl adhesive roll. You can also personalize the jar to match the decor of the owner's home and personality of the pet. If you're more of a cat person, this jar can be customized to suit your feline friends by using a plastic cat figuring and cat silhouette cutout. Once it's finished, fill with your pet's favorite treats and watch as the tails start waggin'!
Materials Needed:
- 1 Glass Mason Jar With Lid
- Vinyl Stickers or Vinyl Adhesive Roll
- 1 Can of Spray Paint (or 2 Cans of Complementary Colors - we used blue and white)
- Plastic Dog Figurine
- Glue
- Dog Treats
Directions:
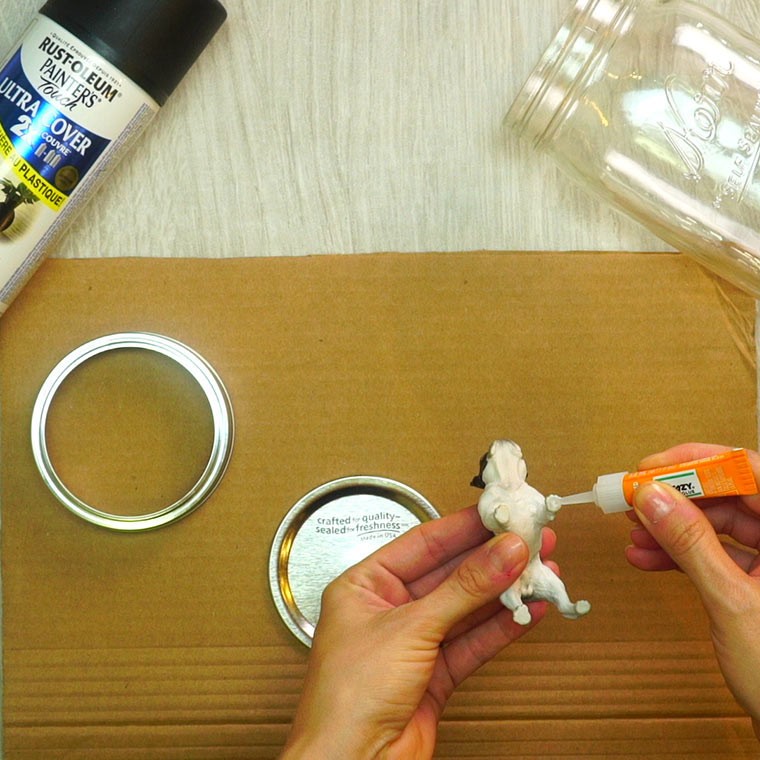
To make the lid:
Select the figurine that you would like to use and attach it to the lid/lid disk (if using a mason jar) using a strong adhesive. Allow it to dry.
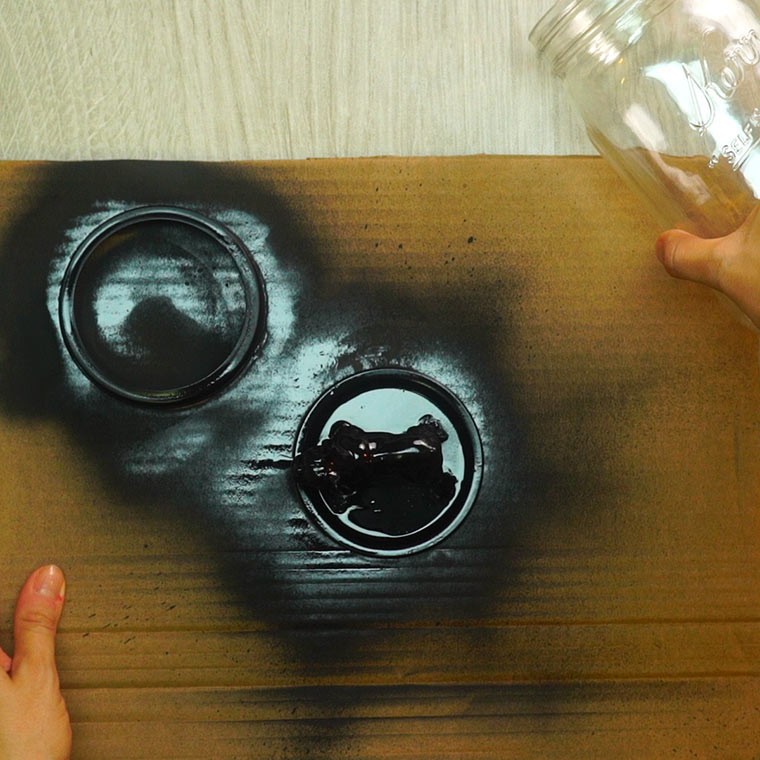
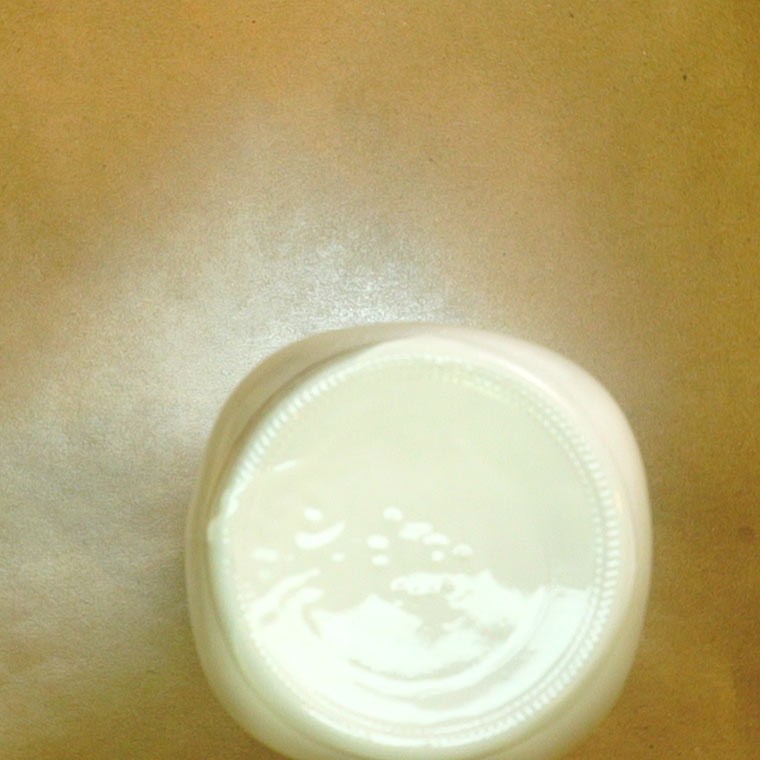
Coat the lid and figurine with spray paint, using thin, even coats until you have achieved full coverage. Allow to dry for several hours afterward.
To make the jar:
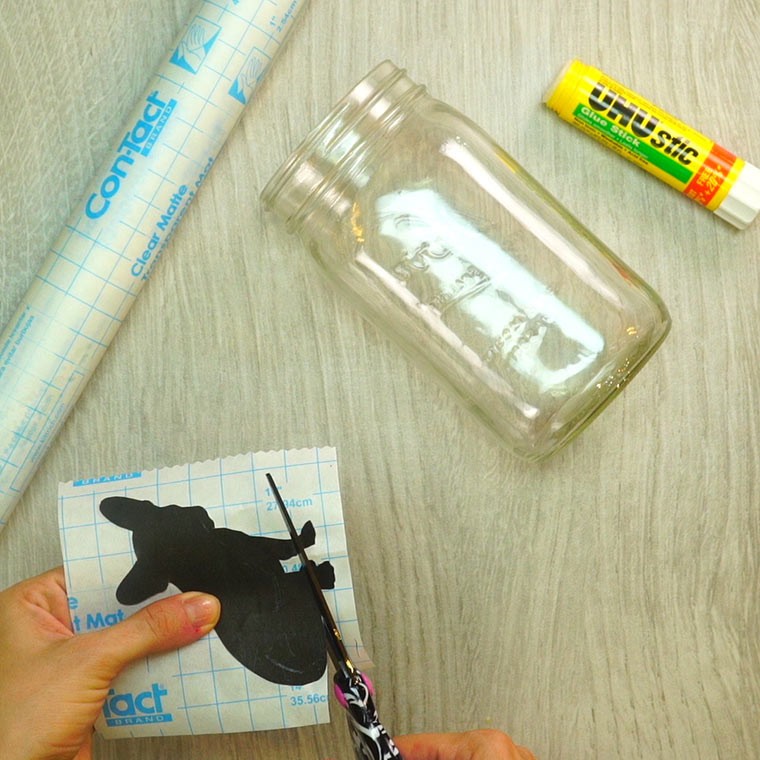
Select the images that you would like to have on your jar. Print these images on plain paper and cut them out.
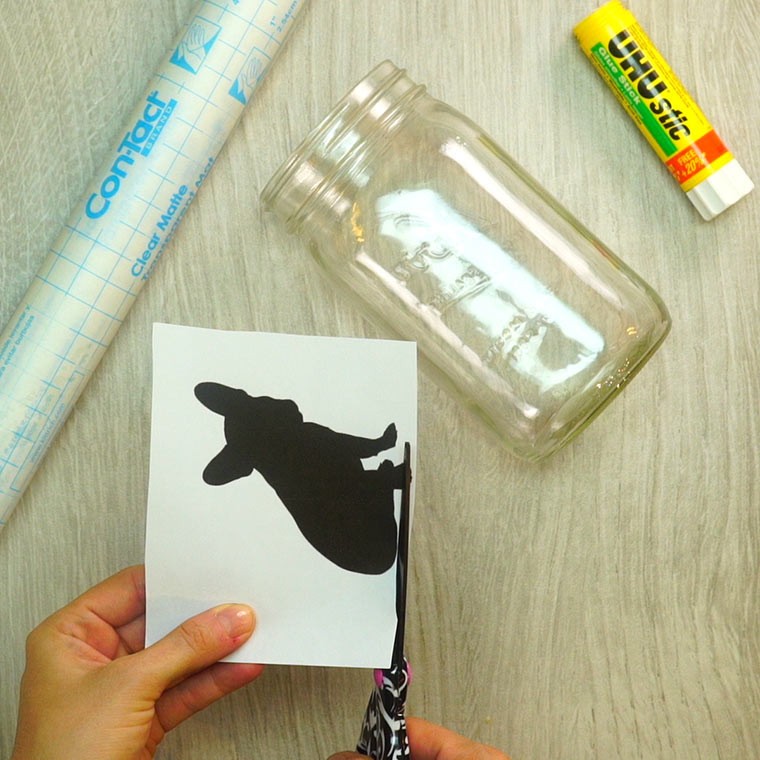
Trace or glue the image onto the vinyl adhesive roll. Cut out the image when done.
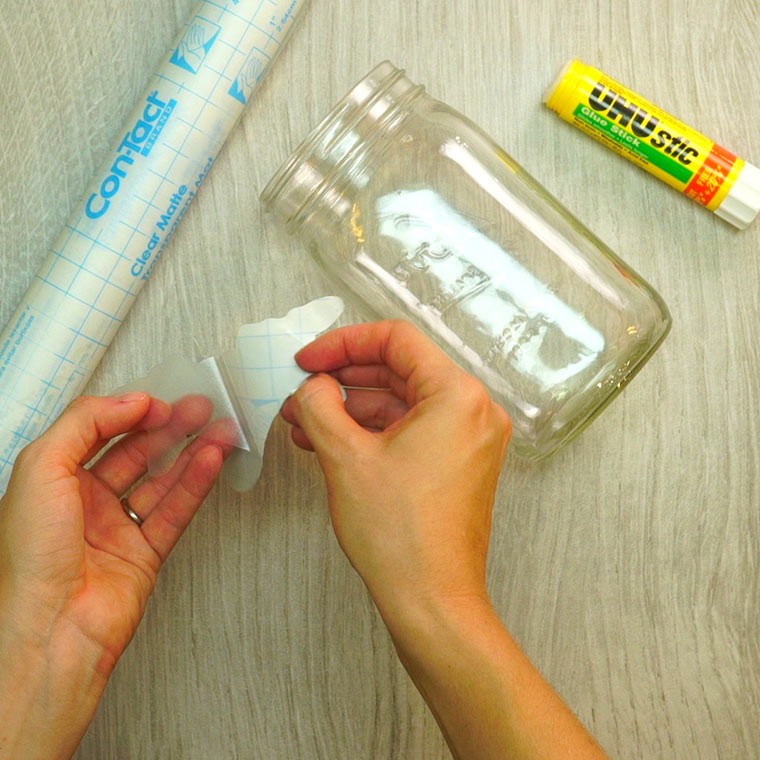
Make sure that your jar is clean and free of residue/body oils (if not wipe it down) and place the stickers on the jar as you desire.
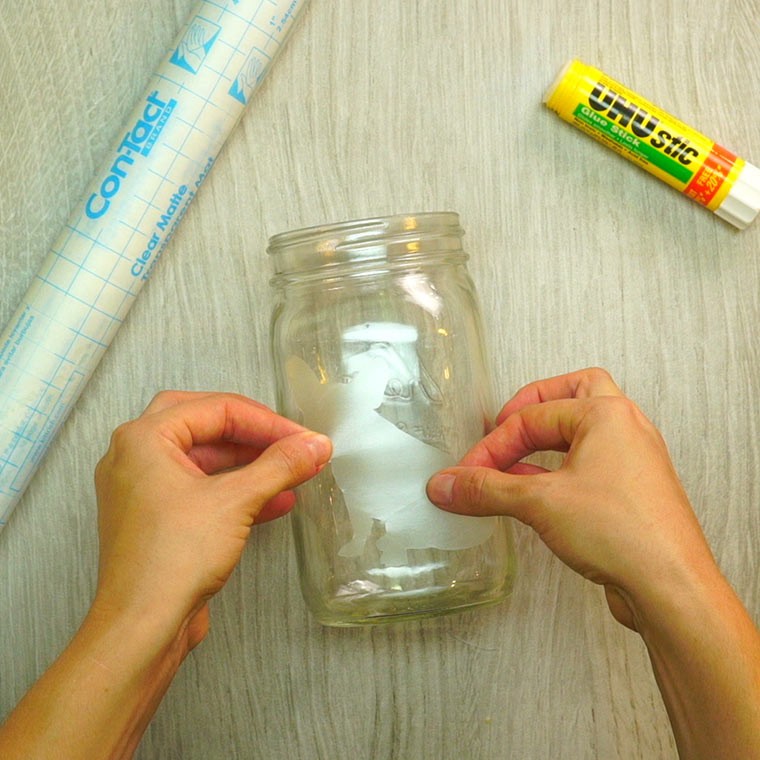
Be sure that the stickers are pressed down hard, paying close attention to the edges, so that no paint can drip through where you don't want it.
When your stickers have been placed, wipe down the jar once again to remove any debris or residue that may impact the paint sticking to the jar.
In a well ventilated area, place the jars upside down on a piece of cardboard, wood, or something that you don't mind getting paint on. Apply a thin, even coat of spray paint. Let dry, and repeat as needed to ensure that all areas have been covered.
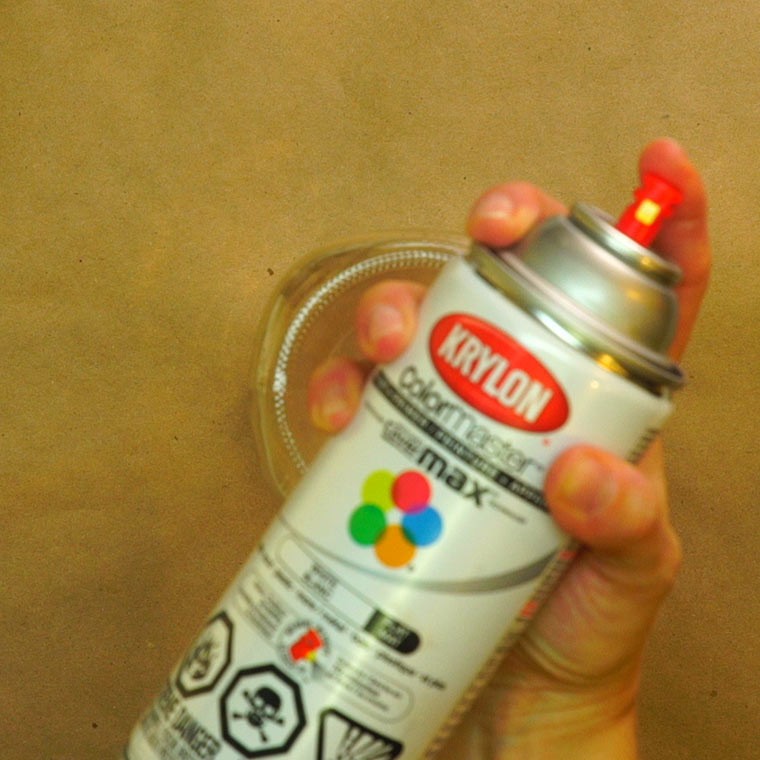
Allow to dry for several hours after painting.
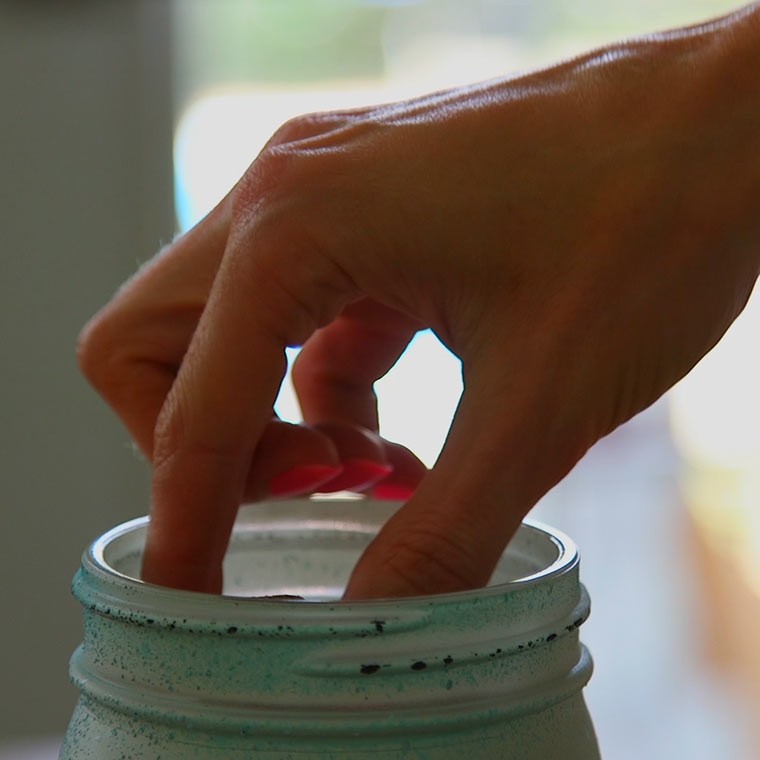
When the jars are completely dry, carefully peel off the stickers.

If you have nails, typically this is enough to get the stickers off, but tweezers or the end of a knife will work just as well. Remove slowly to avoid any accidental paint removal.
Fill with treats and your new dog treat jar is finished!
