
Isn't it the best when you can get a craft together with materials from your very own pantry? Yes. Bust out the pasta, hold the water, we're making dry pasta crafts. This is a perfect way to pass the time with your little one on a cold or rainy day morning.

Boho Pasta Jewelry
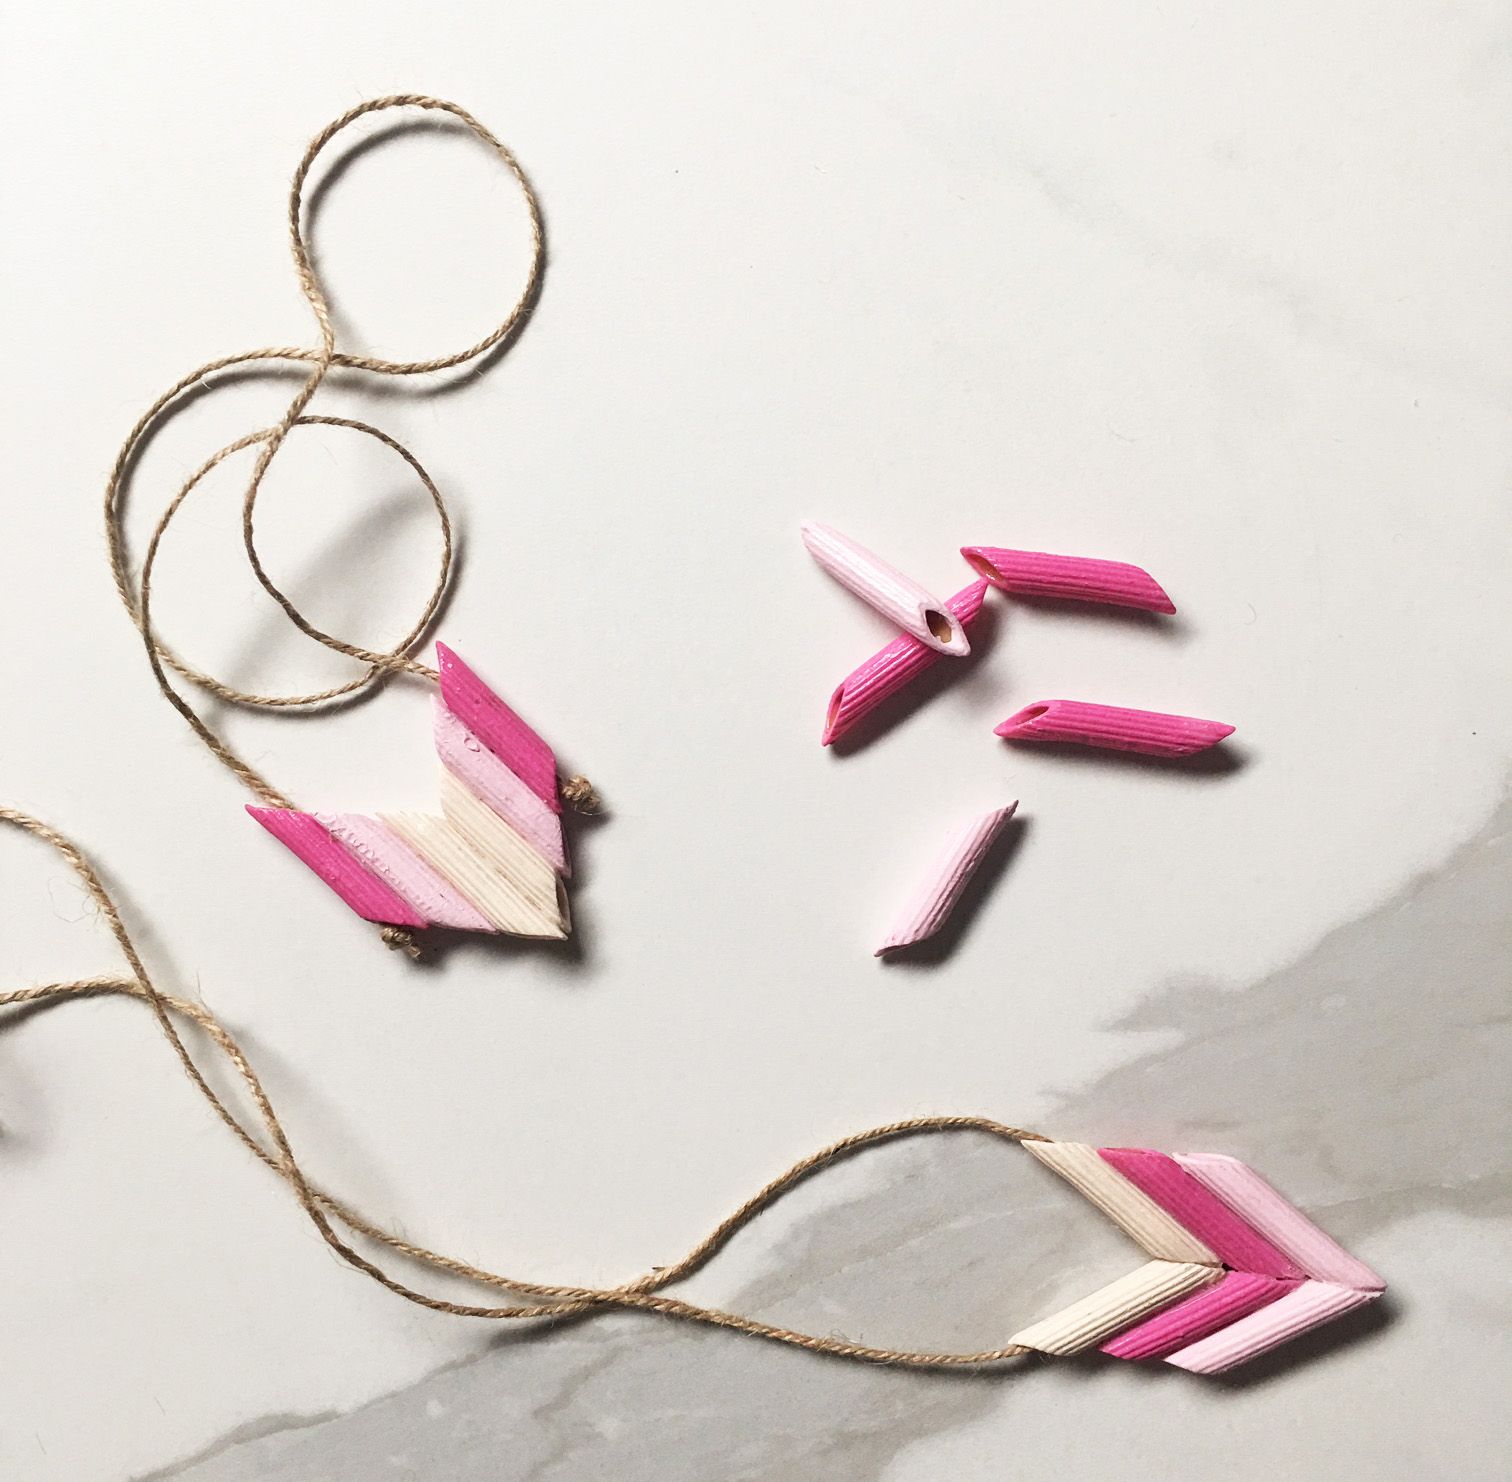
These are a great update to the standard pasta necklace. Using penne and tubetti you can create ombre colors and a fun art piece that your child can wear. These are pretty adorable when your little does the painting.

Penne Necklace
Materials
- penne pasta
- foam paint brush
- acrylic craft paint in the colors of your choice (we used 3 shades of pink)
- hemp or craft string
- crazy glue
- scissors
Instructions
take three craft bowls and divide up the penne that you want to paint. About a half a cup for each color should be good. If you want to create 2 boho necklaces all you really need is 4 of each color but we like to use a few extra of each just in case. You can always use the additional pasta to create bracelets.
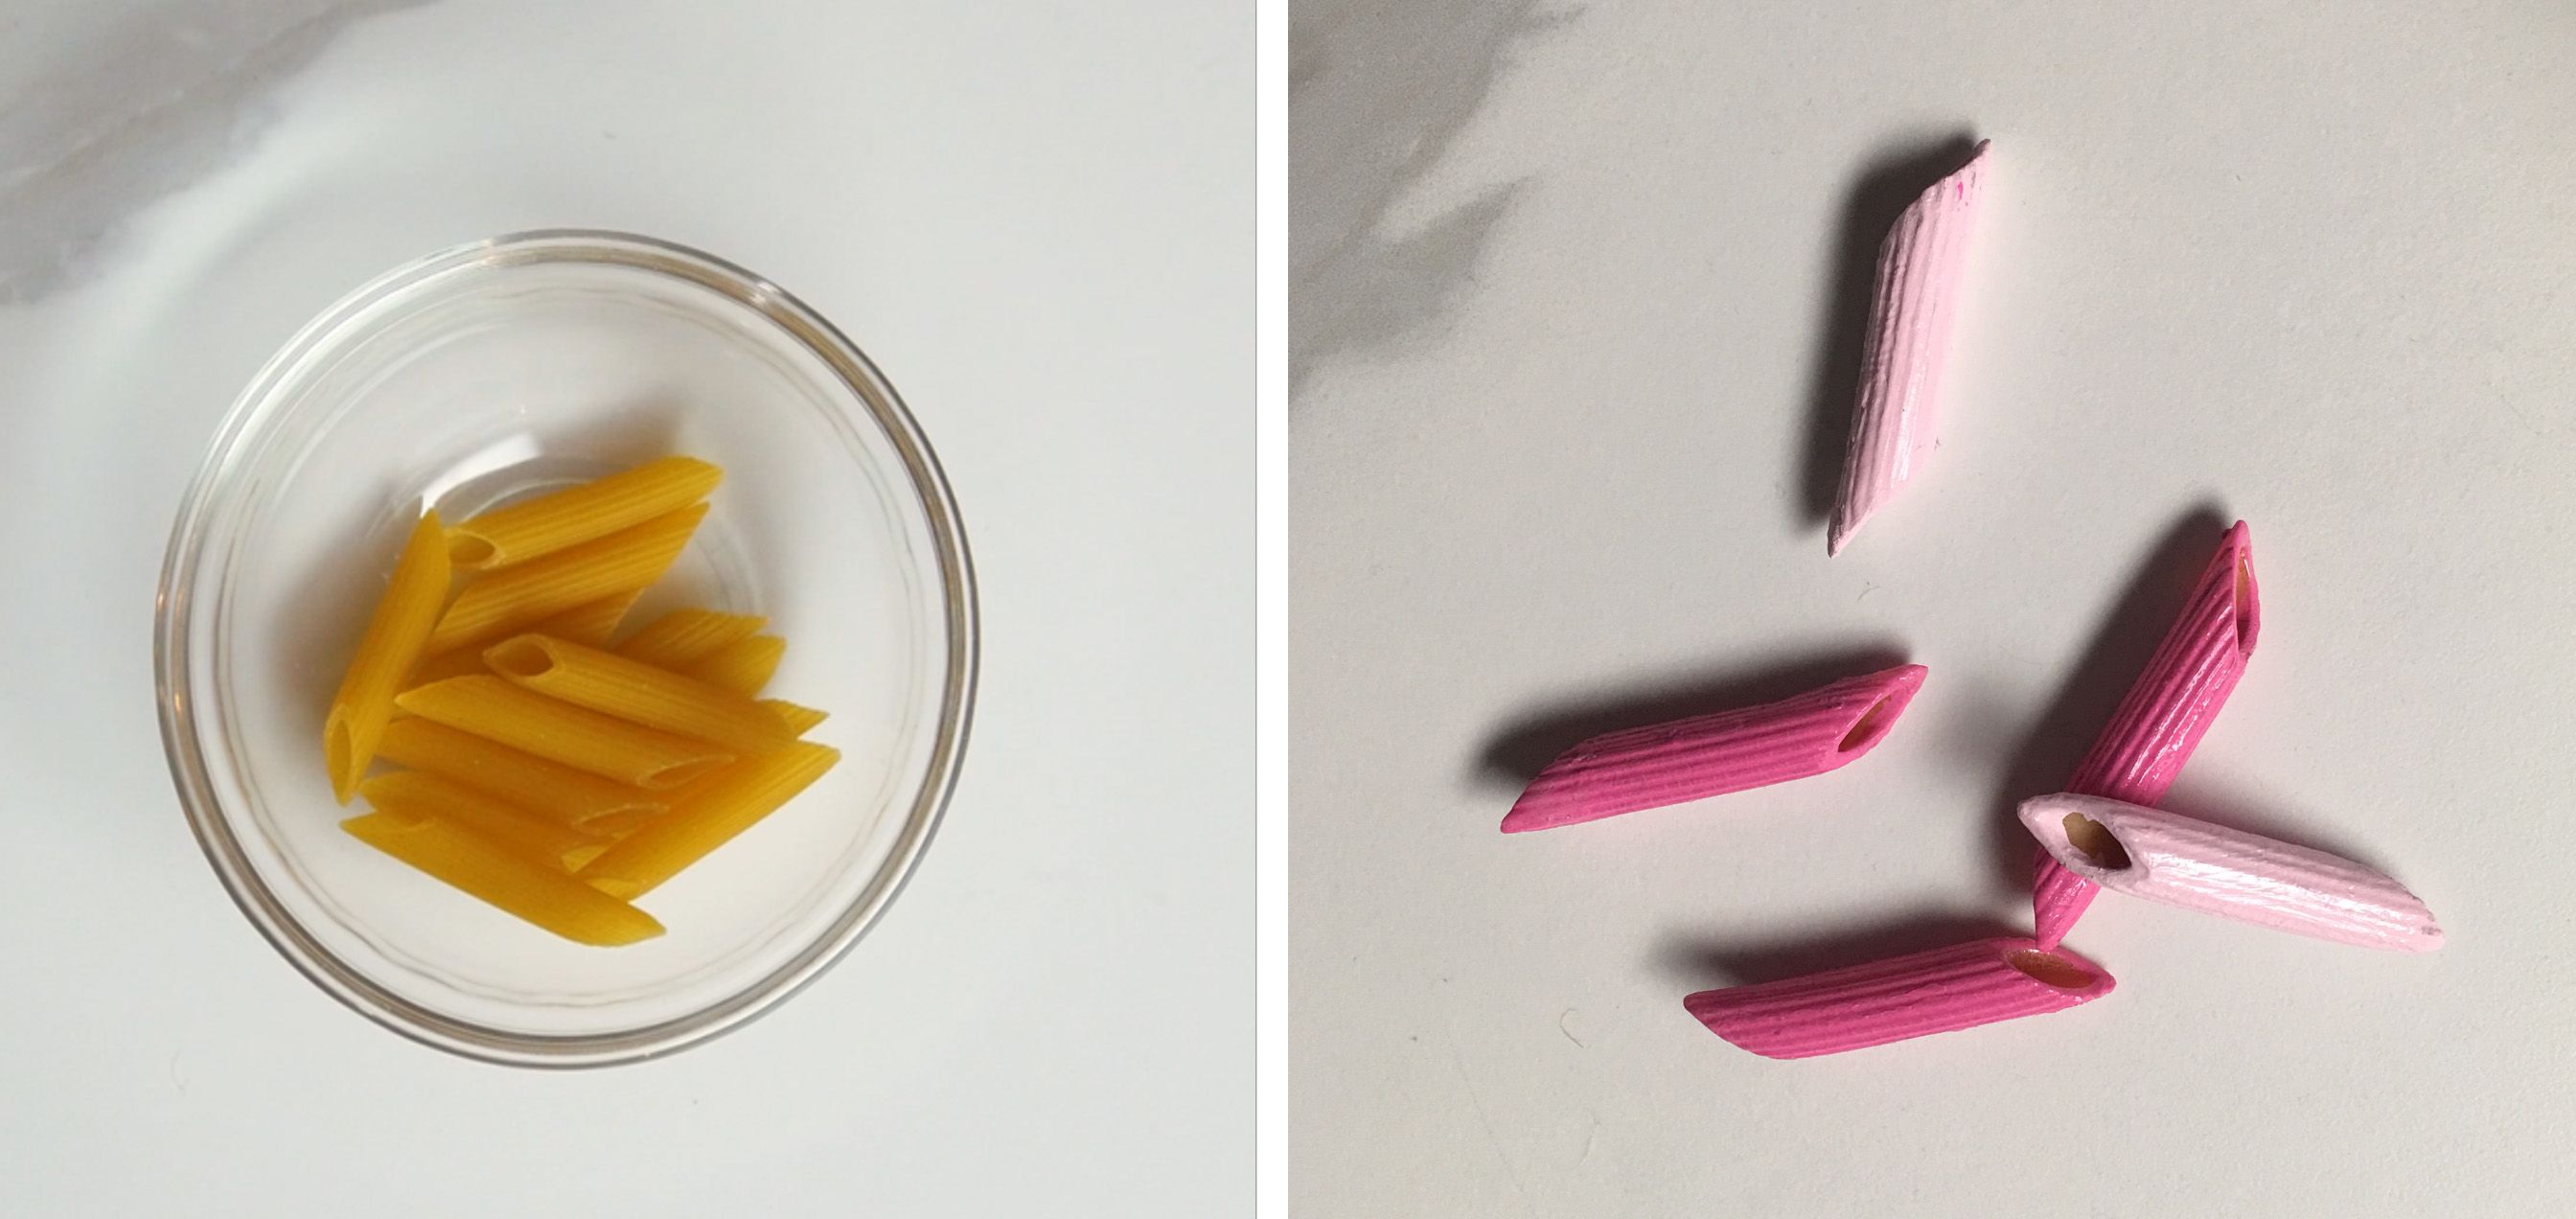
Pour about a tablespoon of paint over the pasta and use the foam paintbrush to coat it Let dry and give it another coat if you want to. Then allow the pieces to dry completely.
Cut a piece of string the length that you want your necklace to be. Slip a piece of pasta on to one end of the string and tie a knot so that it can't slip back off. Do this with another piece of pasta on the other side.
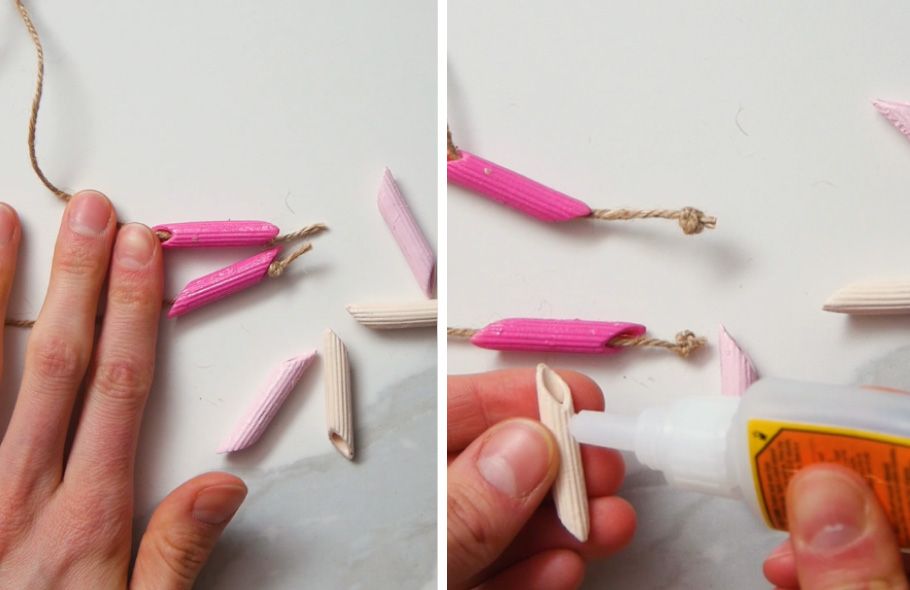
You'll work in from these two noodles and glue another piece of penne onto each piece that's already on the string. Take two noodles of the next color and run a single line of crazy glue down the side of one noodle and glue them together. This will be the center of your pendant. Repeat this step with the next color noodle gluing it to the outside of the center pendant.
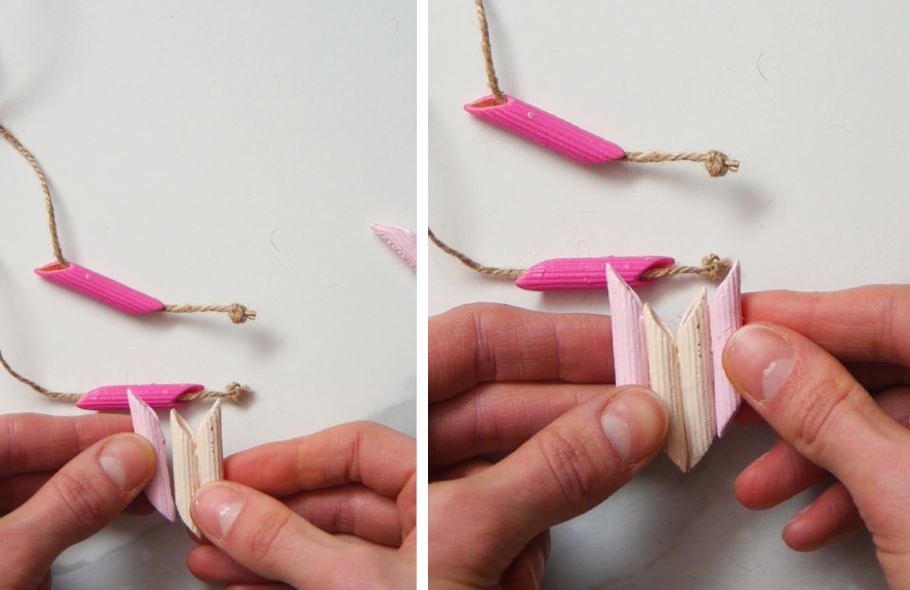
At this point you should have 4 noodles glued together. Use the crazy glue to press the penne on the strings to the outside of the pendant. Lay the necklace flat and let it dry.
Try arranging the noodles horizontally for a different look.
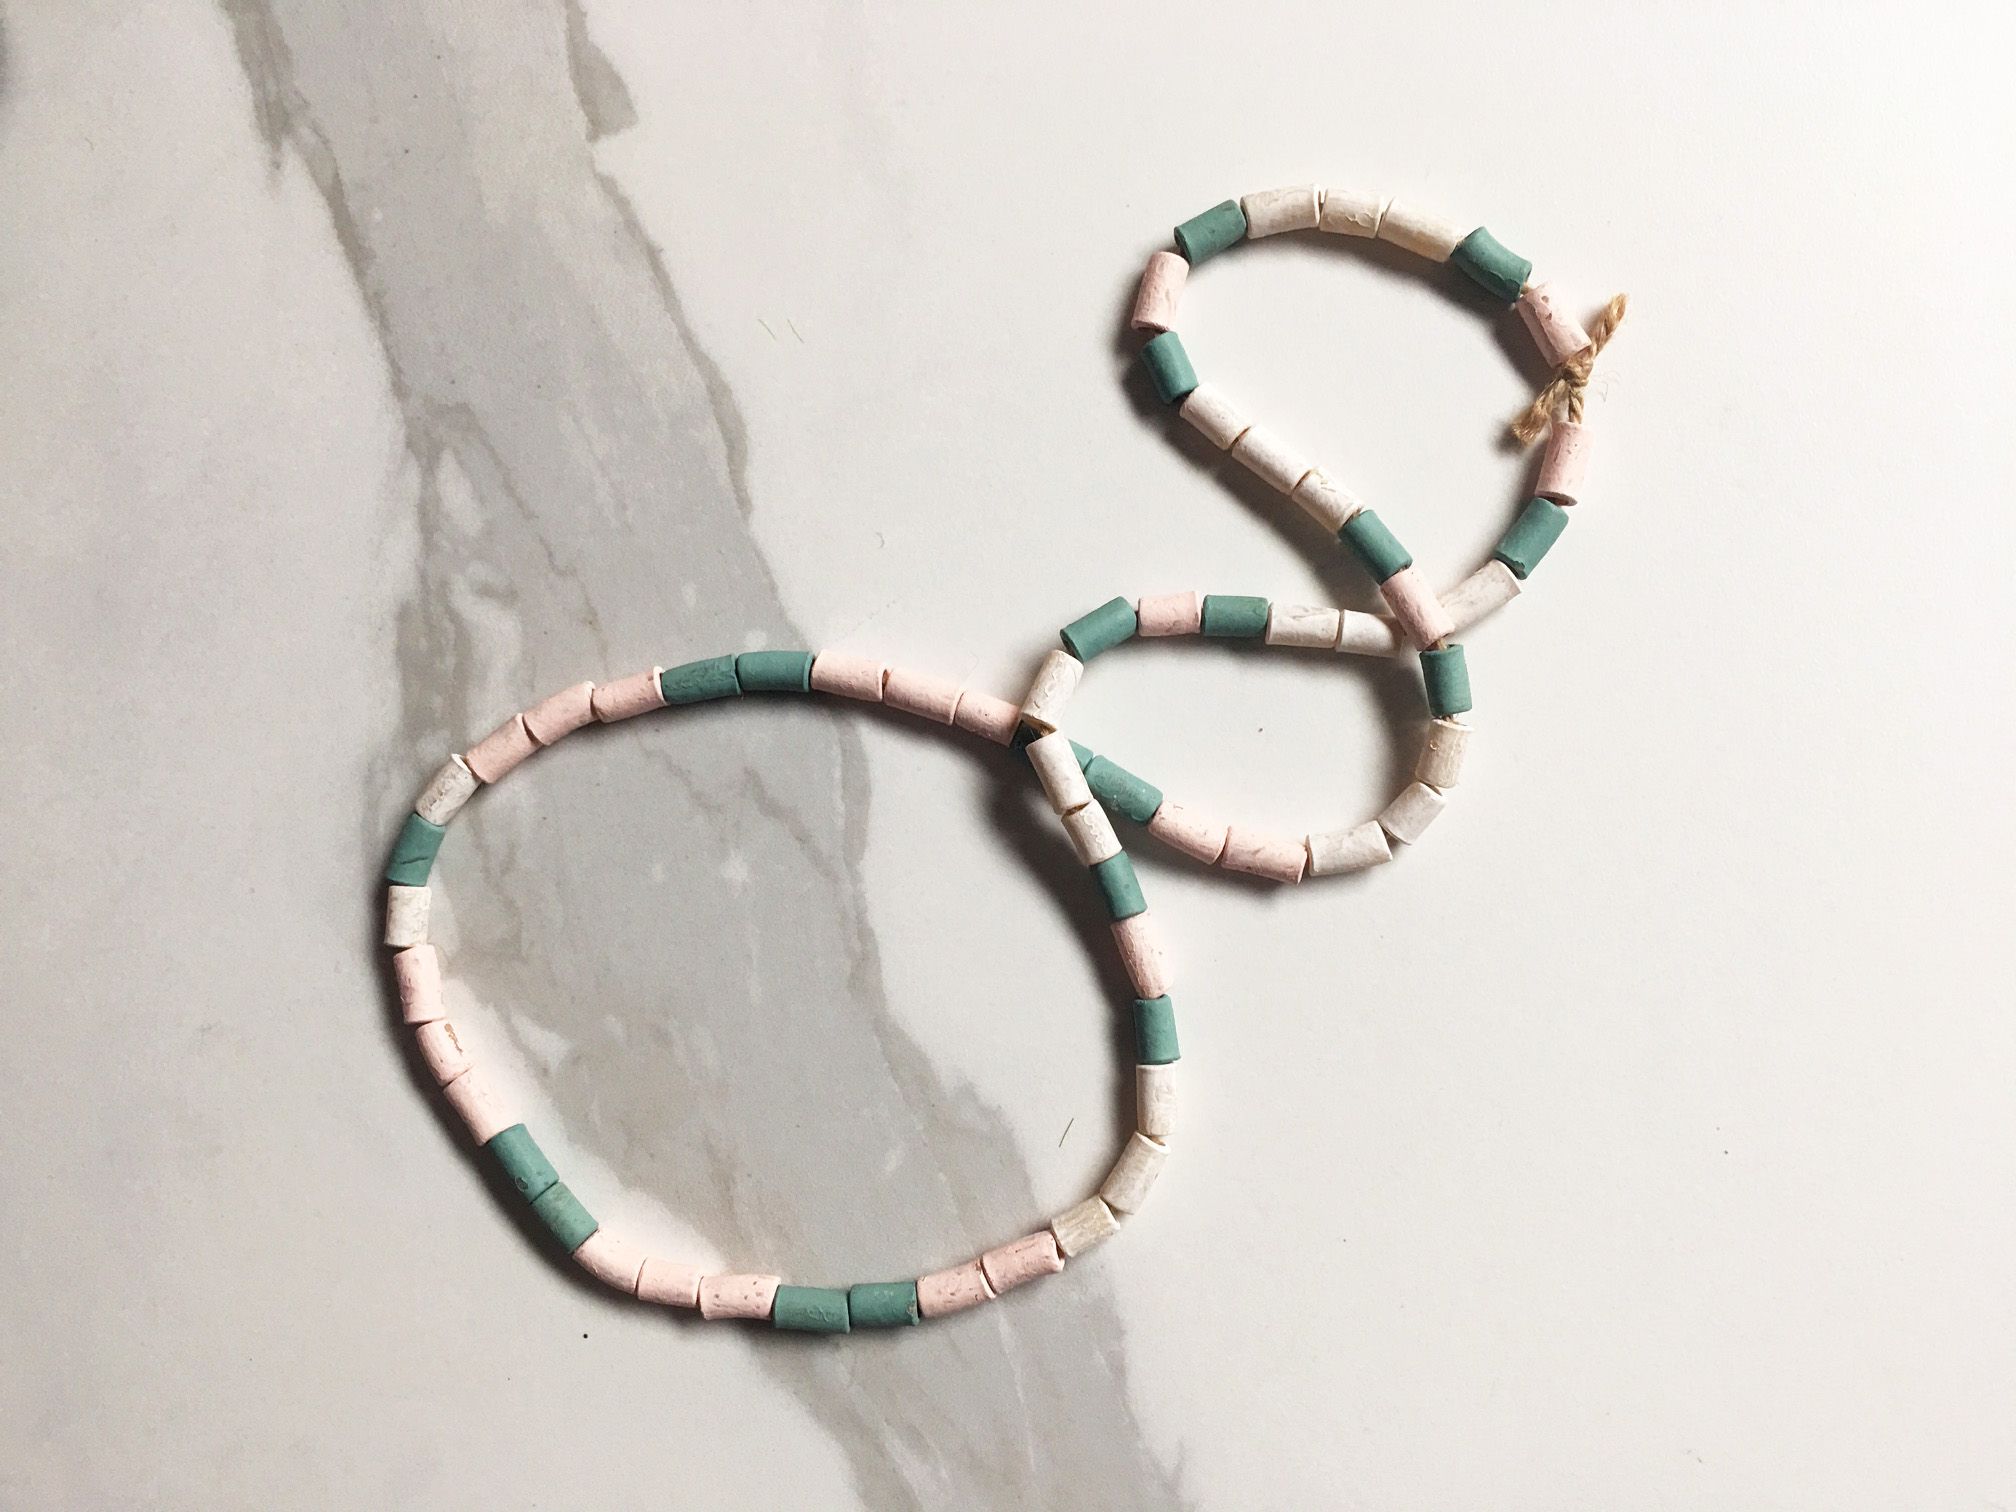
Tubetti Chain Necklace
This one is pretty simple and a great option for younger children since you don't need the crazy glue.
Materials
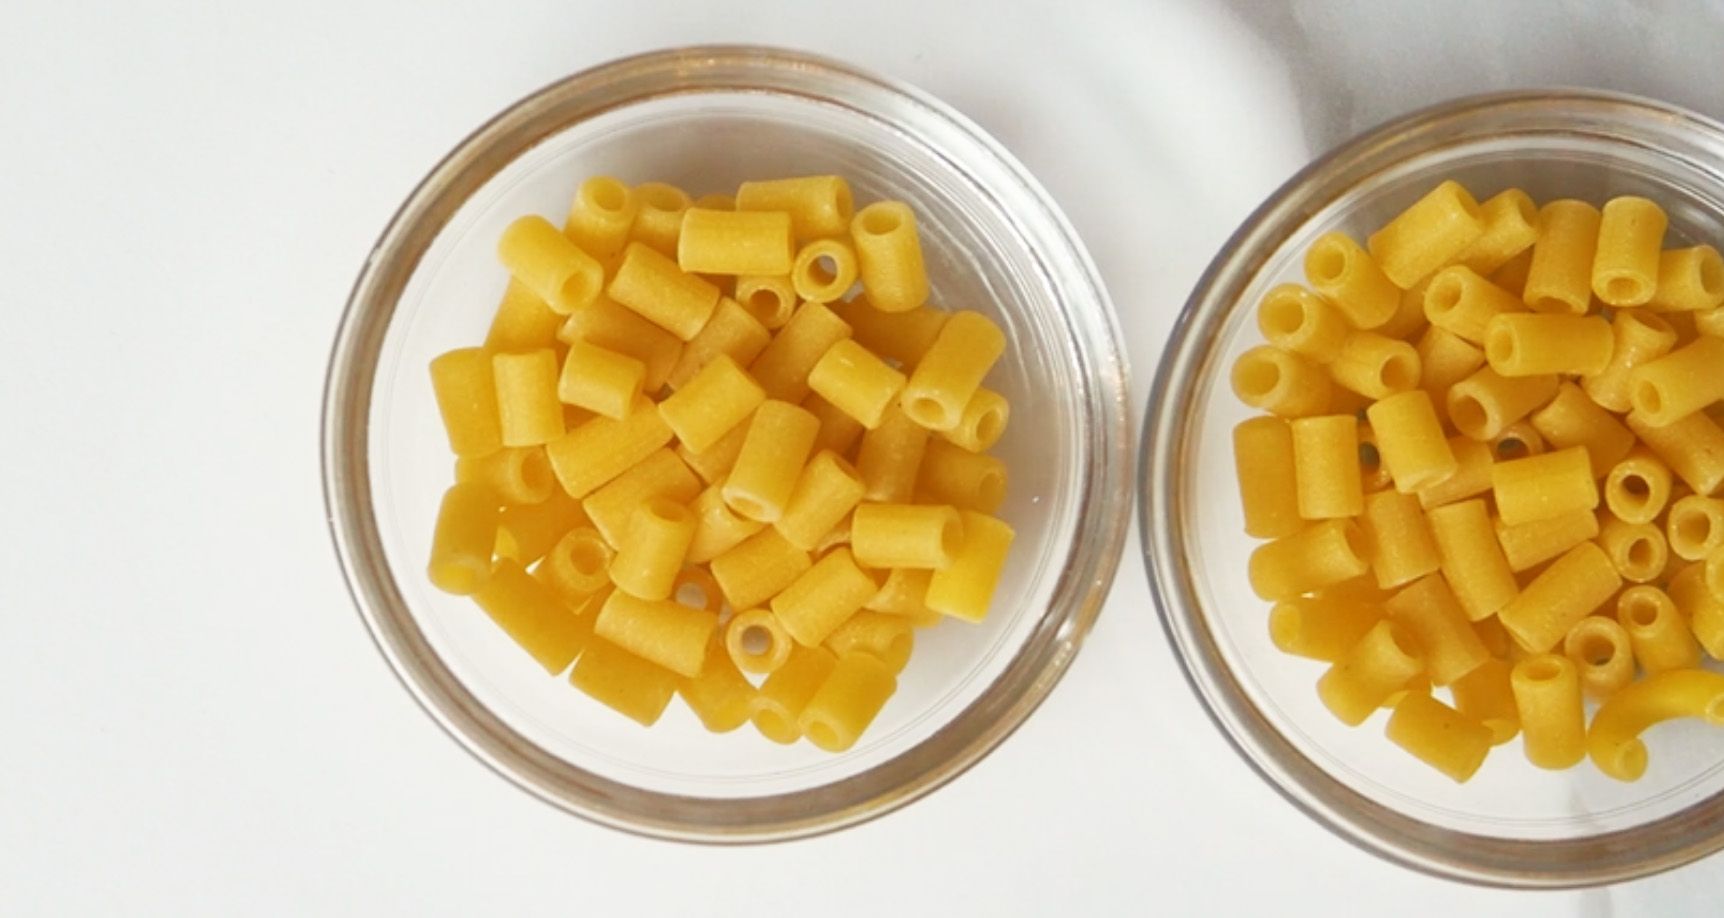
- Tubetti pasta
- Waxed paper
- Craft string or hemp
- Foam paint brush
- Craft paint (colors of your choice)
- Scissors
Divide your tubetti pasta into three bowls and use your craft paint and foam paintbrush to coat the noodles. Then lay the coated noodles out onto waxed paper to dry. Do your best to separate them so that they don't dry together.
Repeat this step until you are satisfied with how the noodles are coated.
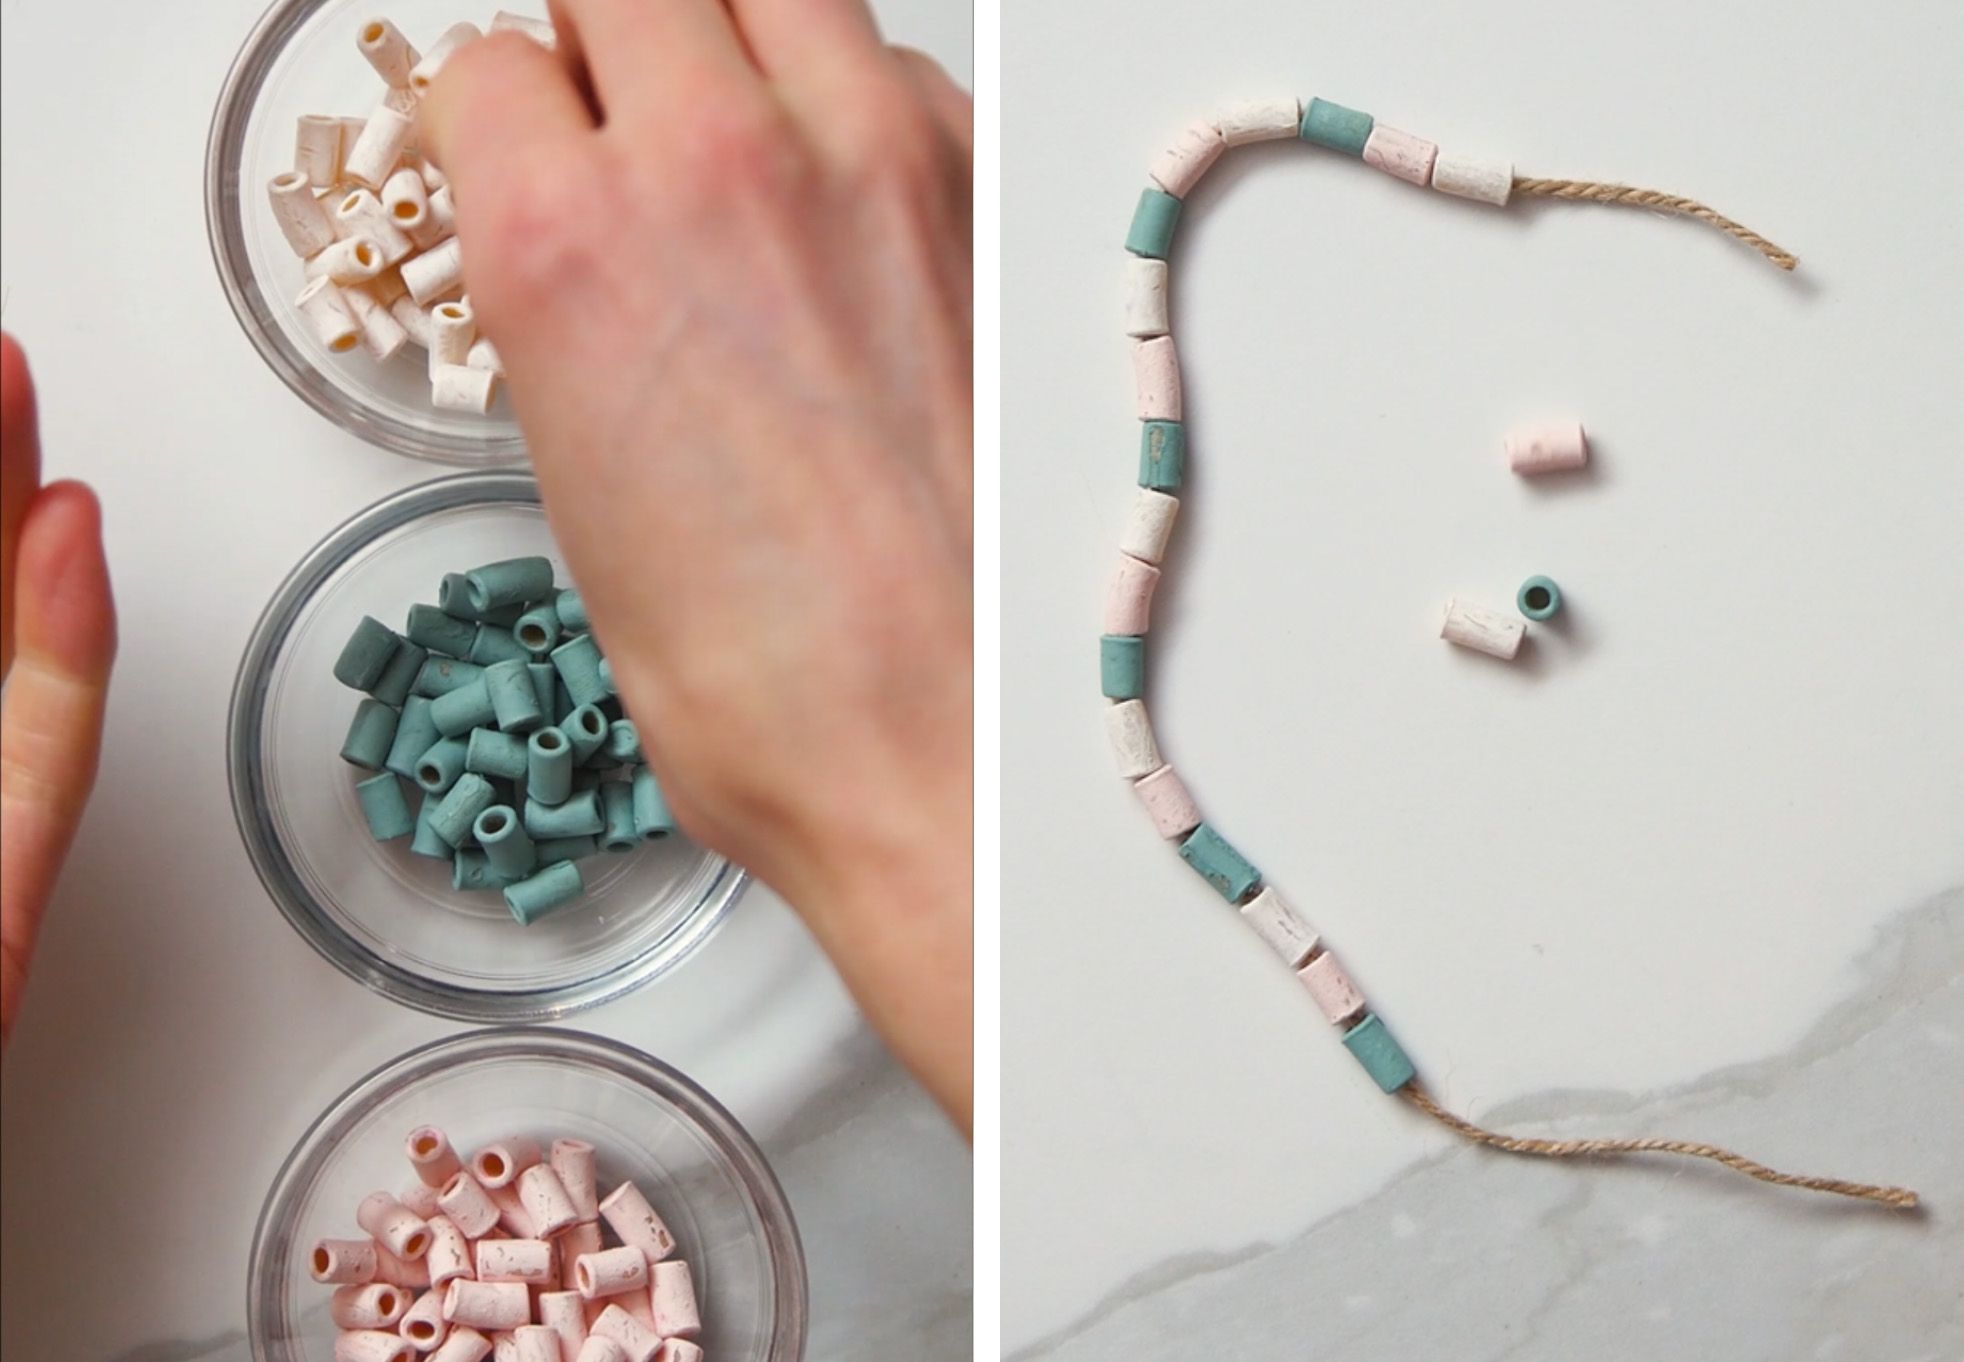
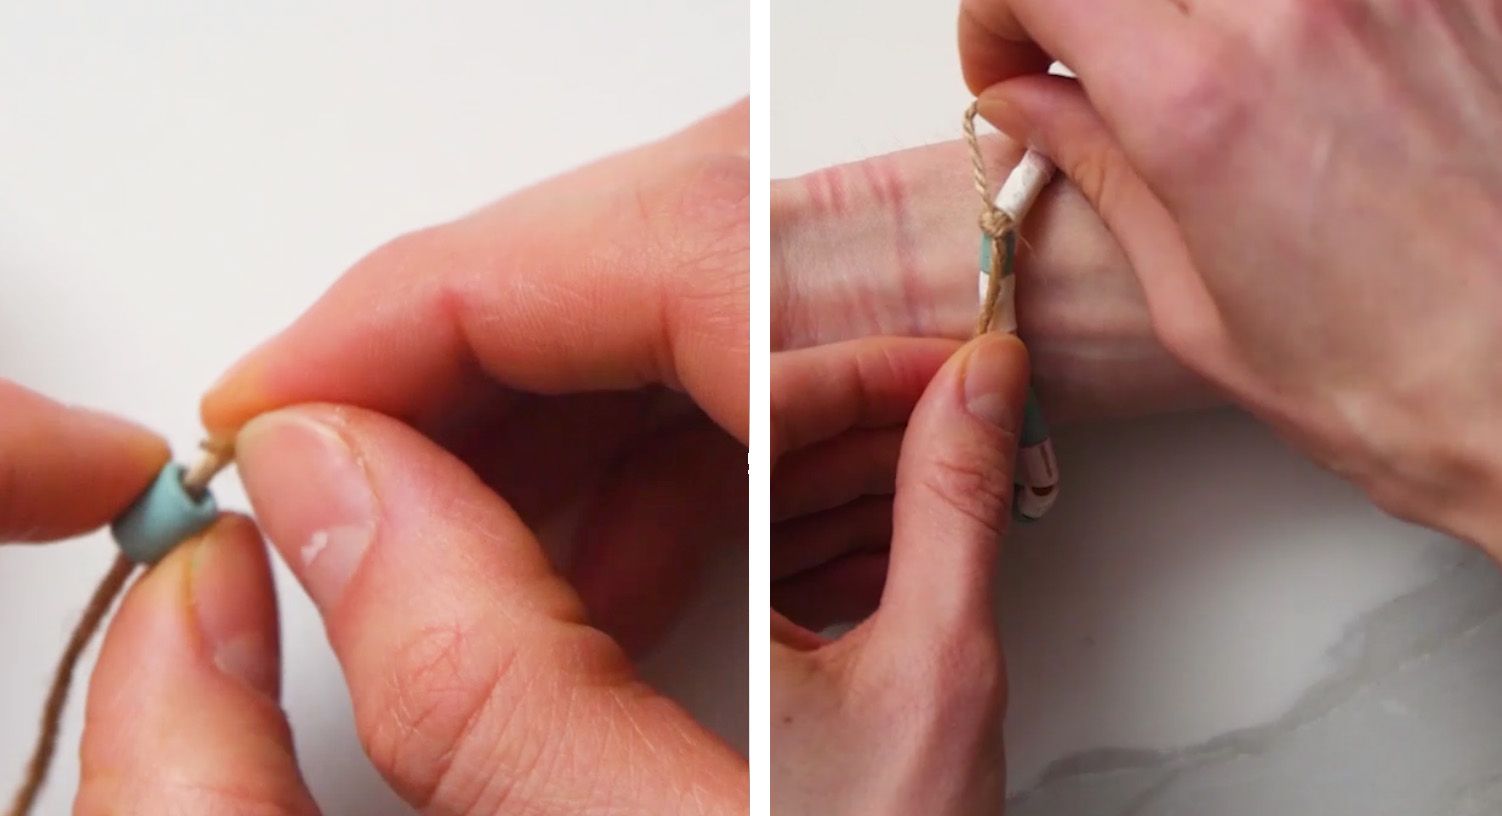
Once your tubetti is dry, cut a string to your desired length for a bracelet or necklace. Now it's as simple as threading the noodles onto the string and trying the ends of your string together. We like to make the necklaces long enough so that they can slip on and off, right over your little ones head.
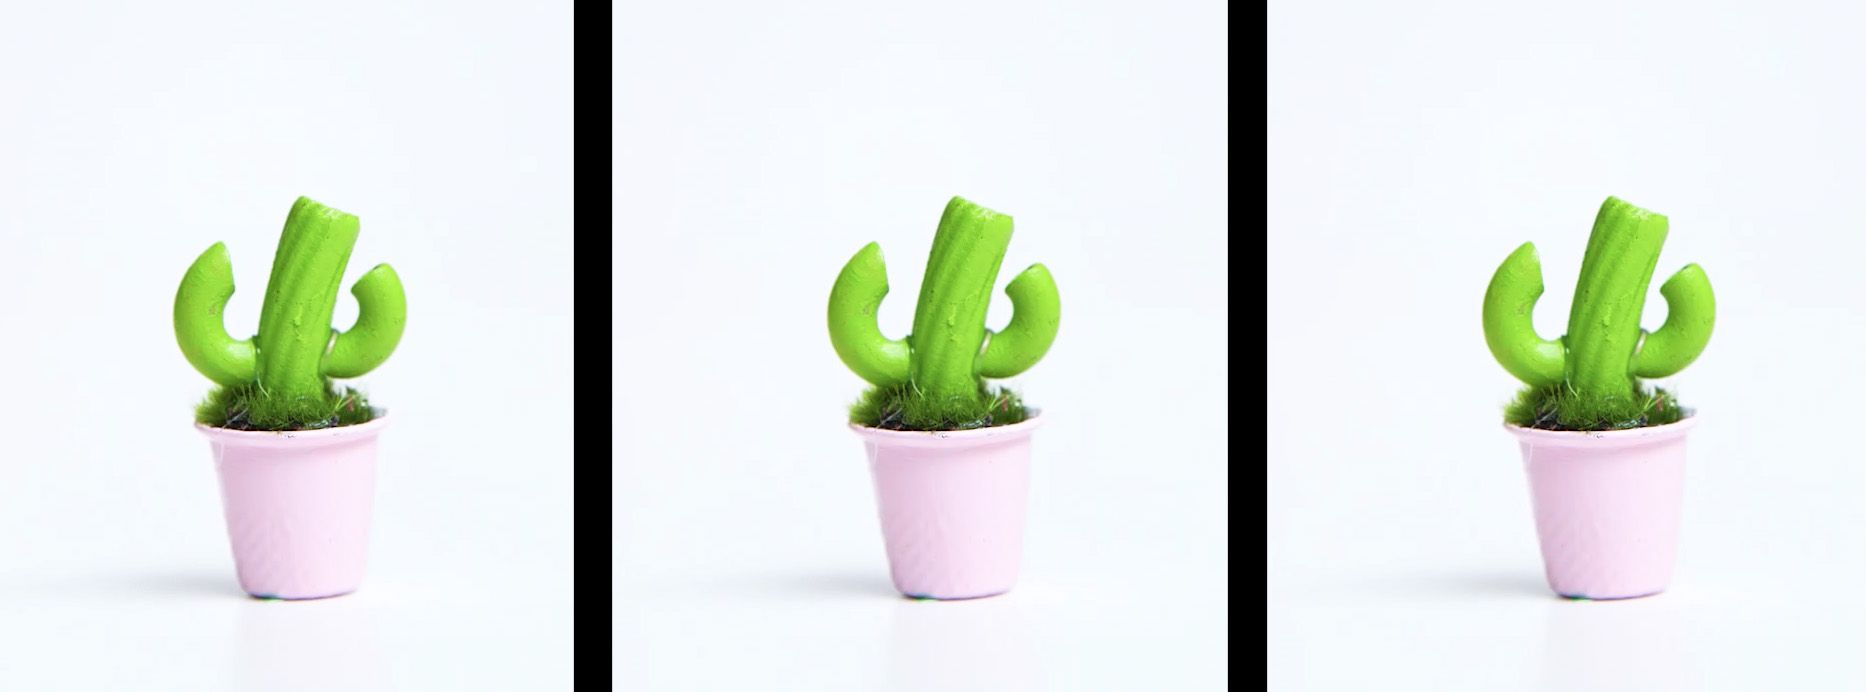
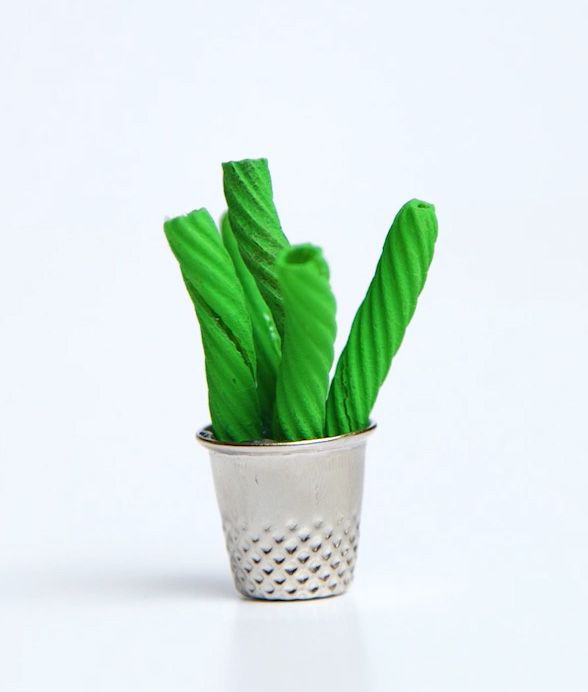
DIY Mini Pasta Cacti
We can't stop looking at these! This is our favorite cactus craft and we made so many that everyone in the office now has one on their desk.
Materials
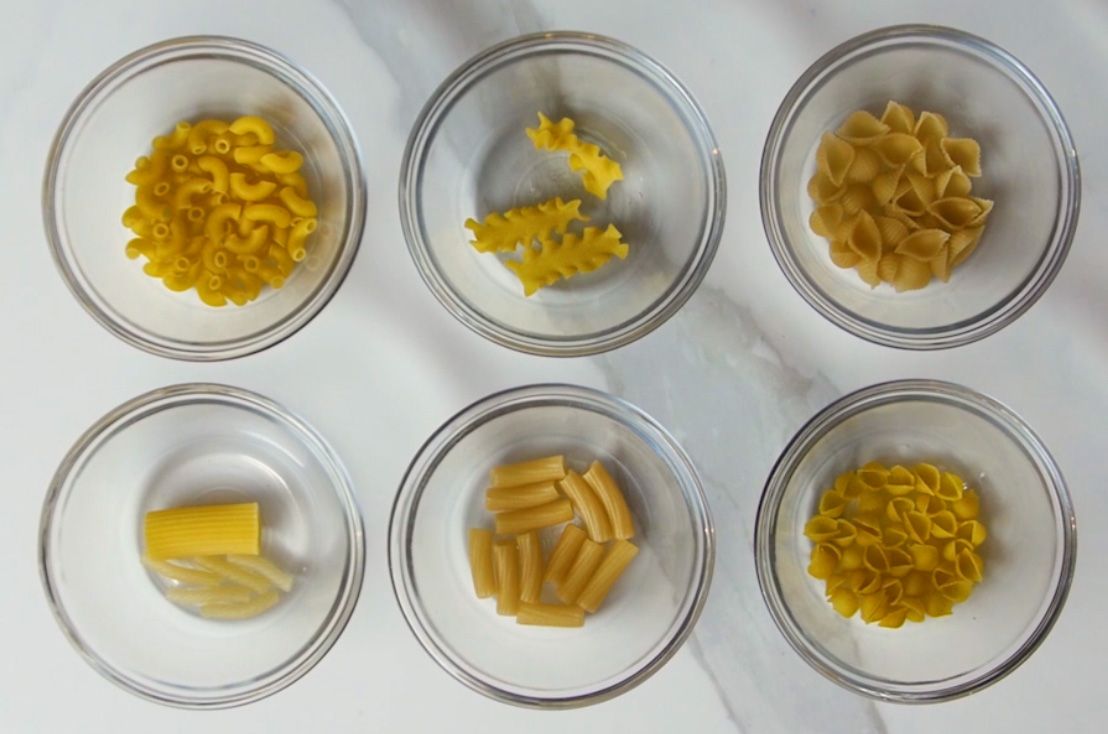
- Assorted Pasta (mini lasagna noodles, macaroni, ziti & more)
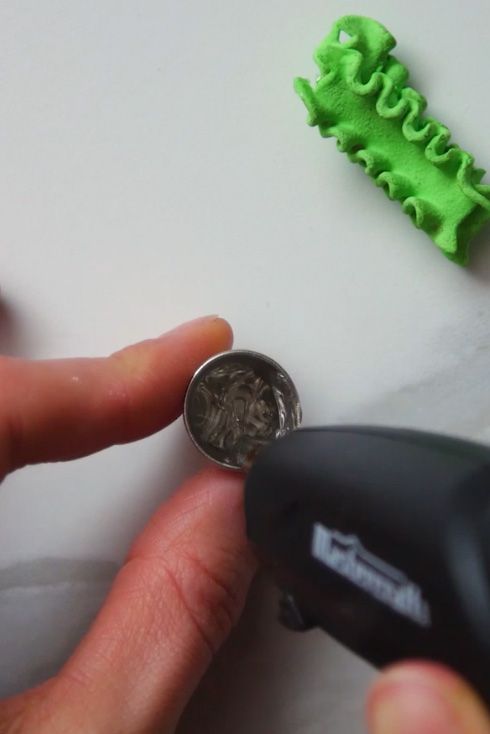
- Thimbles
- Craft paint (green, yellow, pink)
- Foam paint brush
- Spray varnish
- Hot glue gun and glue
Instructions
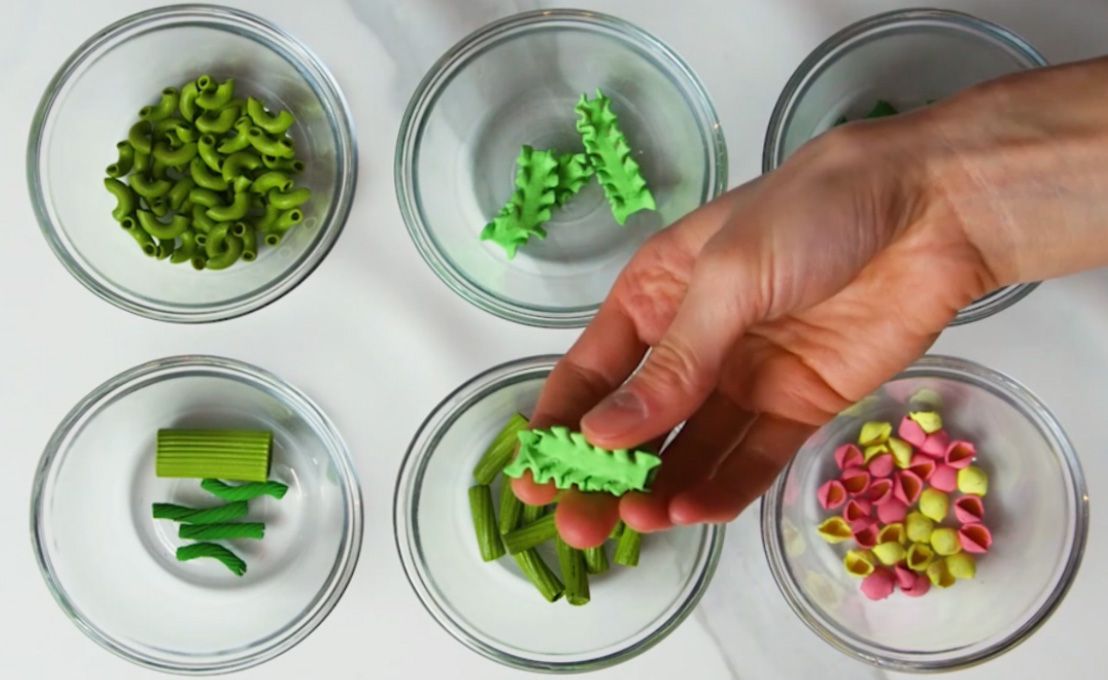
Use the craft paint and foam paint brush to paint your pasta different shades of green. Allow to dry and coat them again if necessary.
If you want to have different colored plant pots you'll need to paint your thimbles in craft paint as well. Coating them in the spray varnish when you're finished will help protect the paint from chipping off.
Use a glue gun to fill up the bottom of the thimble and glue your pasta noodles into place. You can also glue gravel or faux grass around the base of the cactus.
These mini pasta succulents are super sweet for the fridge if you glue a strong but tiny magnet to the back of the thimble.
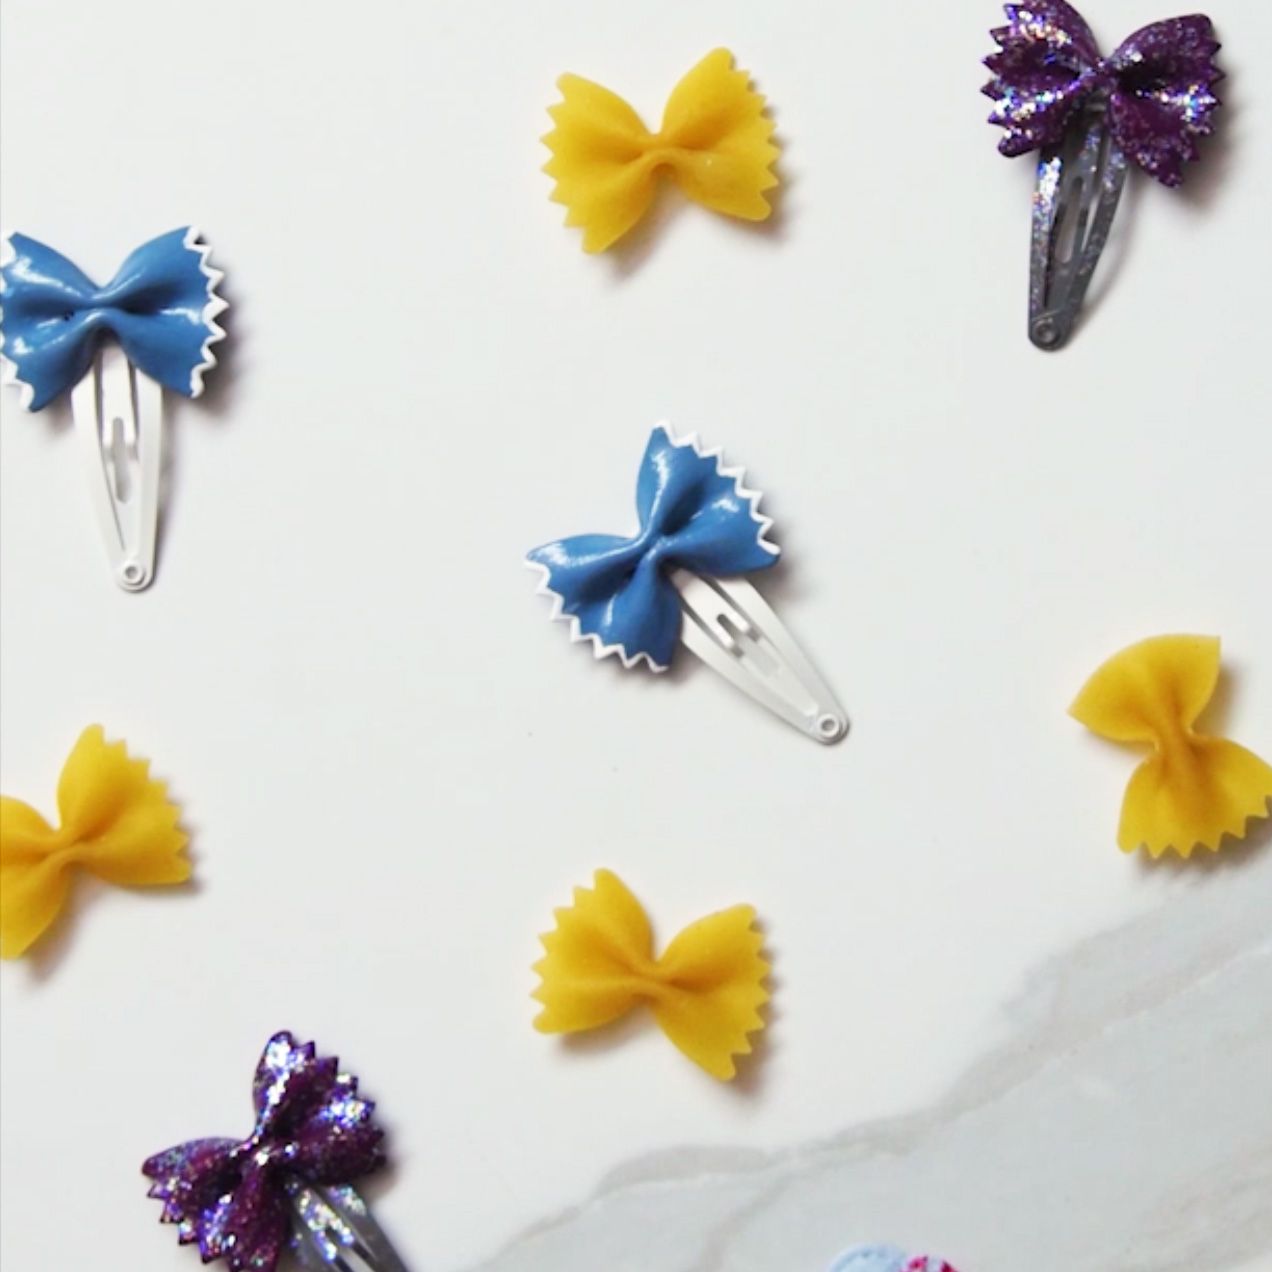
Farfalle Hair Clips
Painted Bow tie pasta? These are darling little clips. Admittedly they won't last forever, but they make for a creative activity with a fun result. Use a toothpick to add some detail to a solid color.
Materials
- Farfalle (bowtie) pasta
- Snap hair clips
- Craft paint
- Foam paint brush
- crazy glue
- Spray varnish
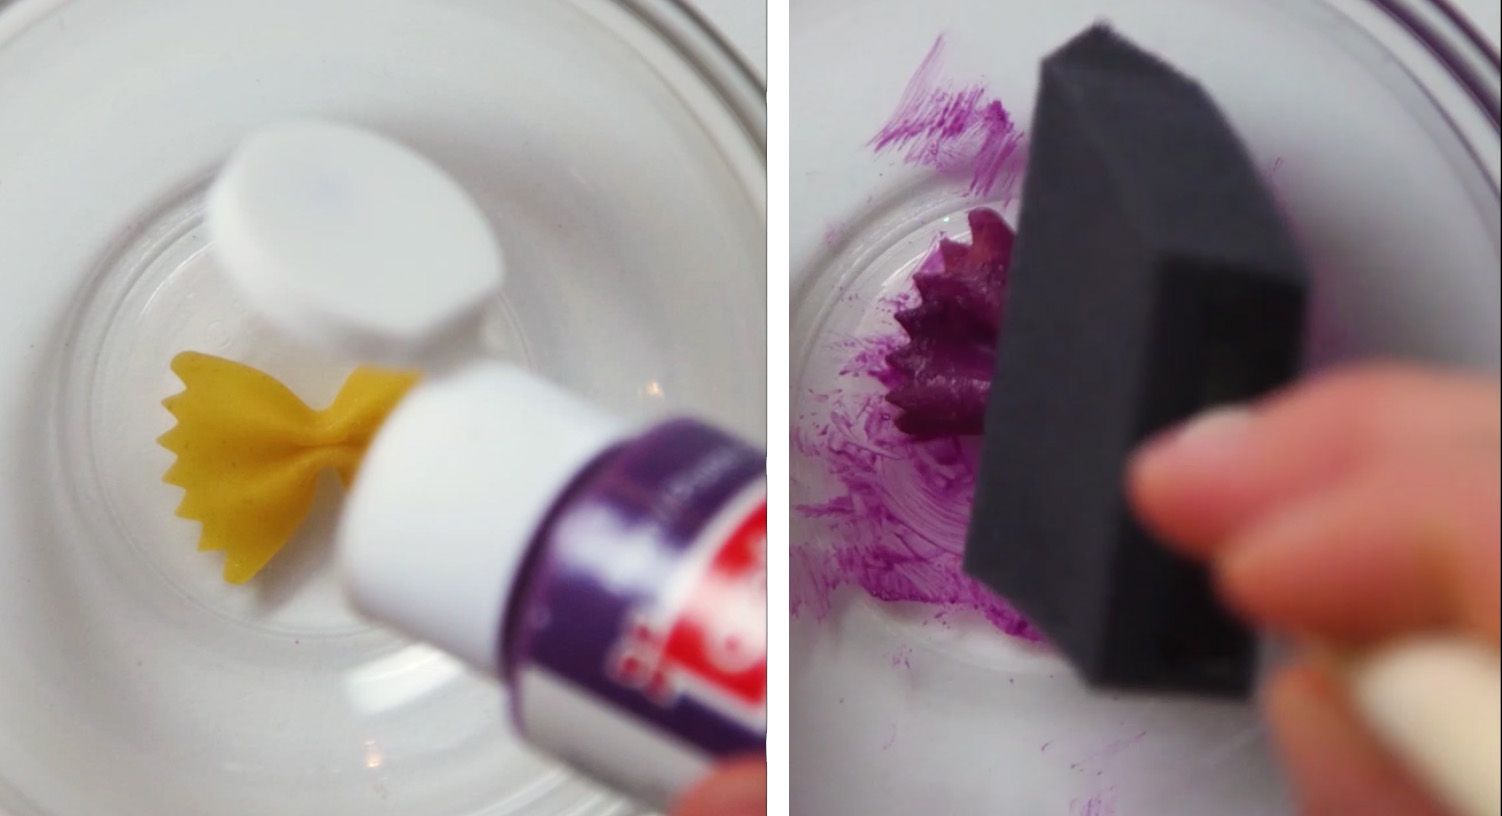
Instructions
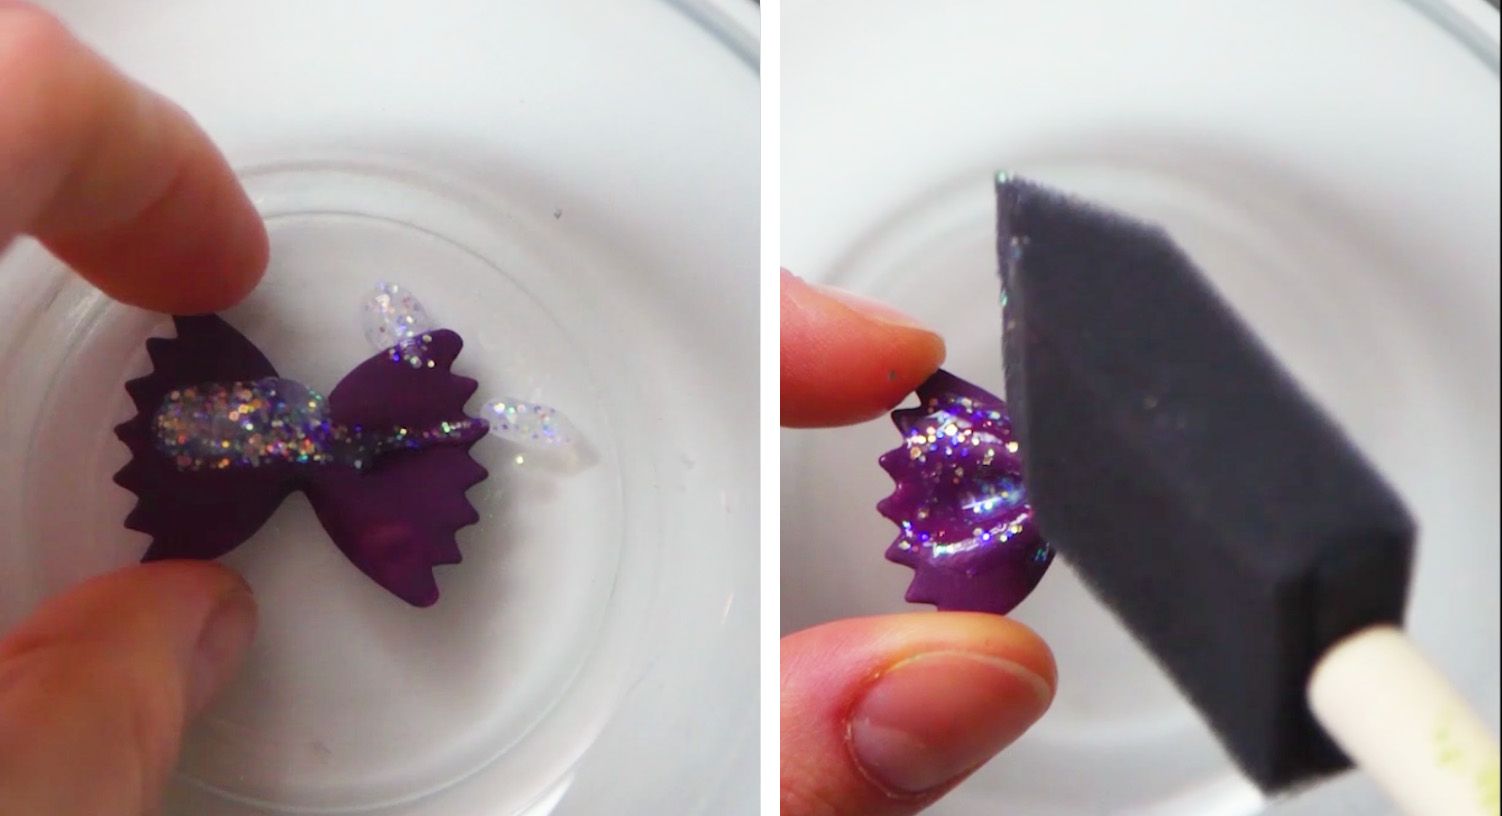
Using your craft paint and foam paint brush, color your pasta noodles and coat them until you're happy with the color. Once the paint is dry add your detail. We used glitter glue for a shiny overcoat.
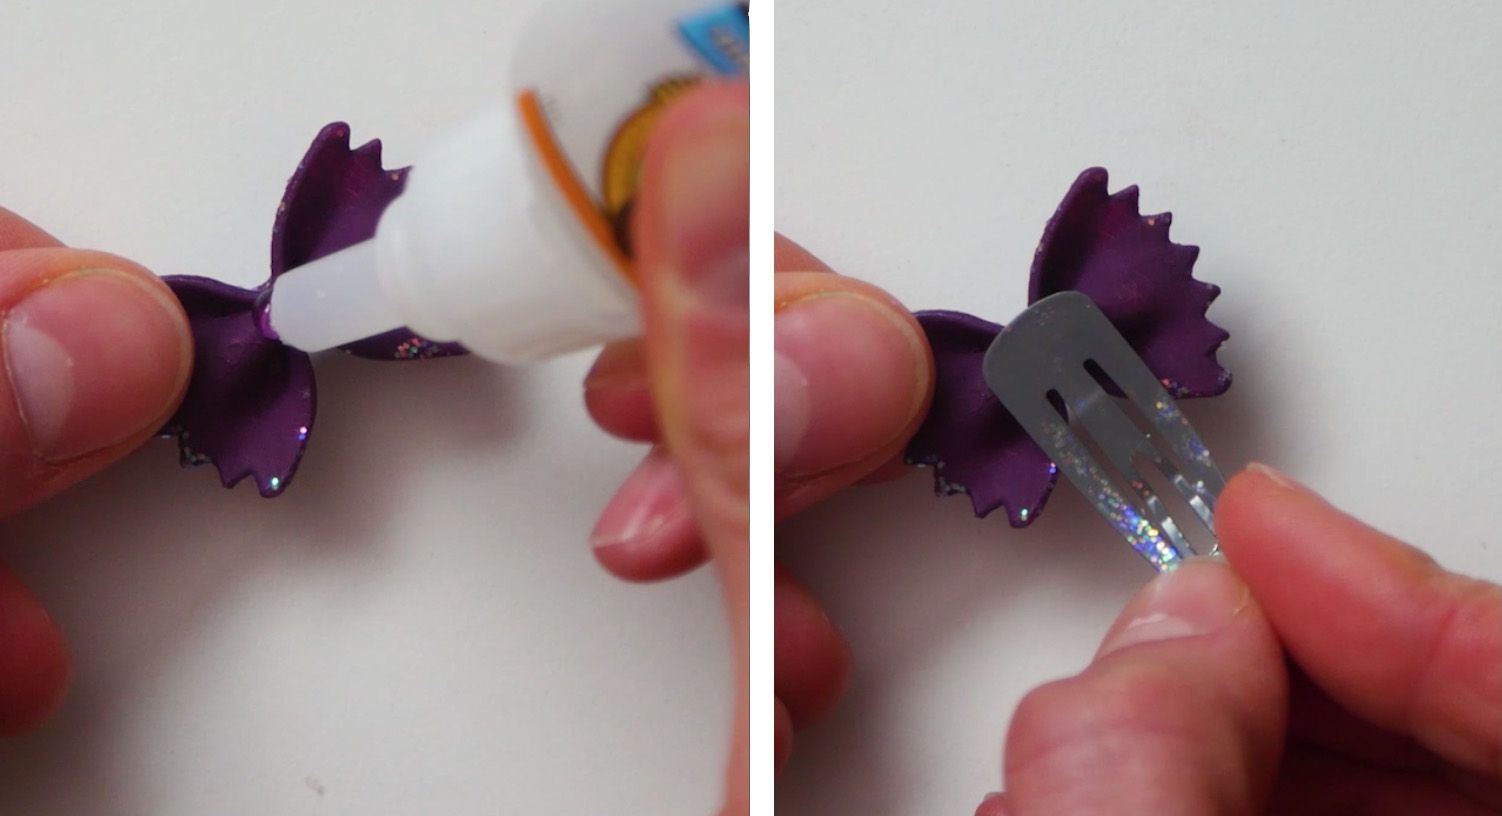
On the back of your pasta apply a small dot of crazy glue and stick the bow to the top of the snap clip. Hold it a minute to stabilize the position while the glue becomes tacky. Turn your clip over and leave the glue about 15 minutes to set.
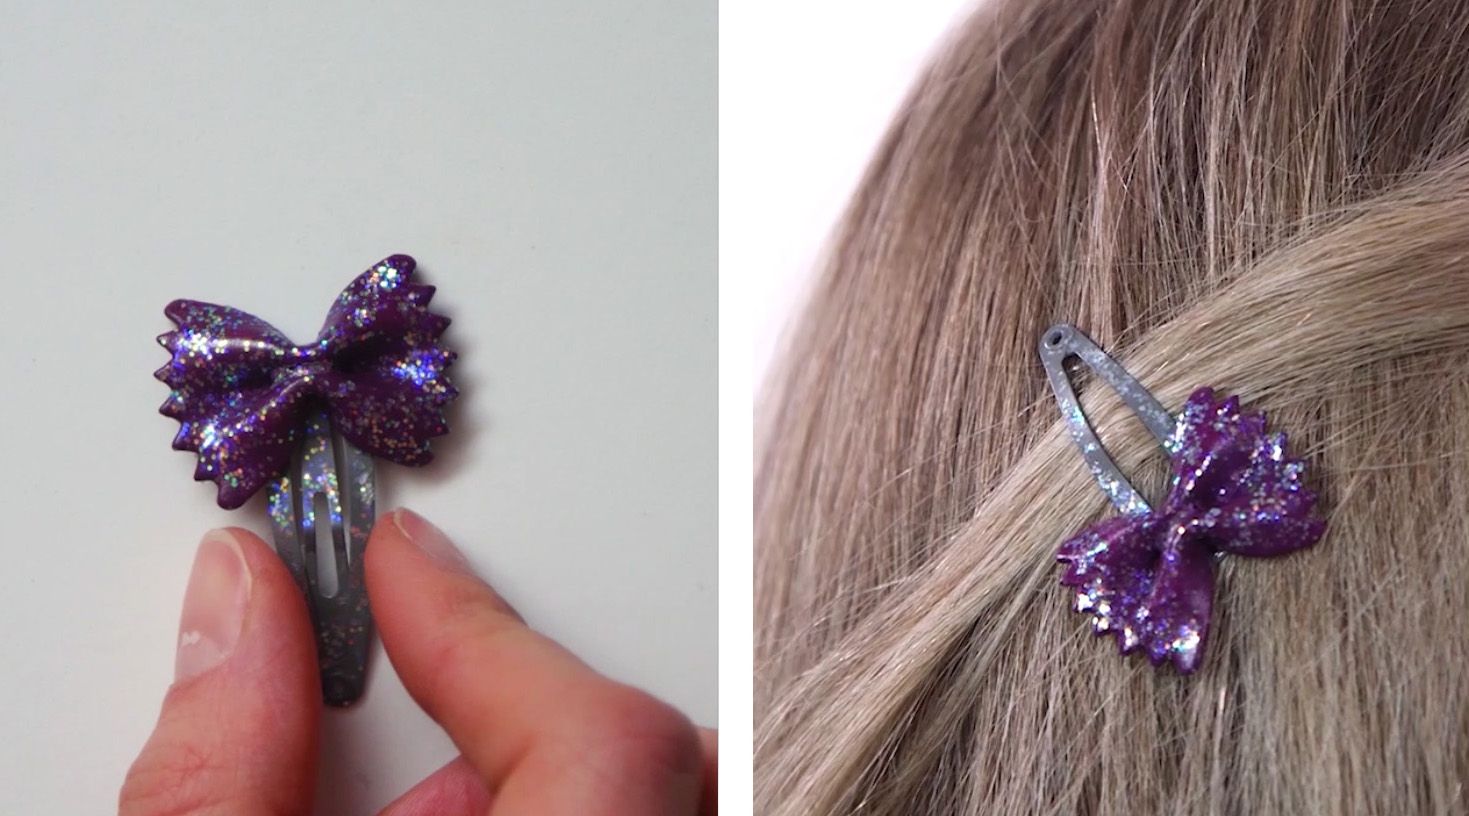
Give the clip a coat of varnish to add some shine and protection. We like to pop the clips onto a paper towels and bring them outside to give them a quick spray.
Set the clips aside for a few hours to let them dry before you wear them.
Tip: These painted bows also look cute lined up in a shadow box. Try gluing them down to a matte board without the clips and decorating the with different designs to create an art piece.
