Summer is here, the birds are out, the grass is green, and it's time to get your garden looking fantastic! Since there's so many types of flowers and plants there's no reason that you can't get a little creative and wow people with your garden designs!
When it comes to preparing my garden for the summer season, I find that I always have really good ideas in my head, but when it comes executing it, I fail miserably. Anyone else have that happen to them? ha ha
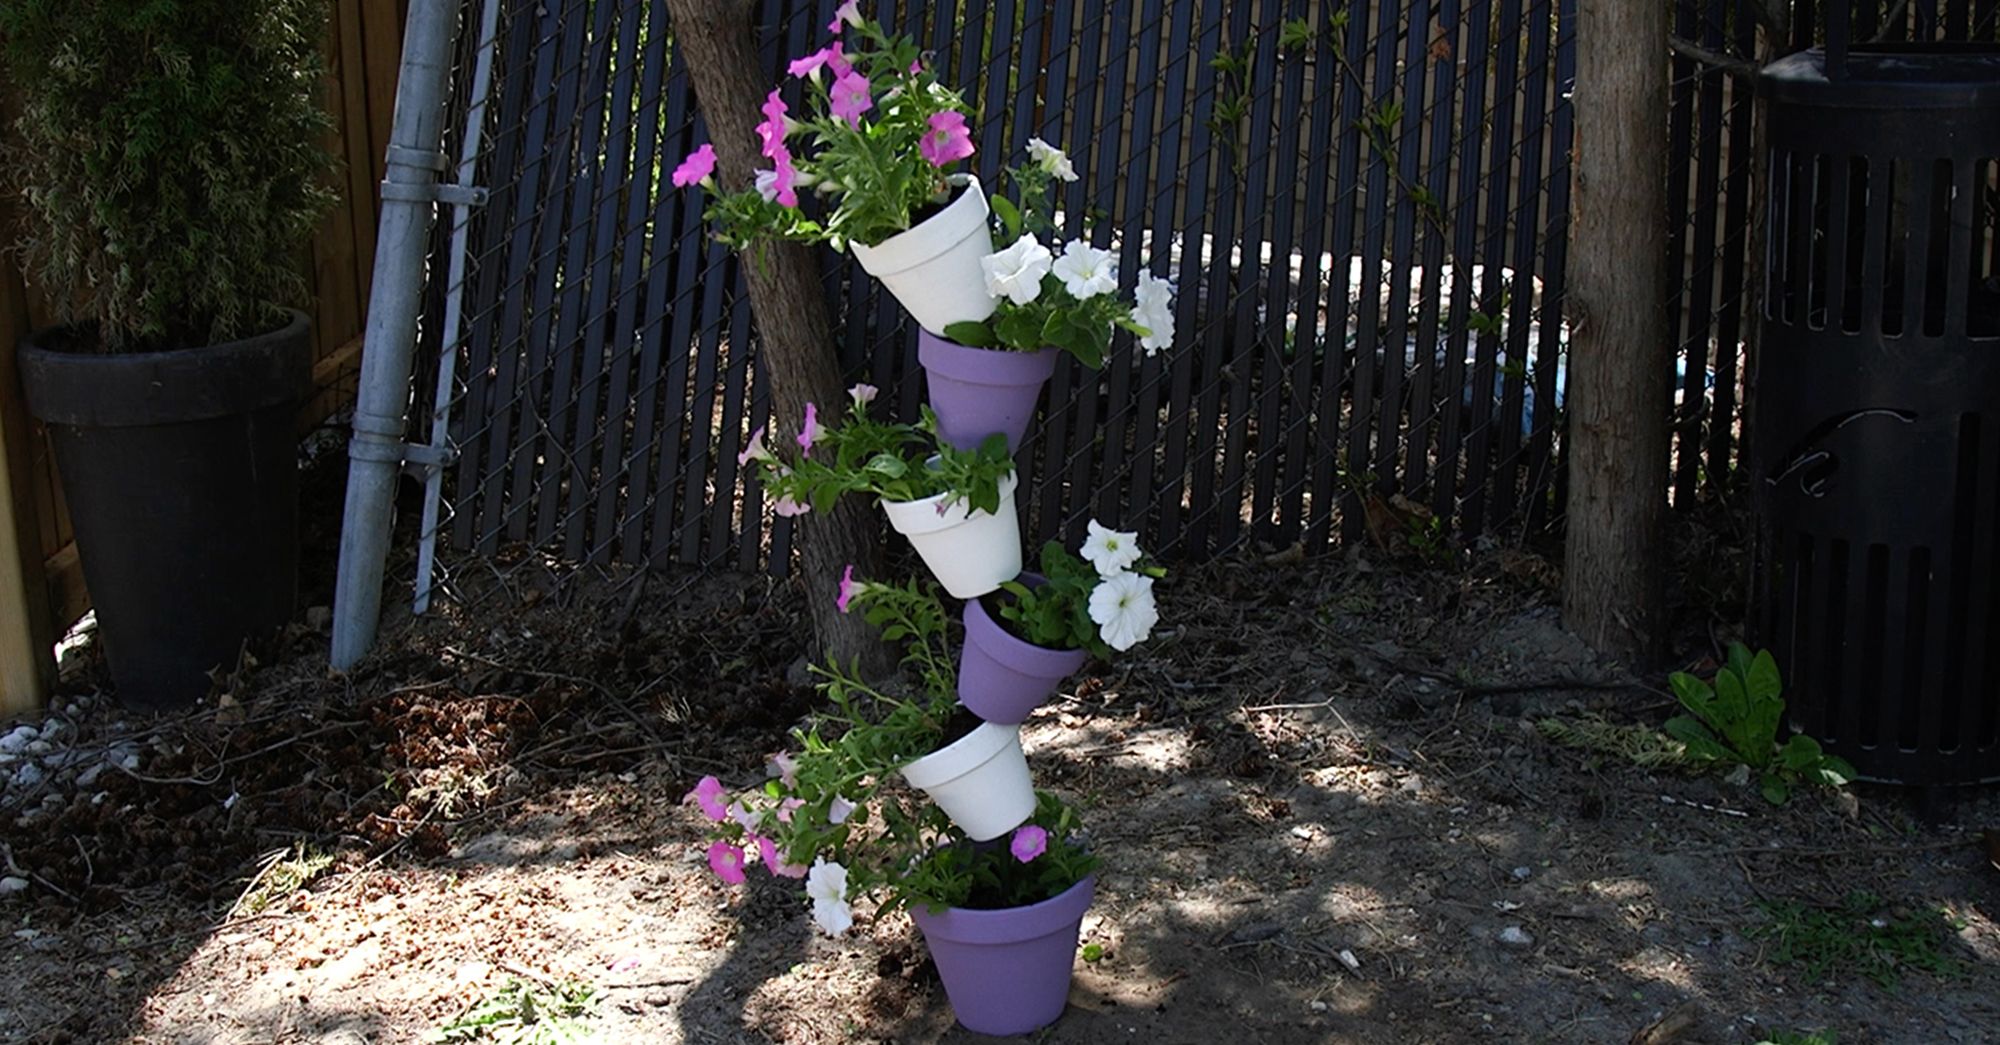
Then I came across this little tipsy garden pot decoration idea and I instantly fell in love with it! Don't worry, I promise you it's much easier to do than it looks, and at the end it looks incredible - I get compliments on it all the time!
Get creative, choose whatever colors you want to do, and then pick whatever annual flowers you want to use. There's no wrong answer here!
Here are some other DIY ideas to try:
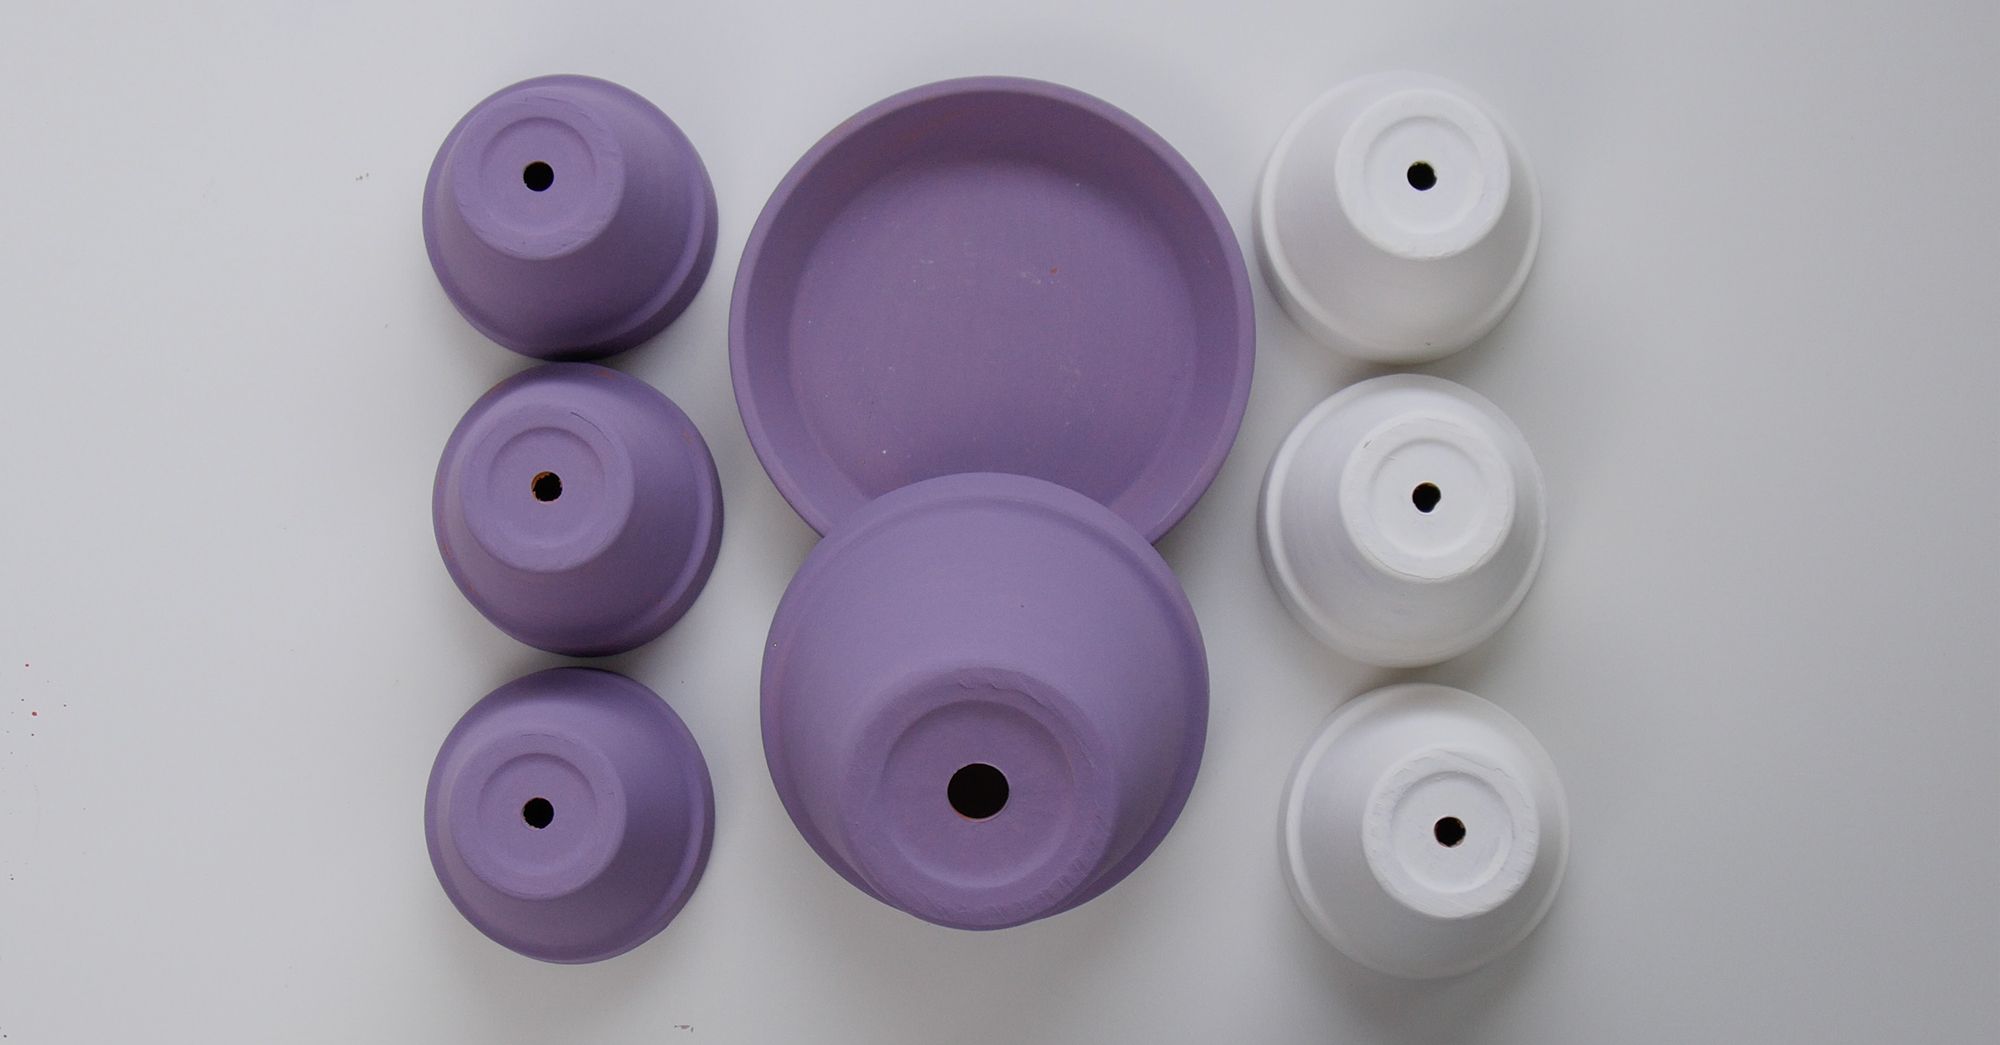
1. Begin by gathering your supplies and paint colors you wish to use.
2. Paint all your terra cotta pots, and then set aside and allow them to dry. Apply a second if needed.
3. Once all the pots have been painted, head outside to assemble your tipsy garden pots.
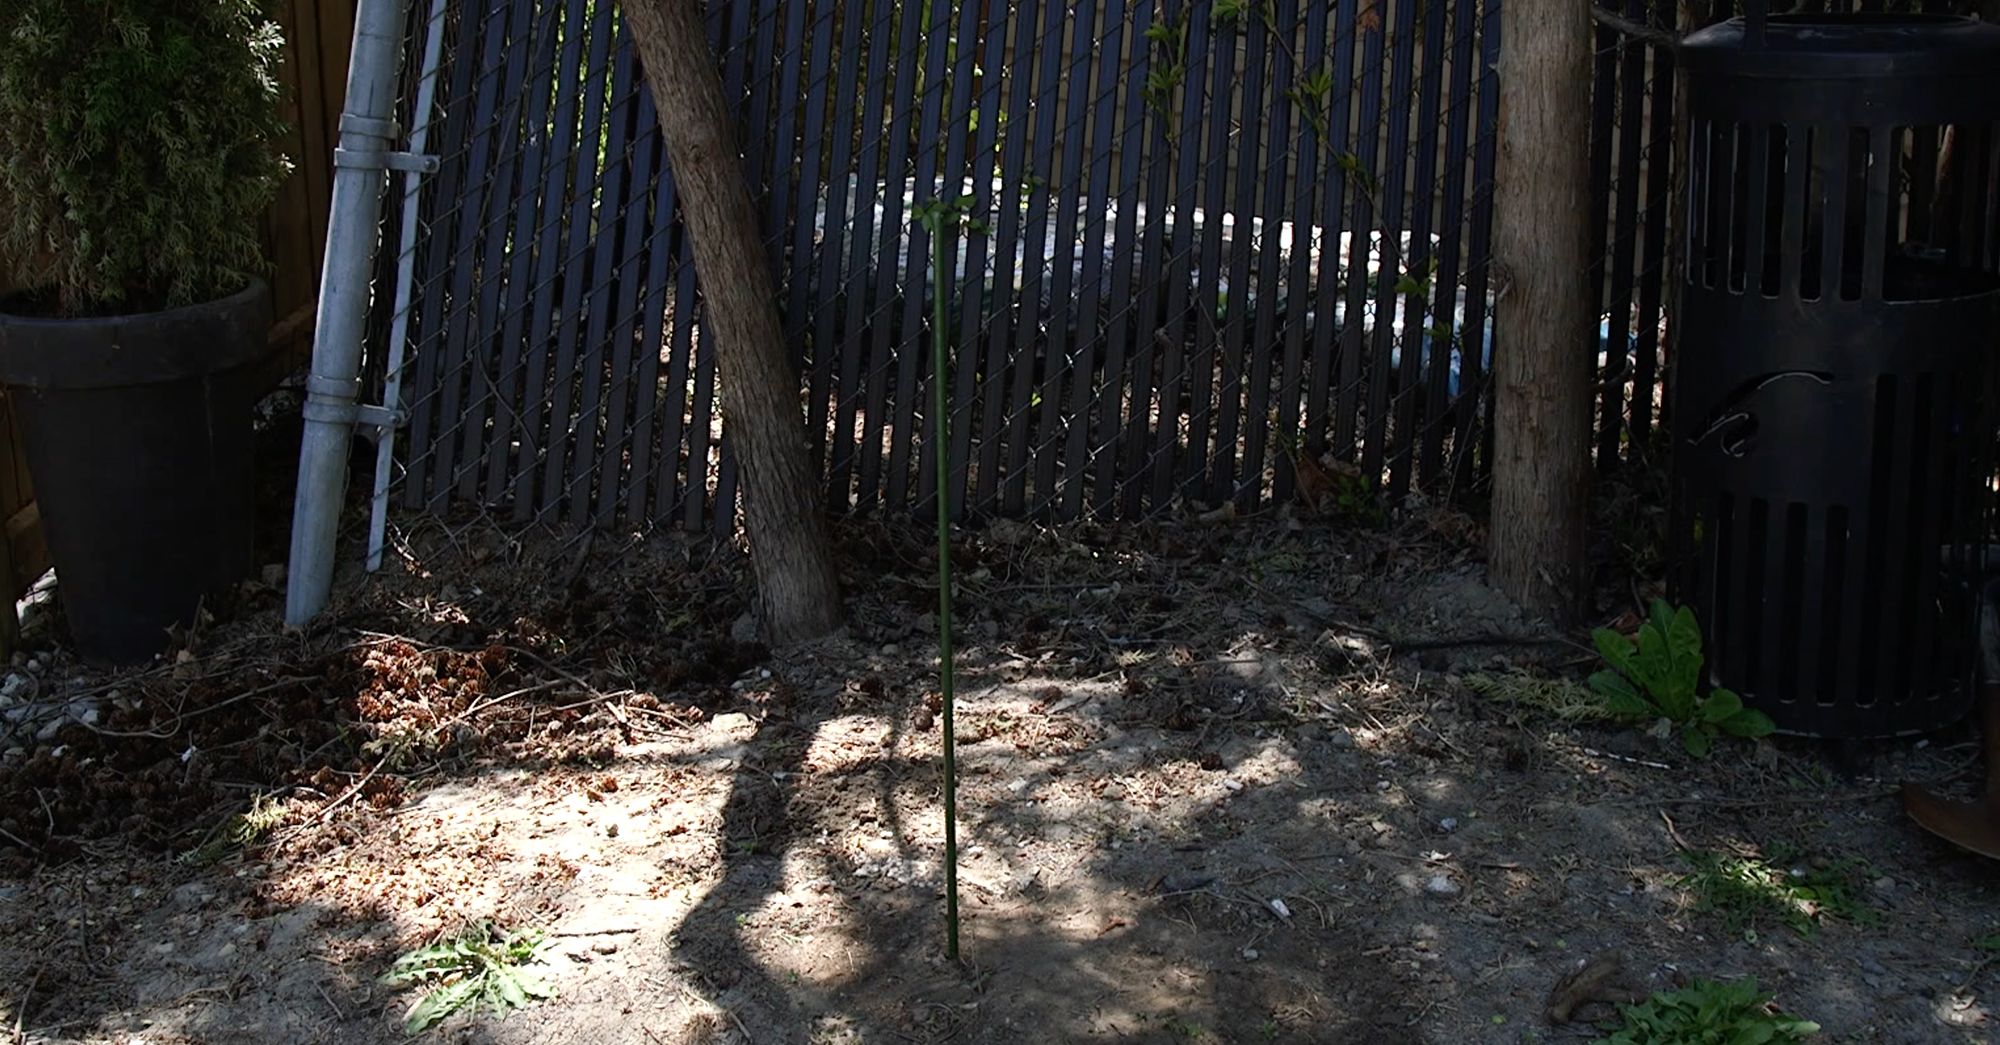
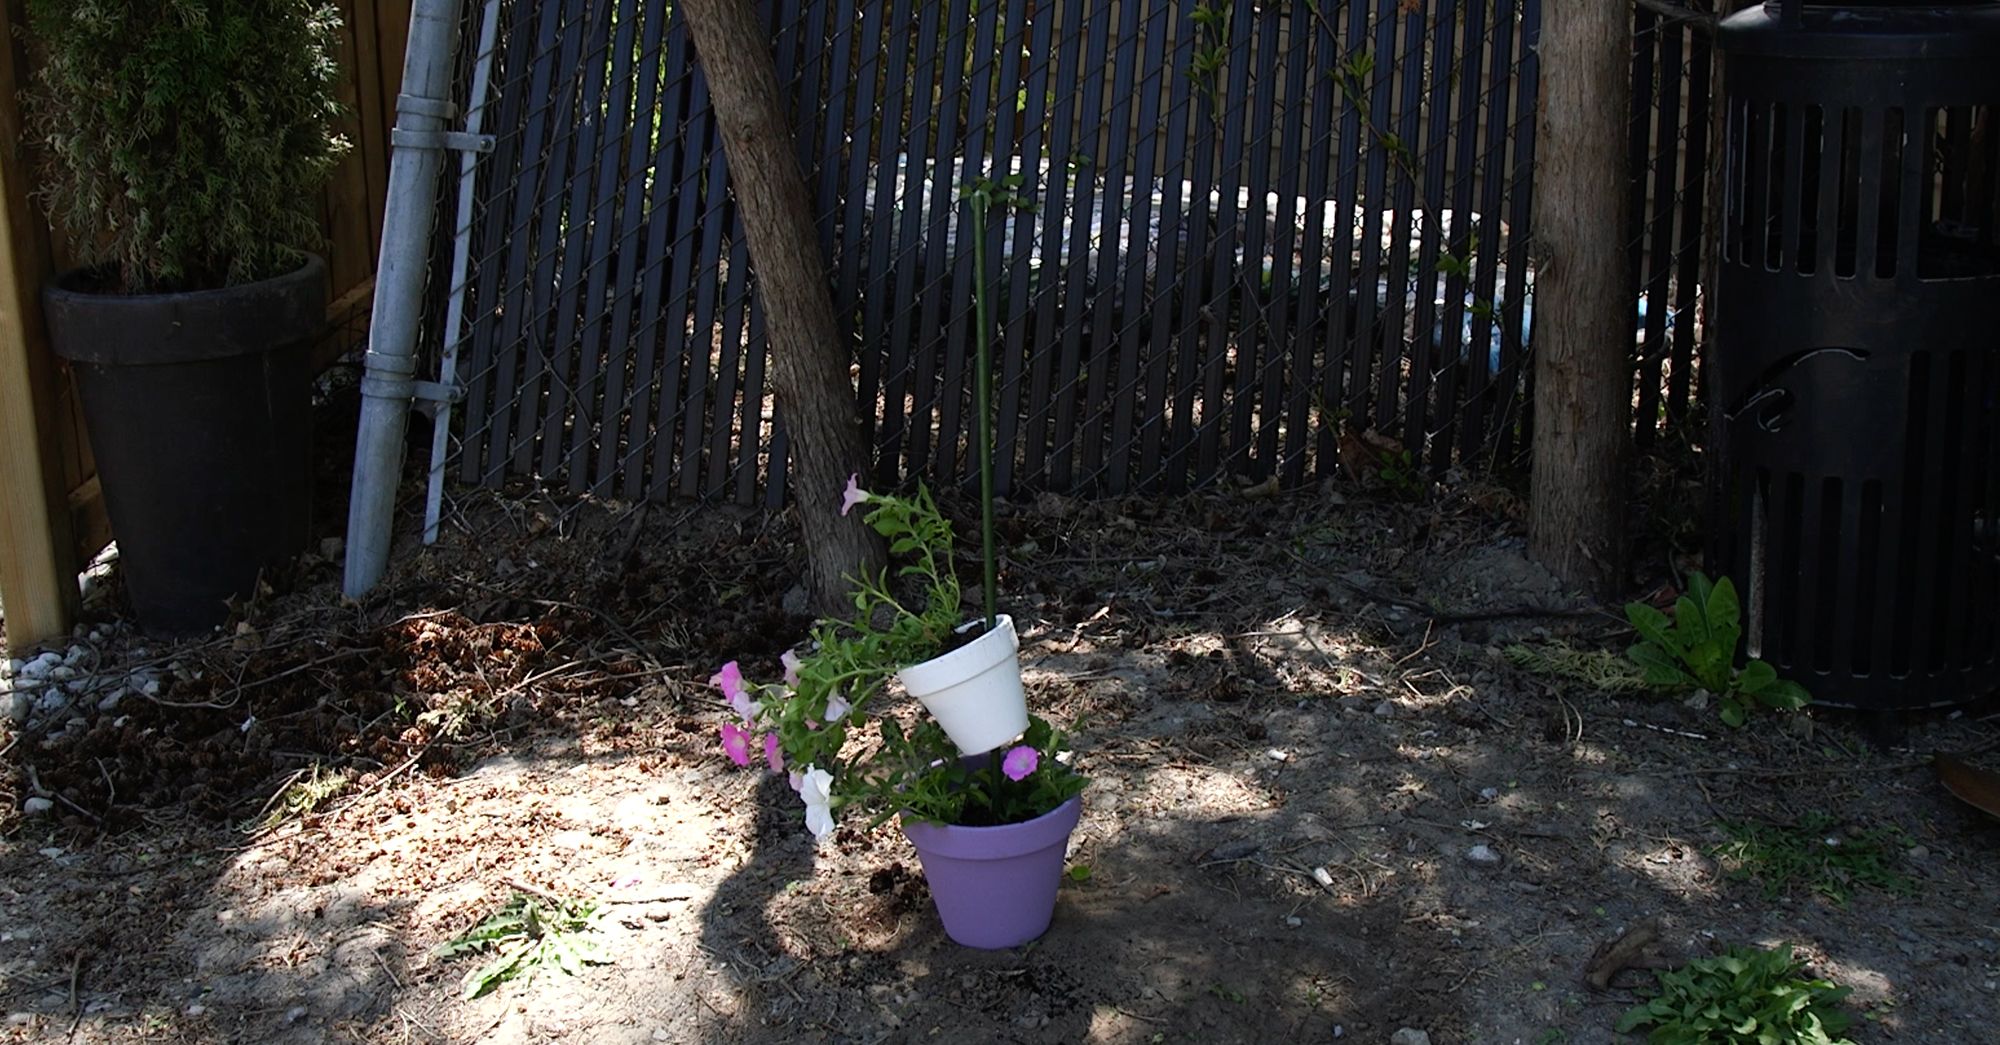
4. Dig a small hole into the garden where you want to display your pots, and insert your rebar post. Try to push the post down so that's secure in the ground, and won't tip over once you start threading on your pots.
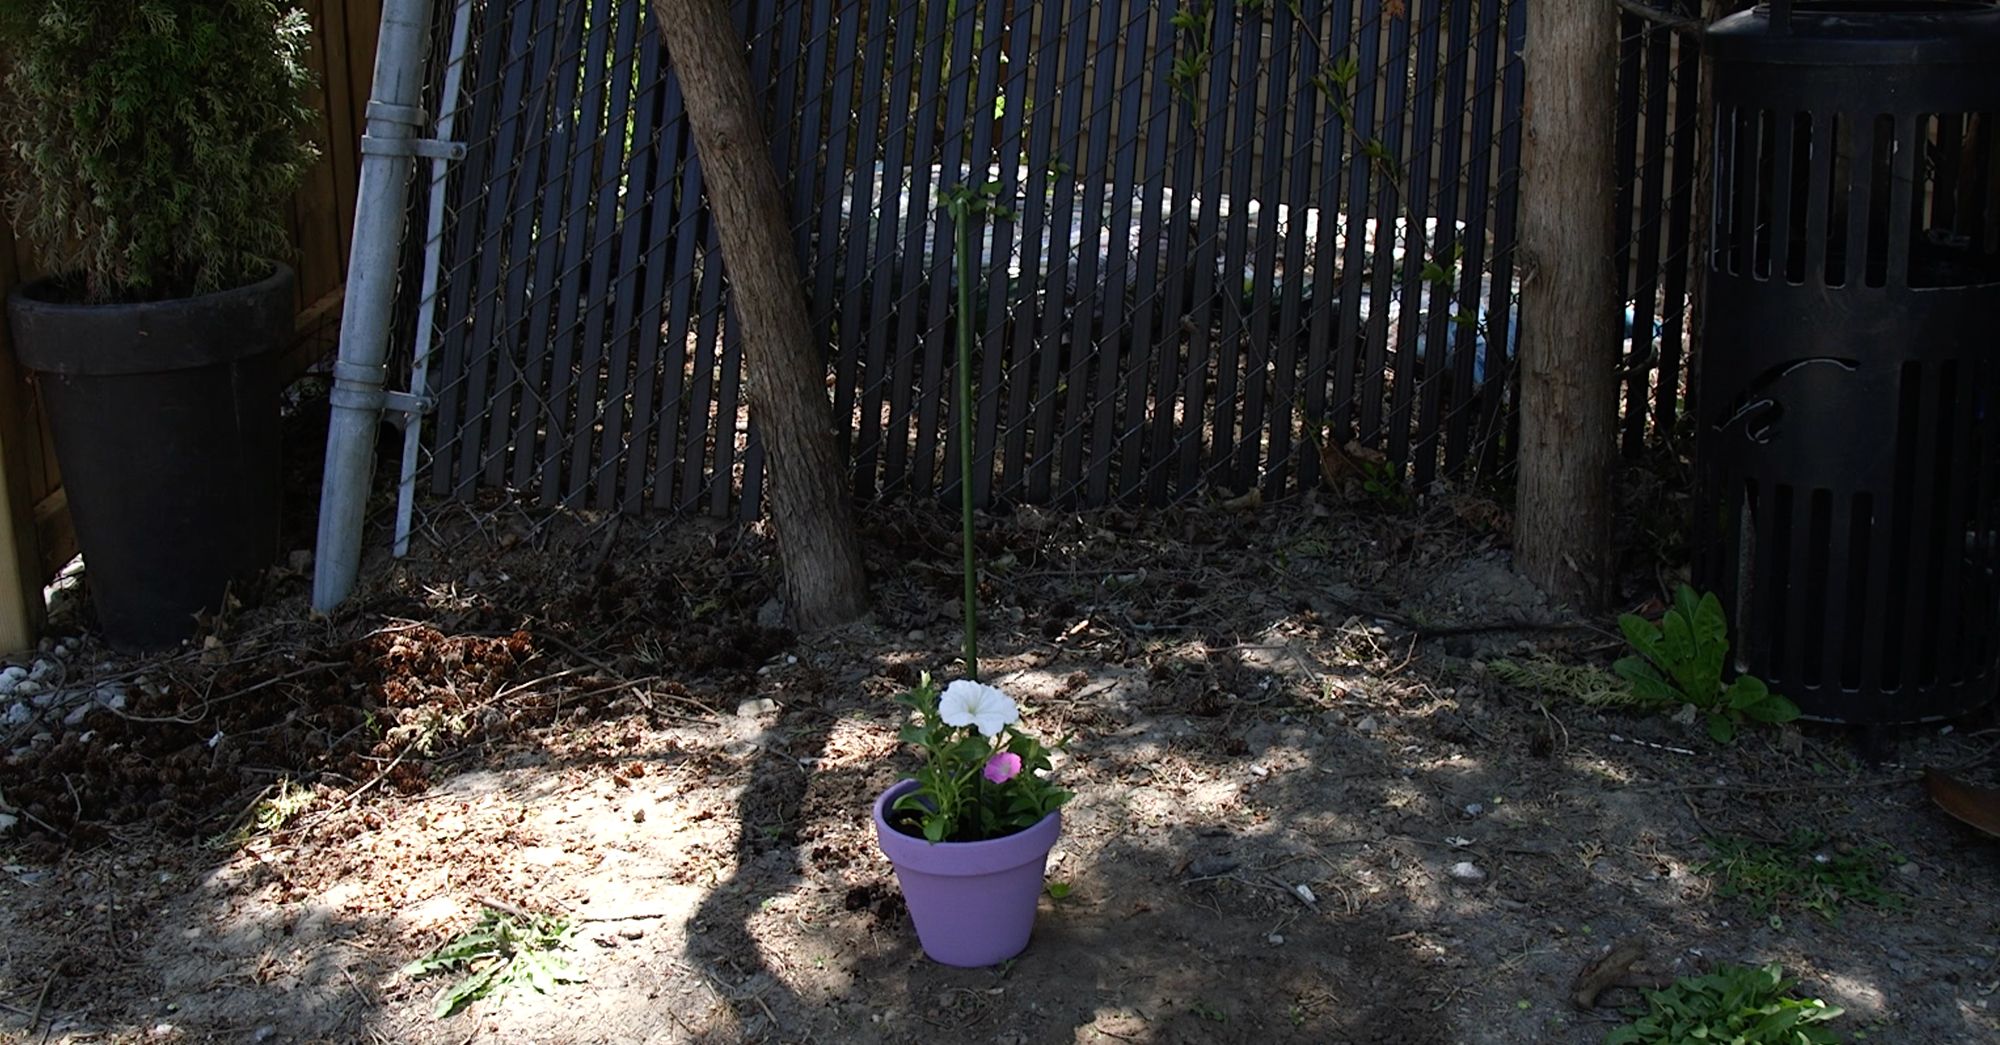
5. Start with your biggest pot on the bottom as the base, and then fill it with some potting soil and your choice of flower.
6. Thread the next pot onto the rebar and tilt pot to one side, then fill with some potting soil and your choice of flower.
7. Continue doing step 6, but alternate the sides that you tilt your pot to.
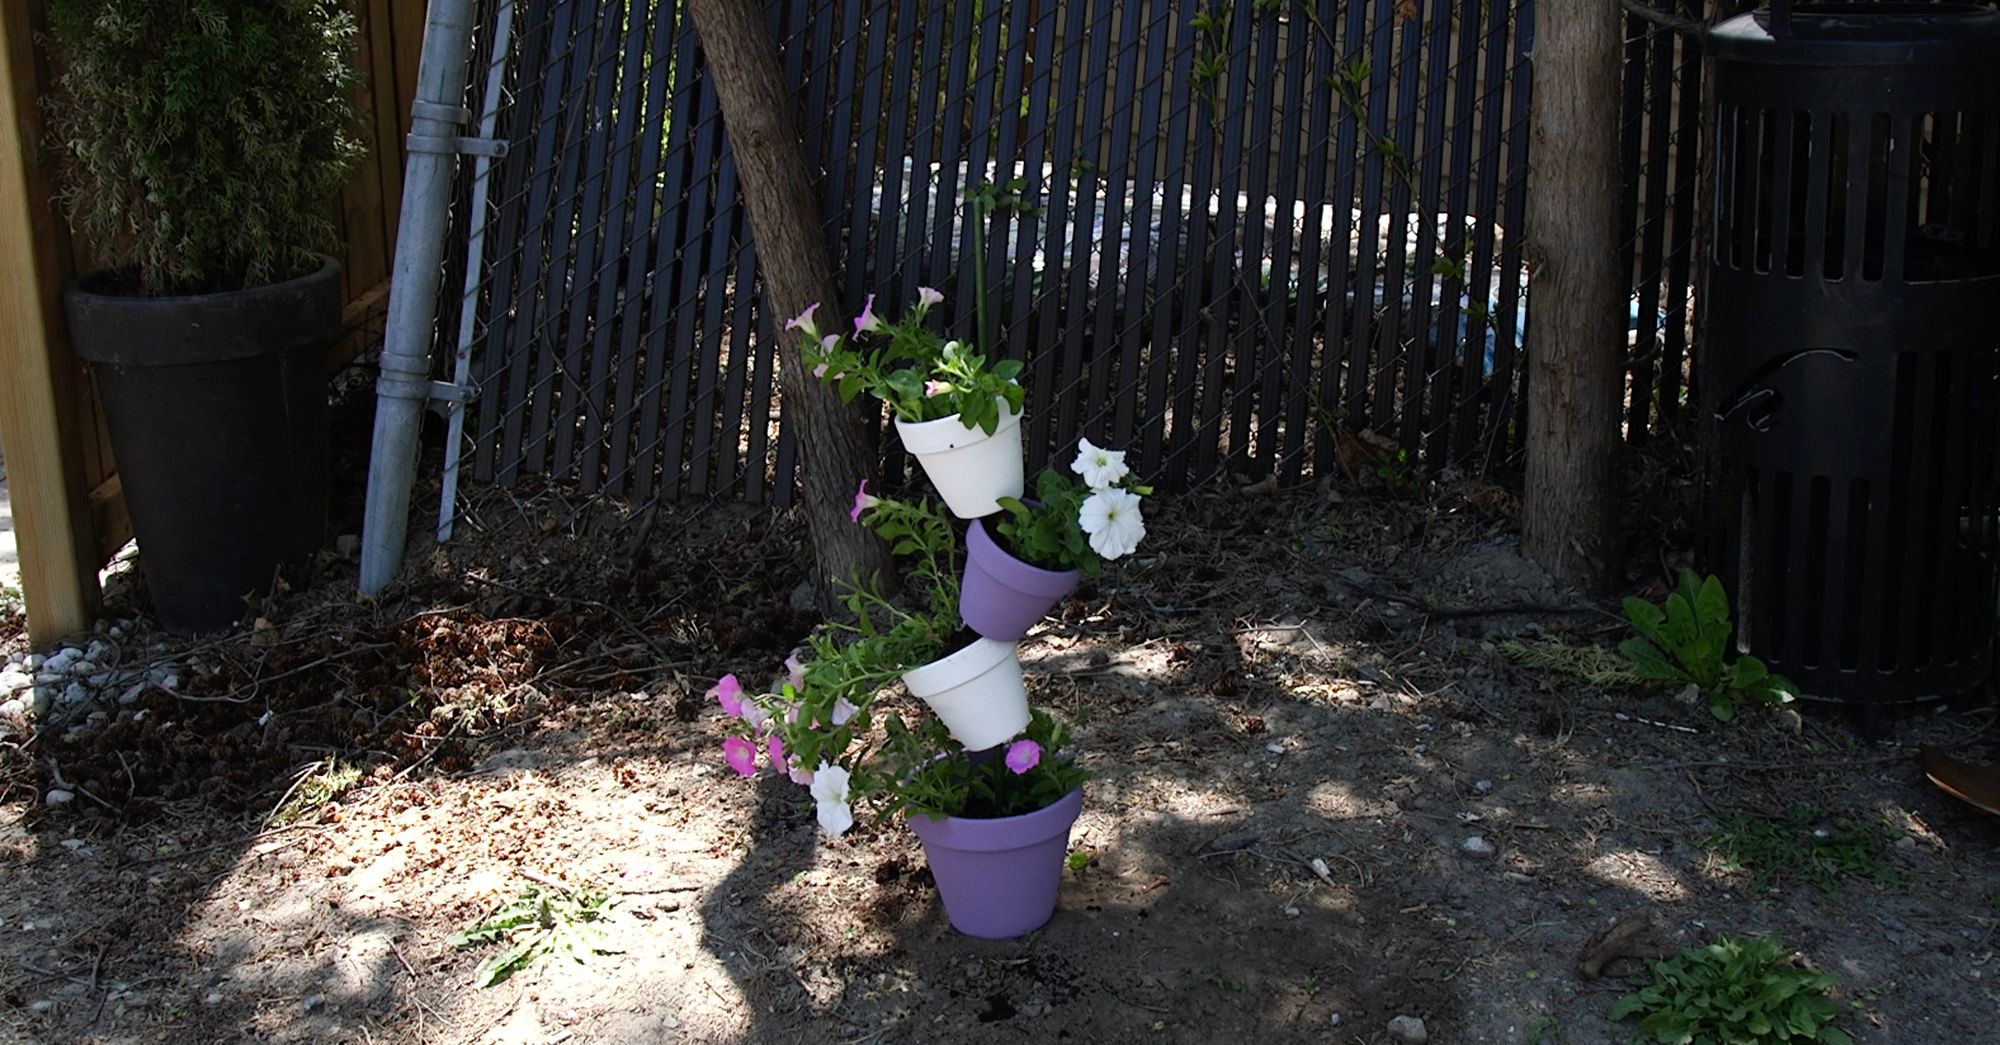
8. Viola!

Materials
- 62" of rebar
- 1 - 8" terra cotta pot
- 6 - 6" terra cotta pots
- choice of paint colors
- paint brush
- potting soil
- flowers
Instructions
- Begin by gathering your supplies and paint colors you wish to use.
- Paint all your terra cotta pots, and then set aside and allow them to dry. Apply a second if needed.
- Once all the pots have been painted, head outside to assemble your tipsy garden pots.
- Dig a small hole into the garden where you want to display your pots, and insert your rebar post. Try to push the post down so that's secure in the ground, and won't tip over once you start threading on your pots.
- Start with your biggest pot on the bottom as the base, and then fill it with some potting soil and your choice of flower.
- Thread the next pot onto the rebar and tilt pot to one side, then fill with some potting soil and your choice of flower.
- Continue doing step 6, but alternate the sides that you tilt your pot to.
- Viola!
