Nothing beats spring time and being able to re-start my summer garden. I do everything from potted flowers, to a herb and veggie garden, to nice flower beds around the house. Some might say I have what you would call a green thumb.
I am always looking for cute little pots to put around the back deck and on the porch. I like to think I am a pretty savvy shopper and try to buy a lot of my craft and home DIY supplies at my local dollar store.
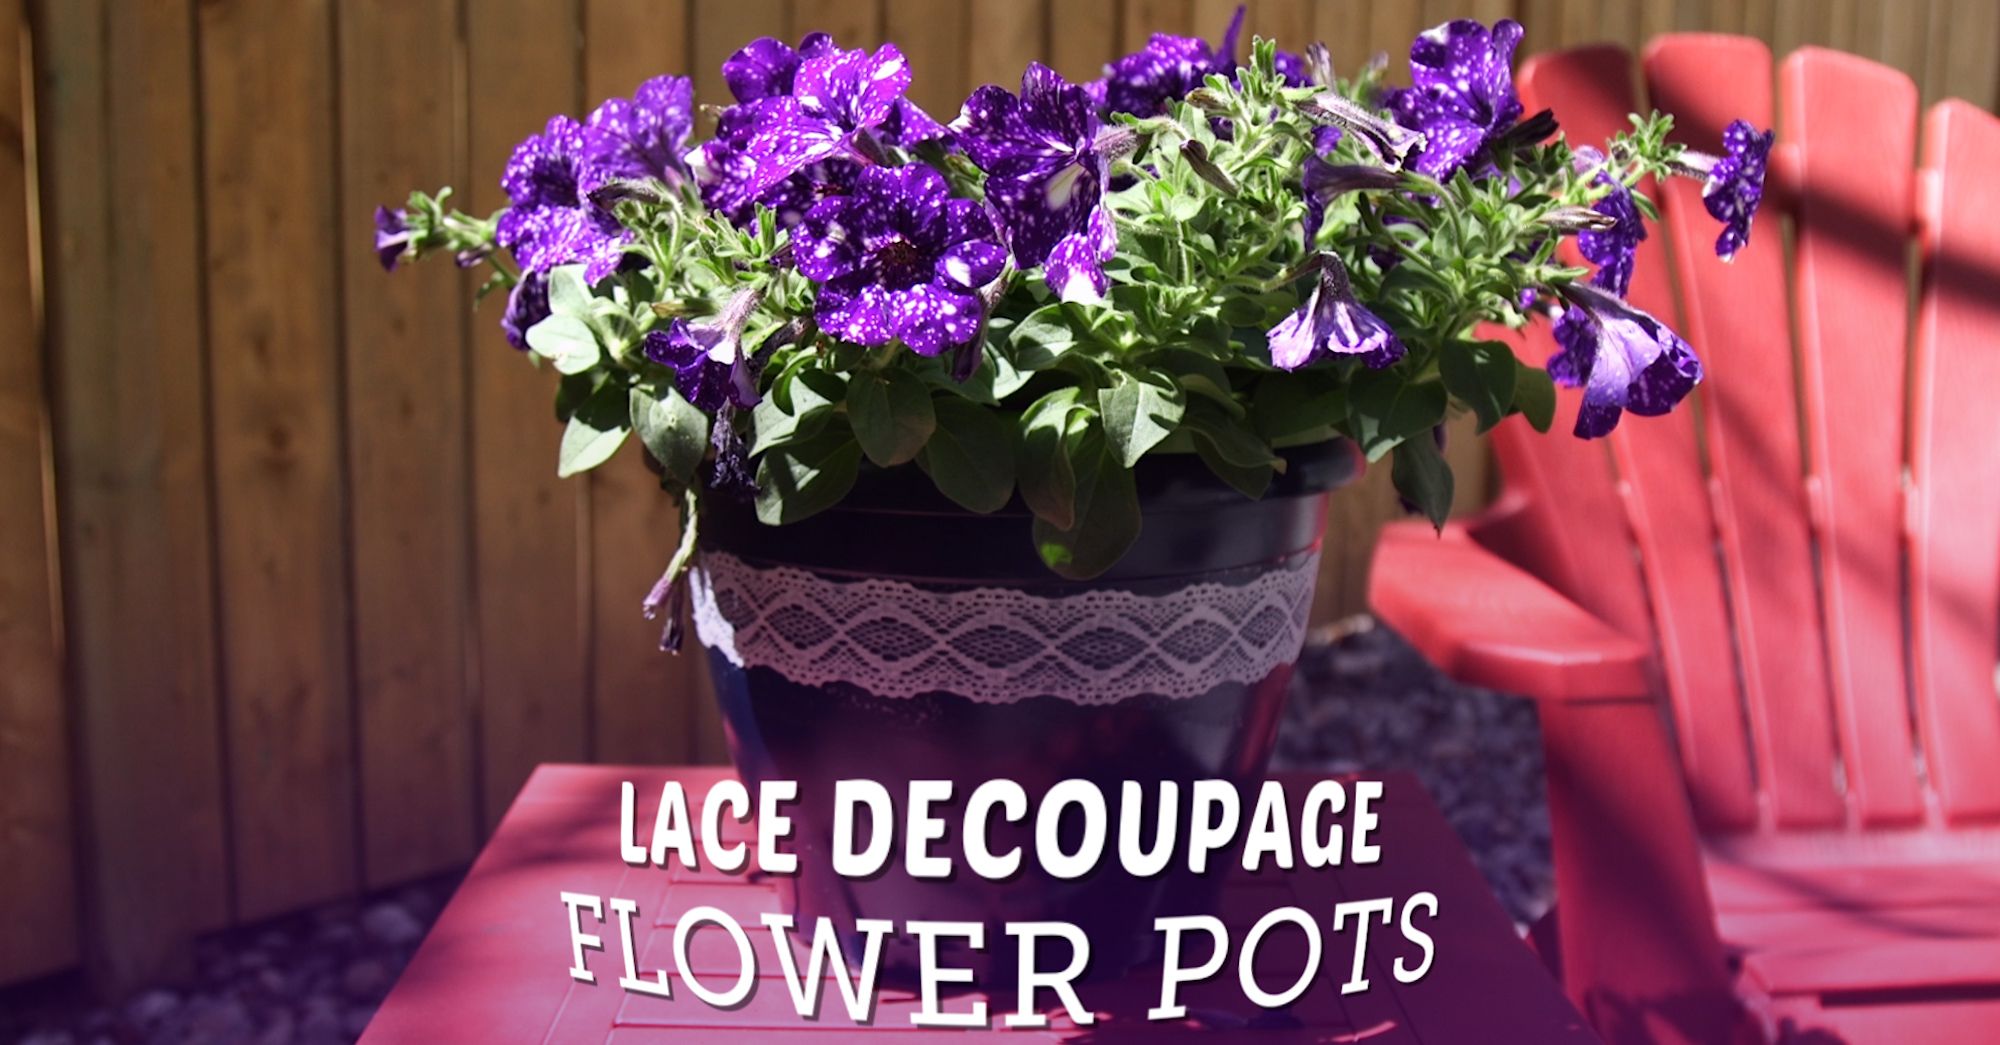
This DIY in particular I was actually really proud of. Not because of how hard I worked on it, which let me tell you, I didn't. But the amount of people that keep asking me where I bought these pots from. Everyone is blown away that I simply made them and they cost me under $5.00!
With a simple little plastic pot, some spray paint, lace and decoupage, I made these perfect little planters for my front porch that match my house and give a little vintage touch with the added lace. You can really make these in any size and color you like!
Want some more home decor ideas?. Check out:
DIY Dollar Store Rubber Mat Wall Art
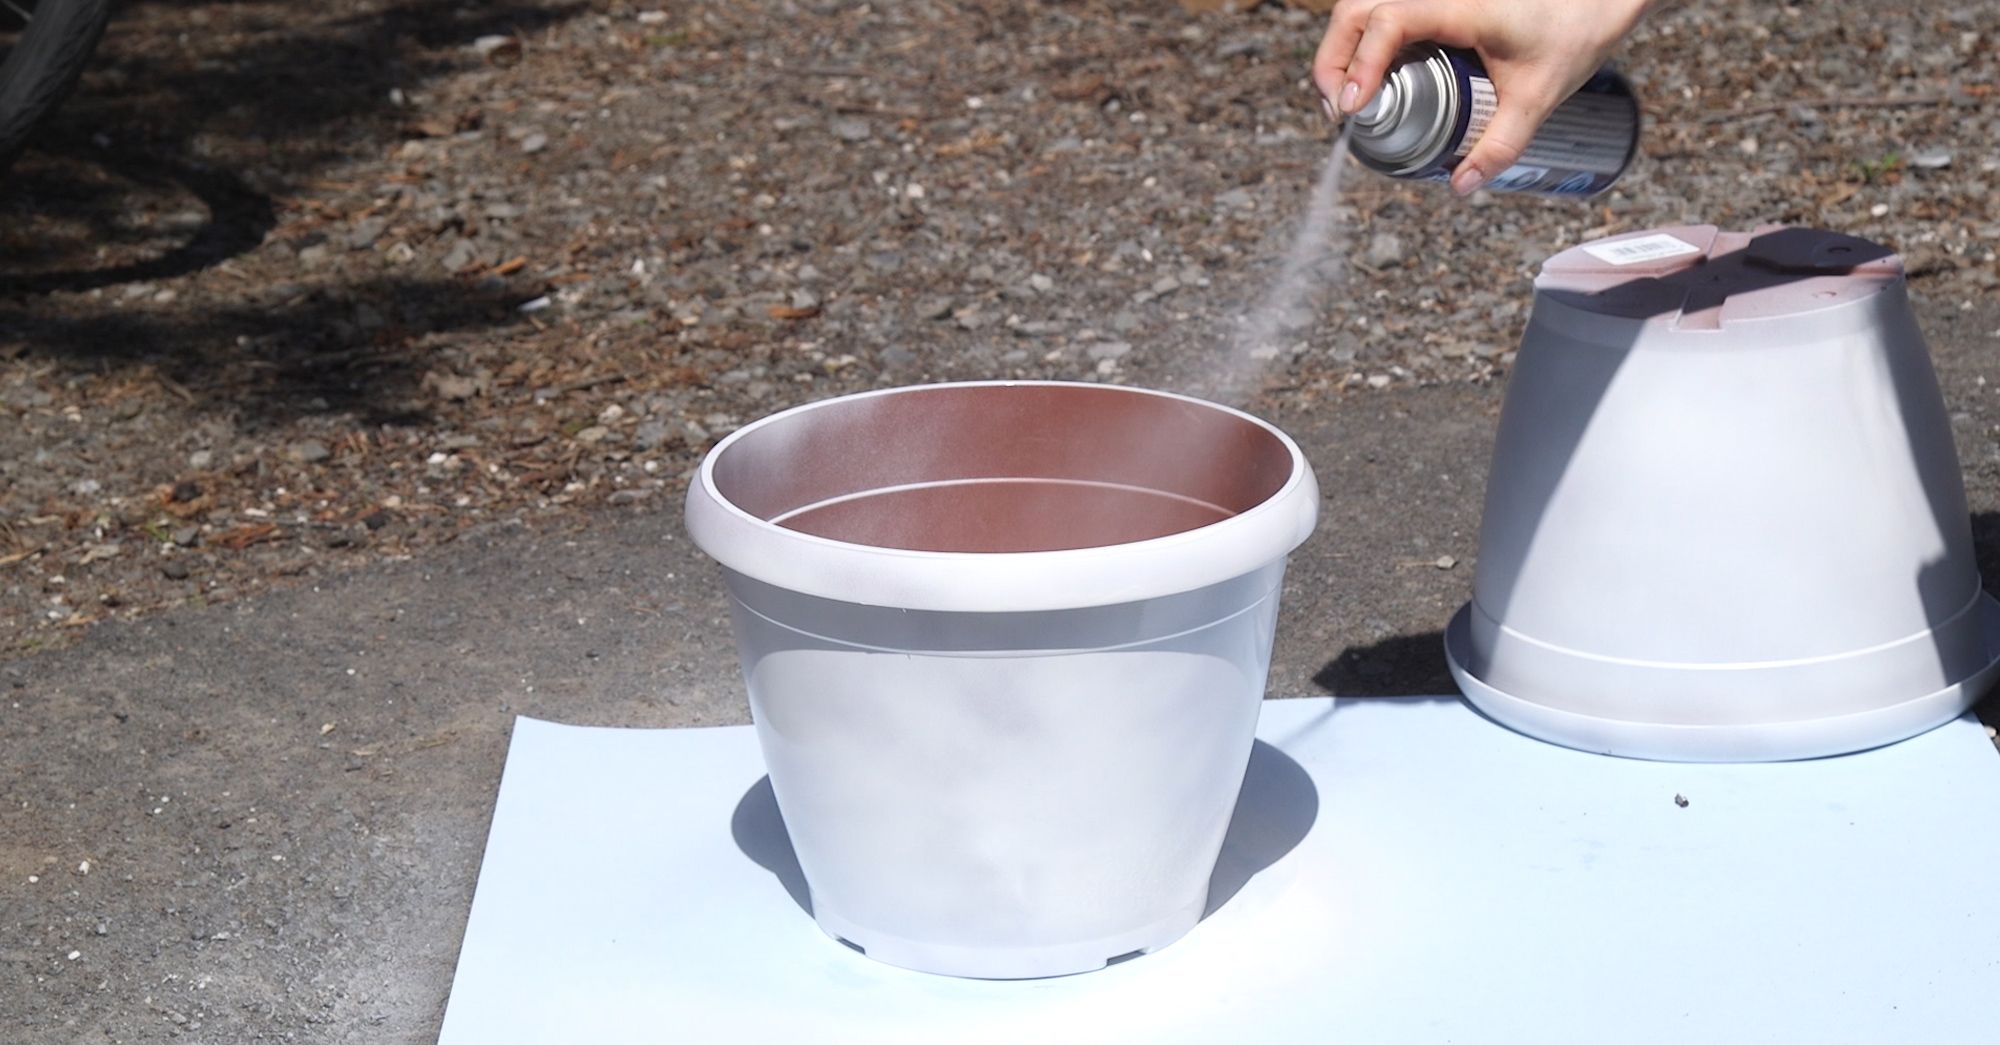
Ensure all dirt and debris is clean on the outside of the pot. Apply a coat or two of spray paint primer.
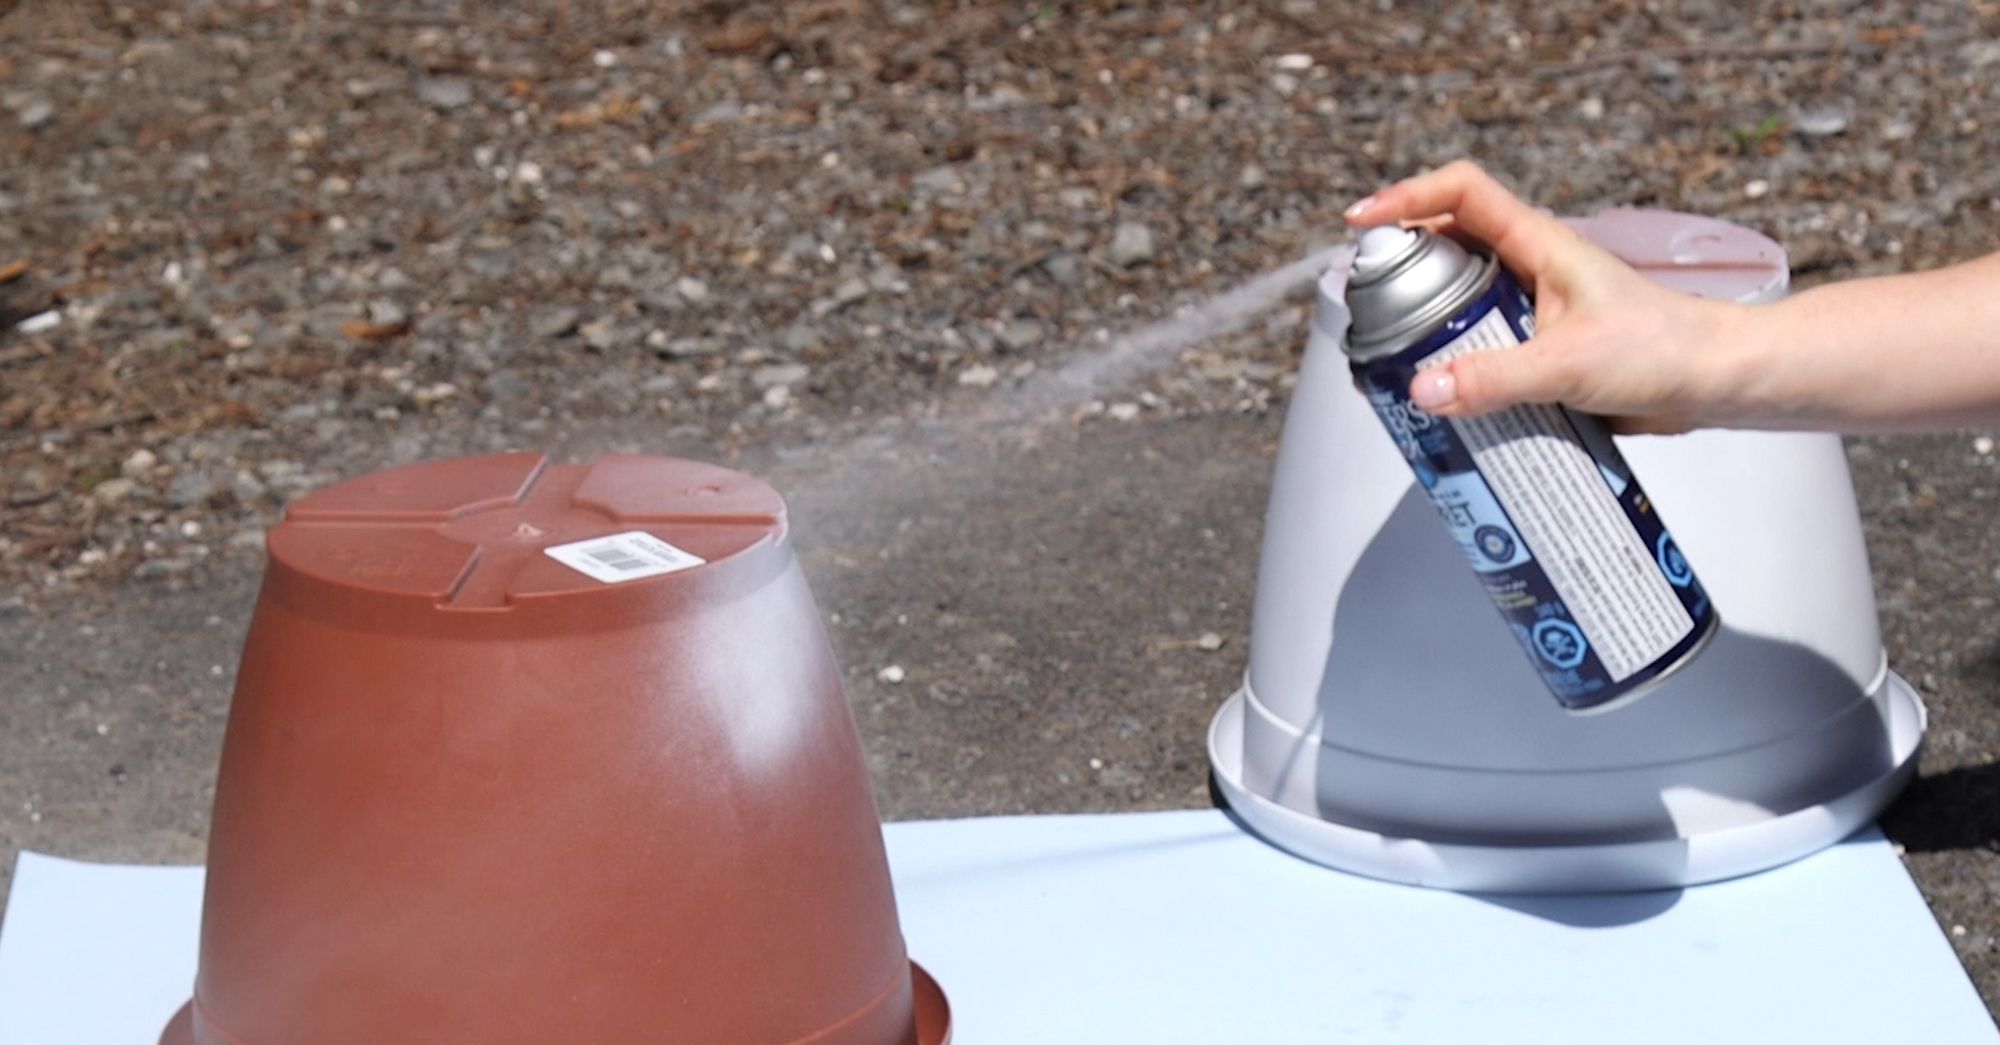
Ensure the top edges are painted as well. It is up to your discretion of you want to paint the inside as it will not show.
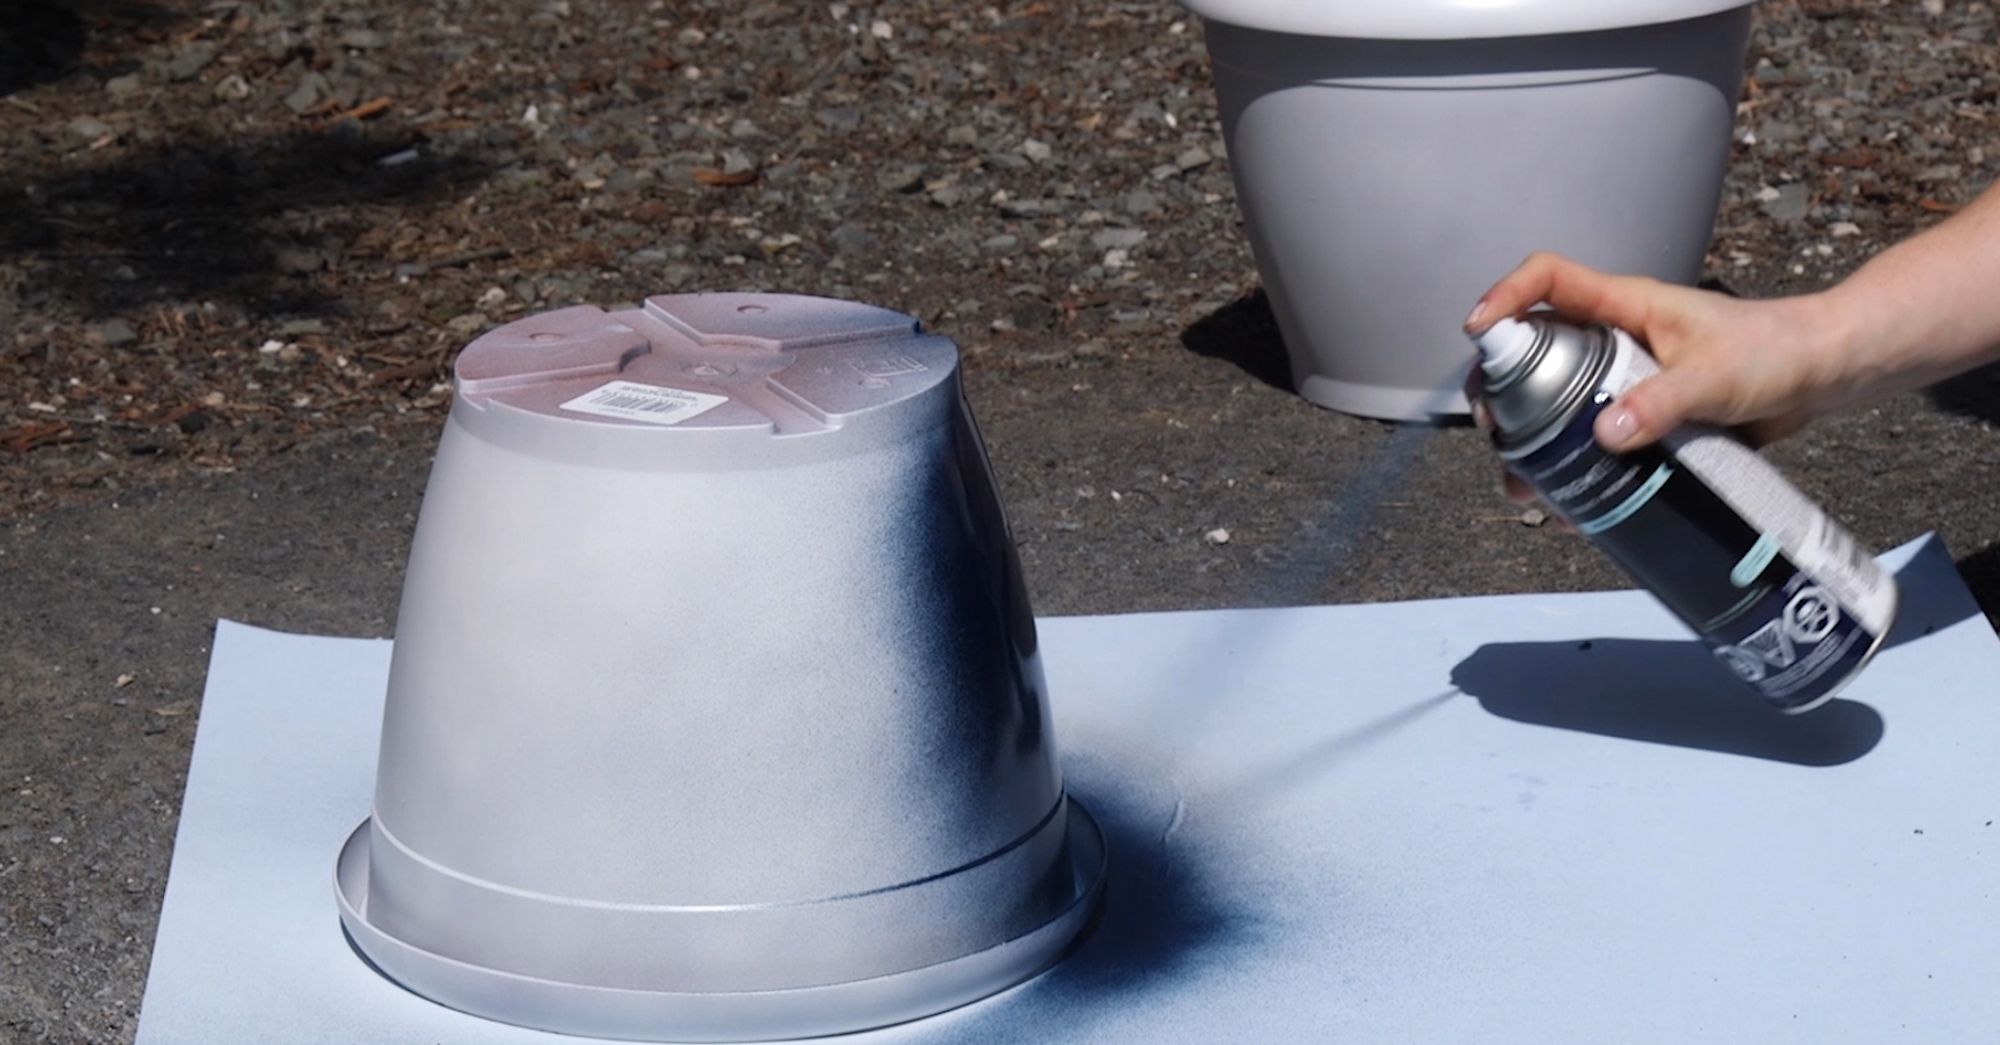
Allow the primer to fully dry. Apply the color coat in the same way, ensuring all the edges are covered.
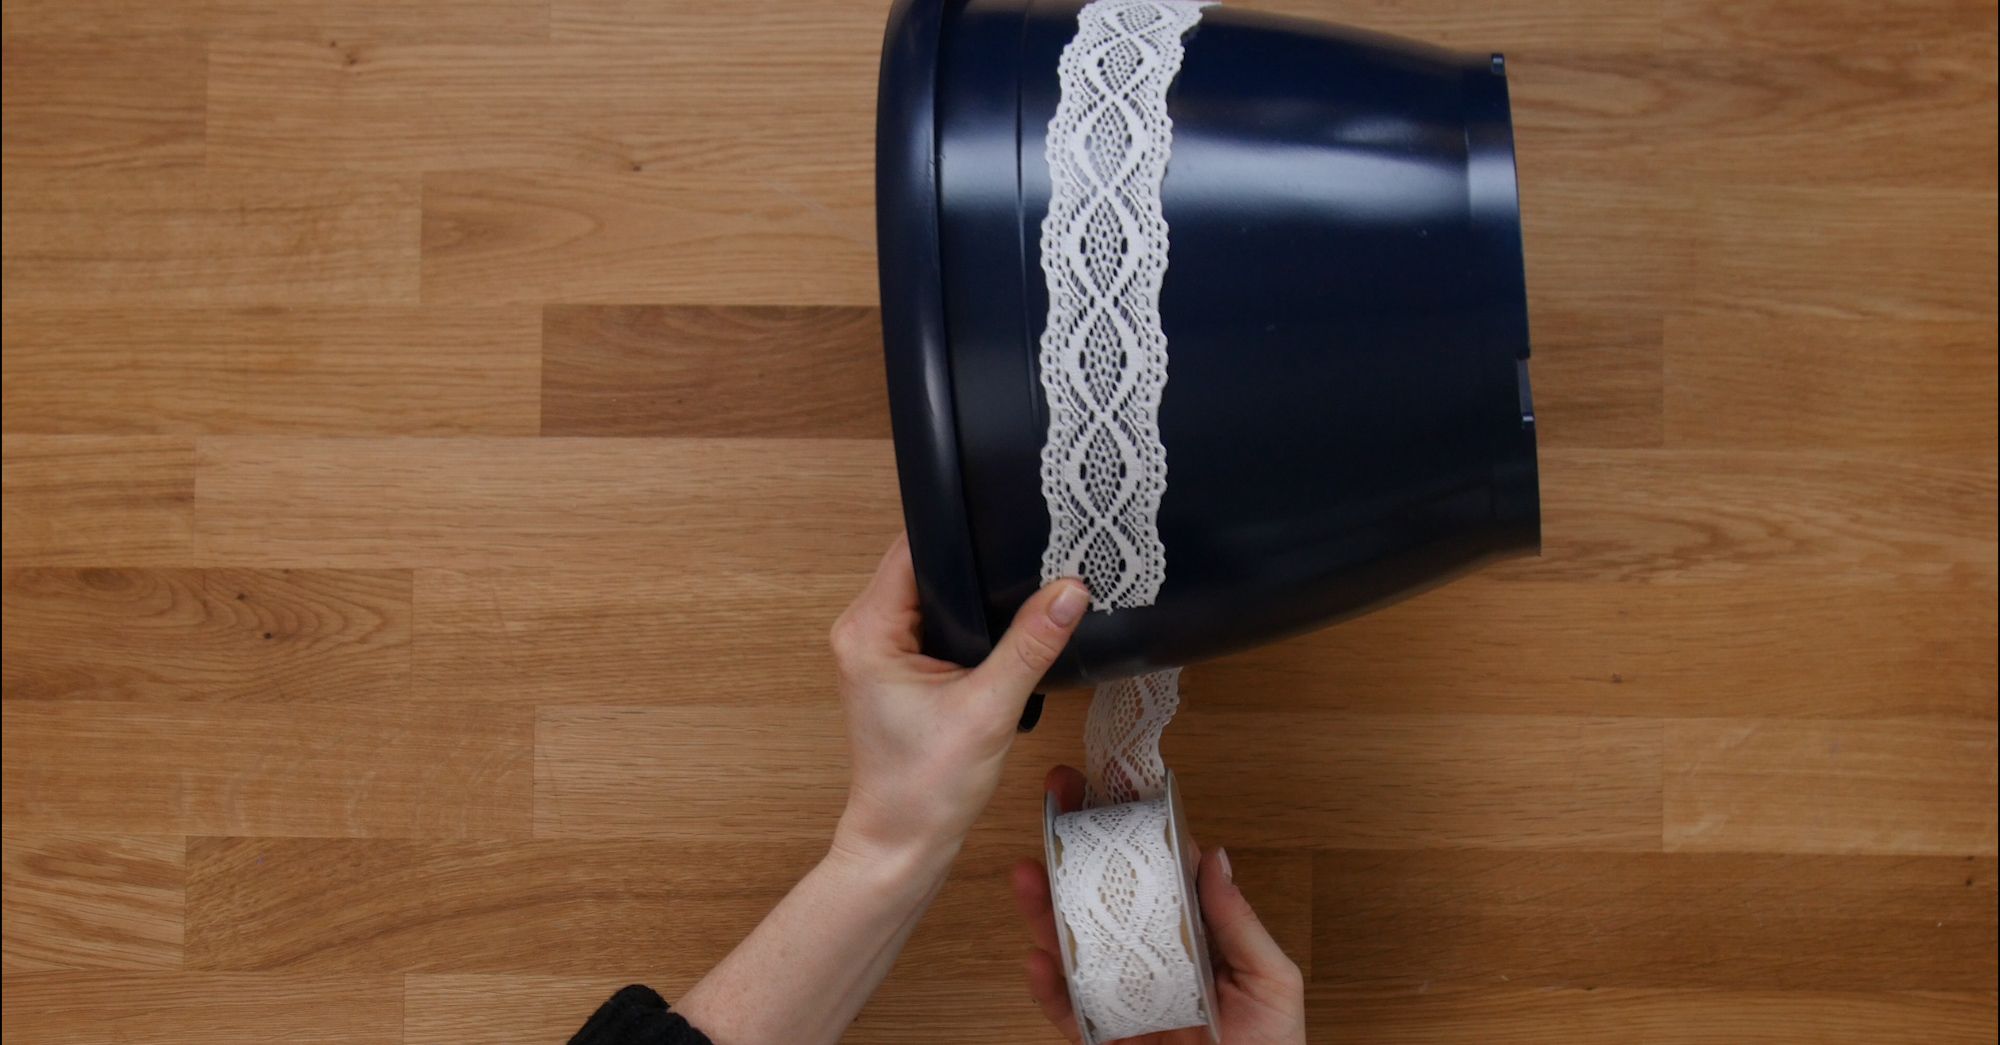
Allow the final color to fully dry. You may do multiple coats if needed. I used a paint and primer in one and it gave great coverage in one coat. To measure the amount of lace needed, place around the pot where you wish it to lie, and cut when the edges meet. This will give the exact amount of lace you need without extra edges.
Once fully dry, paint a layer of Mod Podge around the pot in the position you wish your lace to lie. Do not be shy with it as it will dry clear.

Place the lace over top of the first layer of Mod Podge and work as you go.
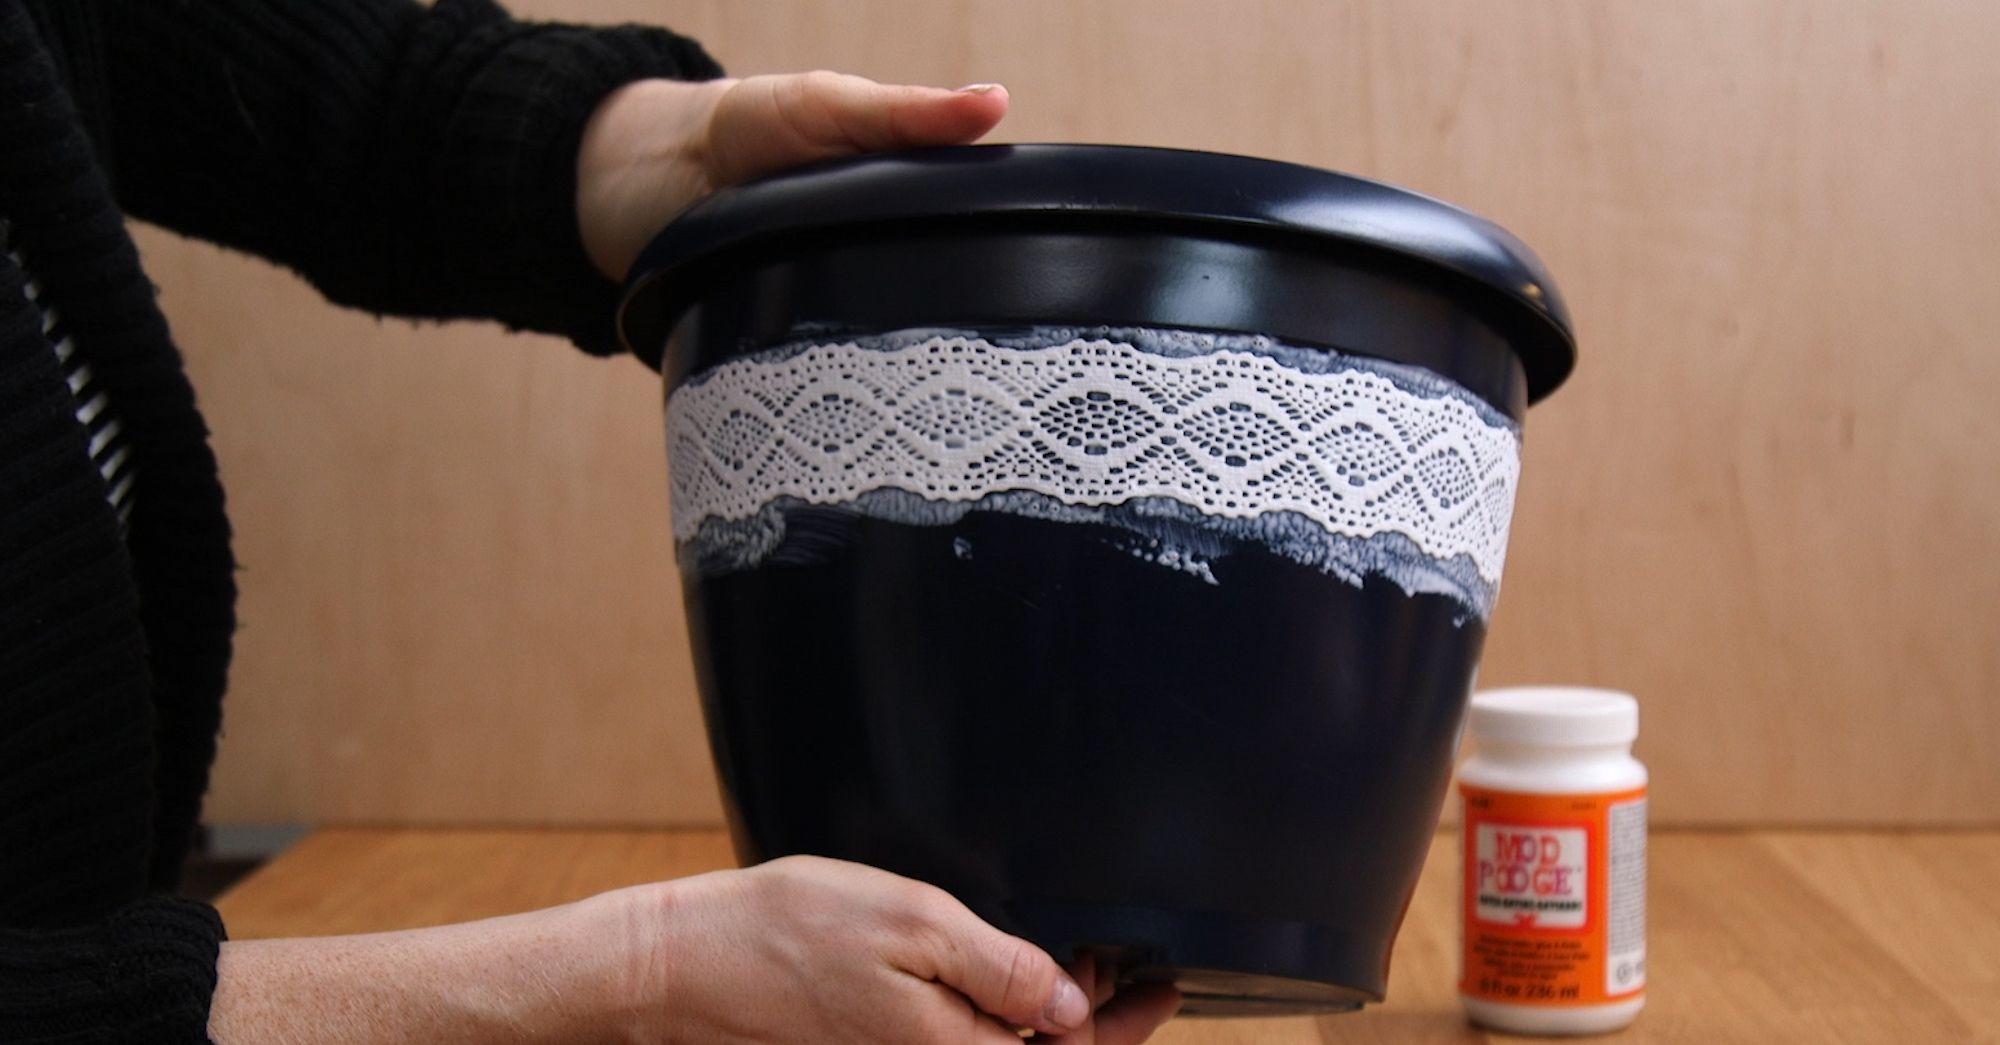
Once the lace has been set, apply another coat on top of the lace. Again do not worry about being neat as it will dry clear. This will ensure it full adheres and protect against the weather.
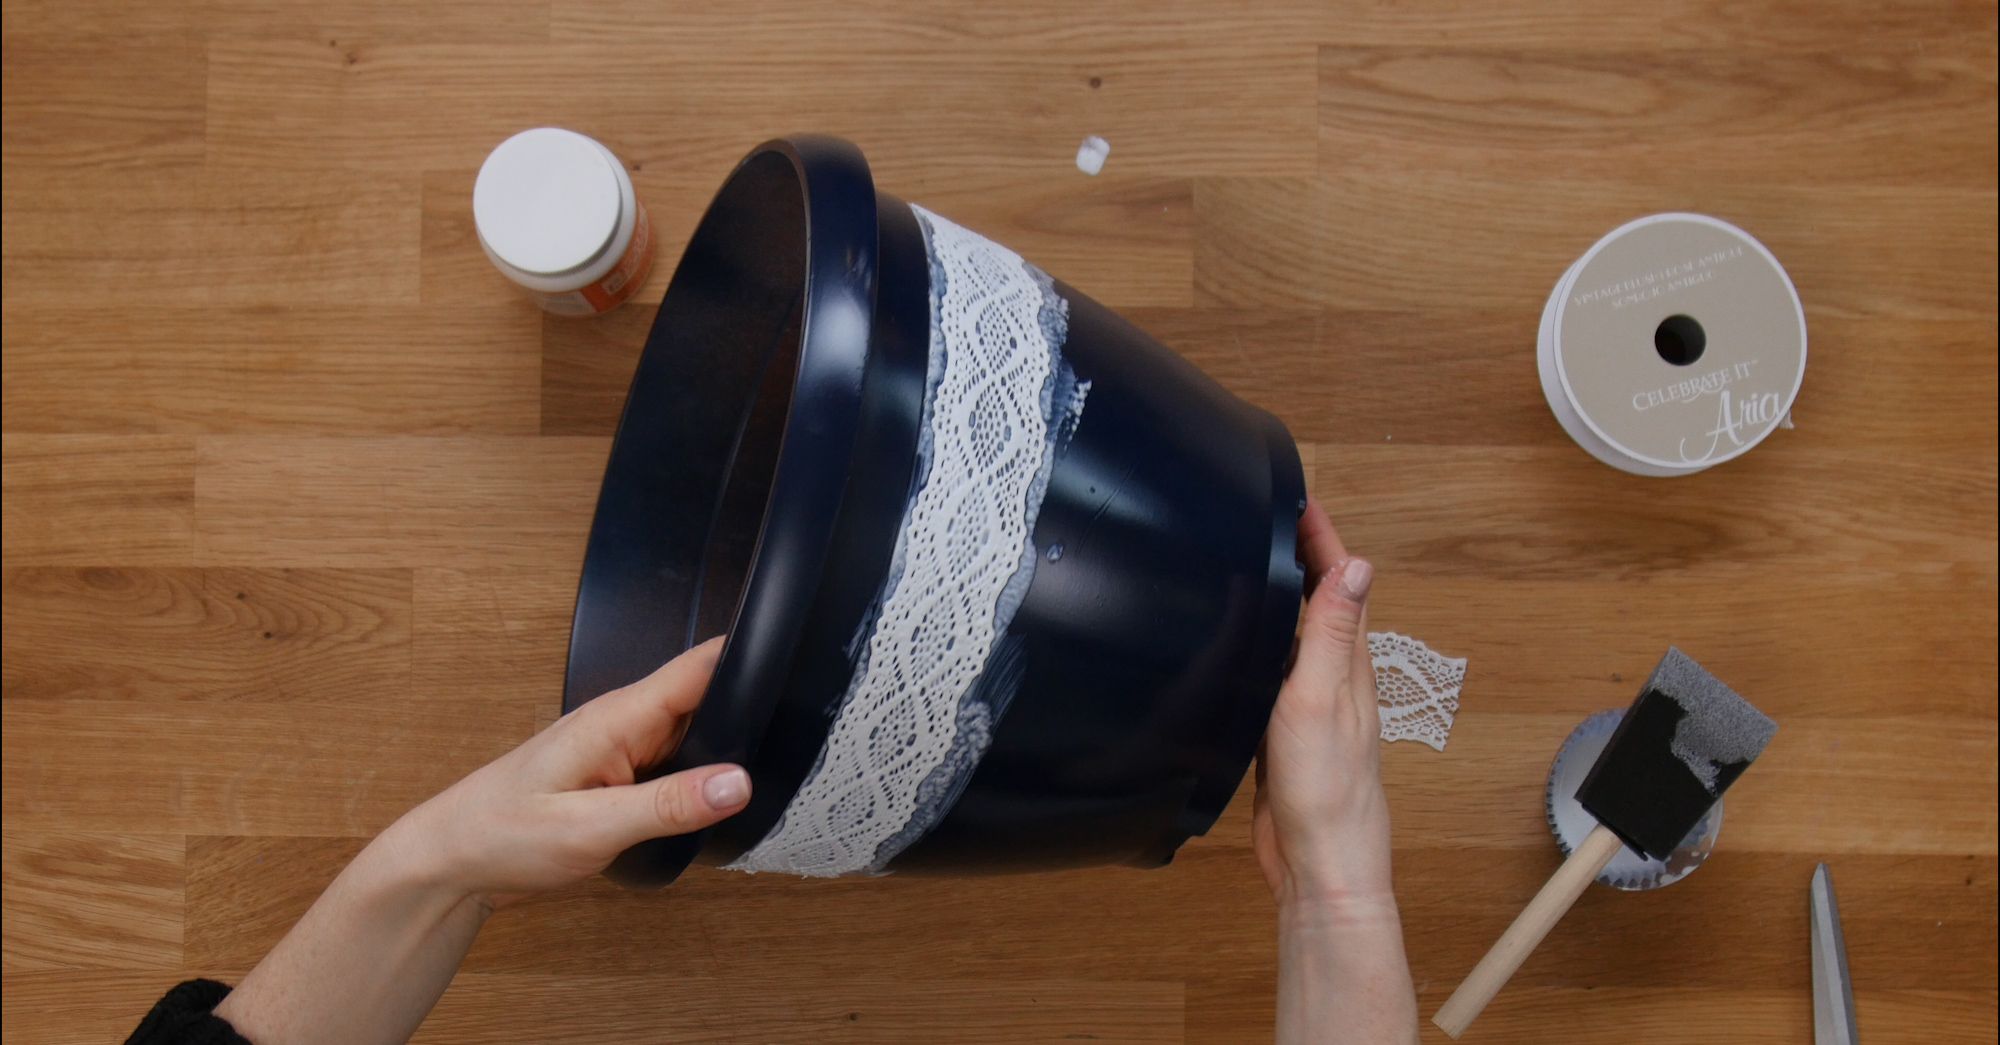
Allow the Mod Podge to fully dry and fill your planters with anything you desire!
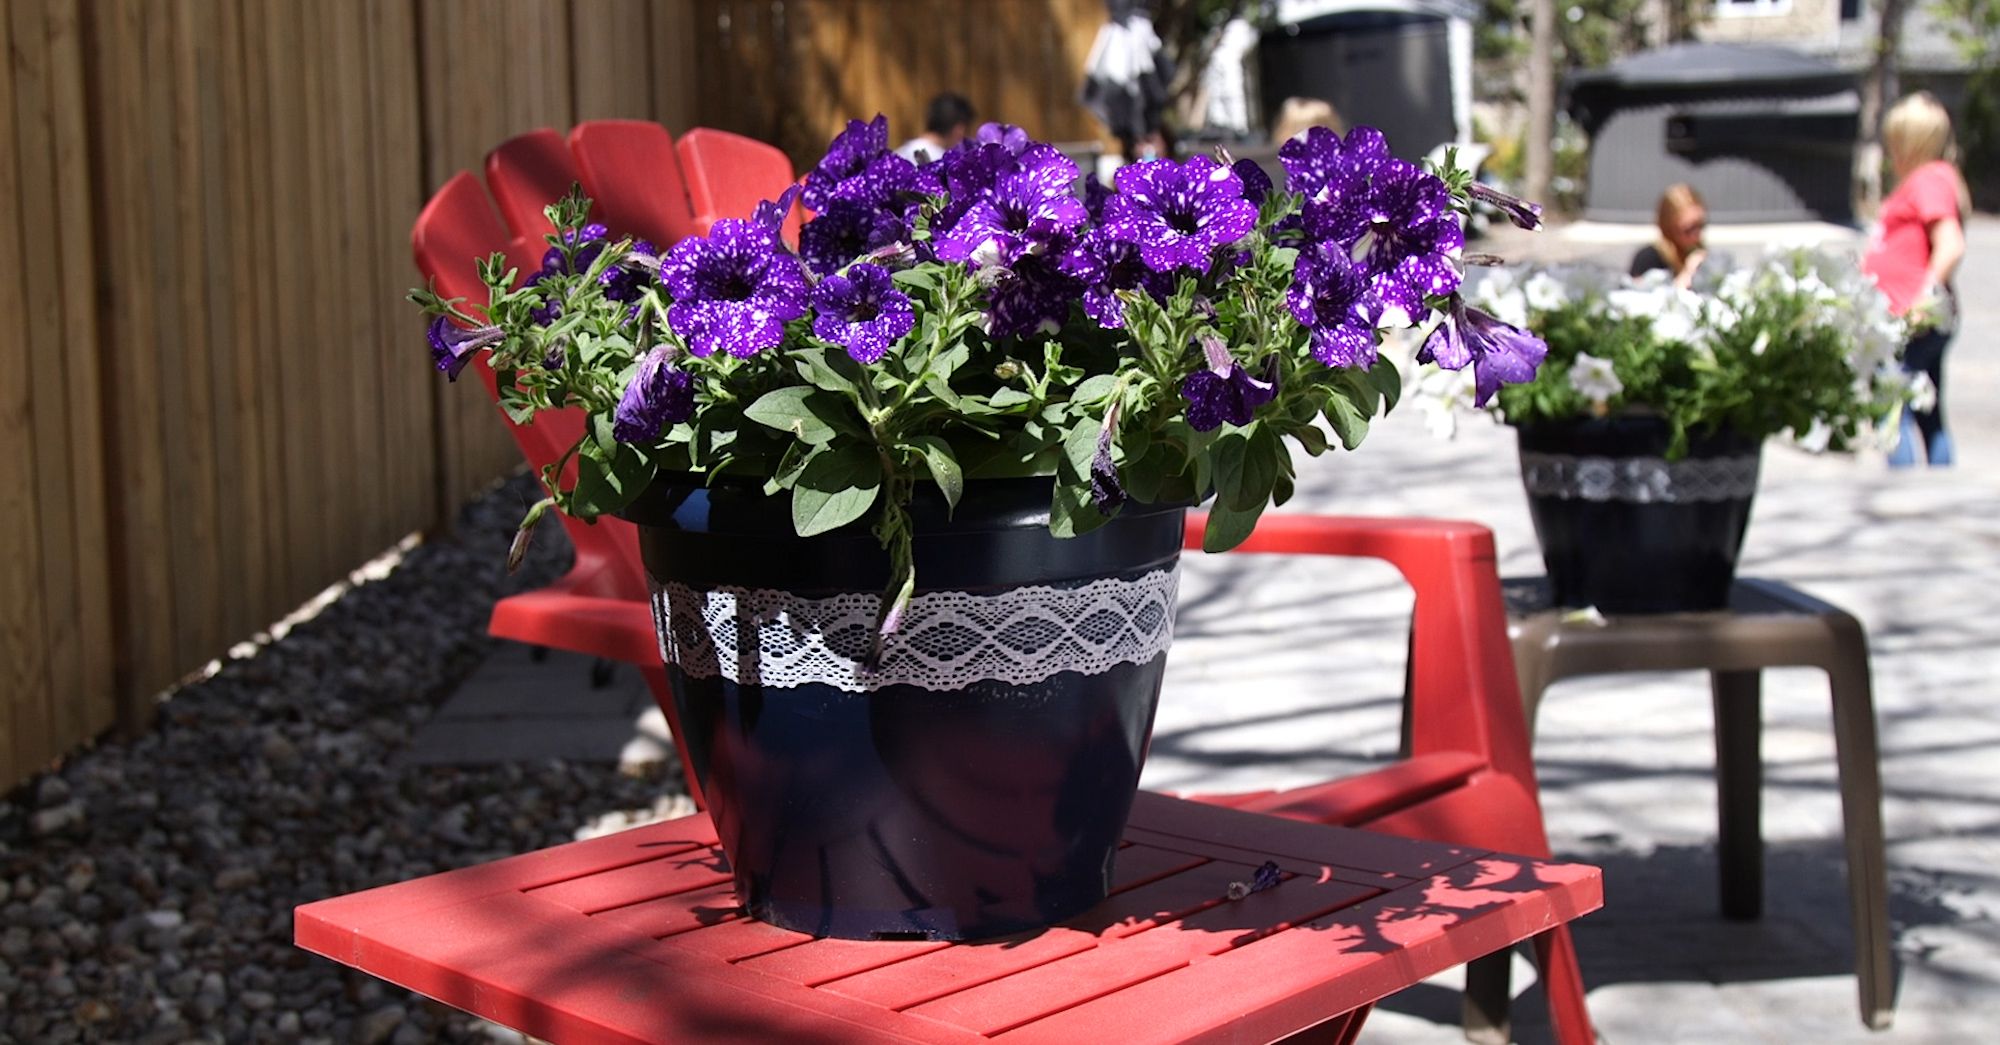
You can add herbs, flower or veggies. Whatever you choose, you will have a beautifully looking pot to display.
What You'll Need
- plastic plant pot
- spray paint primer
- spray paint in color of your choosing
- lace trim
- foam brush
- glossy Mod Podge
Here's How
- Ensure all dirt and debris is clean on the outside of the pot. Apply a coat or two of spray paint primer.
- Ensure the top edges are painted as well. It is up to your discretion of you want to paint the inside as it will not show.
- Allow the primer to fully dry. Apply the color coat in the same way, ensuring all the edges are covered.
- Allow the final color to fully dry. You may do multiple coats if needed. I used a paint and primer in one and it gave great coverage in one coat. To measure the amount of lace needed, place around the pot where you wish it to lie, and cut when the edges meet. This will give the exact amount of lace you need without extra edges.
- Once fully dry, paint a layer of Mod Podge around the pot in the position you wish your lace to lie. Do not be shy with it as it will dry clear.
- Place the lace over top of the first layer of Mod Podge and work as you go.
- Once the lace has been set, apply another coat on top of the lace. Again do not worry about being neat as it will dry clear. This will ensure it full adheres and protect against the weather.
- Allow the Mod Podge to fully dry and fill your planters with anything you desire!
- You can add herbs, flower or veggies. Whatever you choose, you will have a beautifully looking pot to display.
